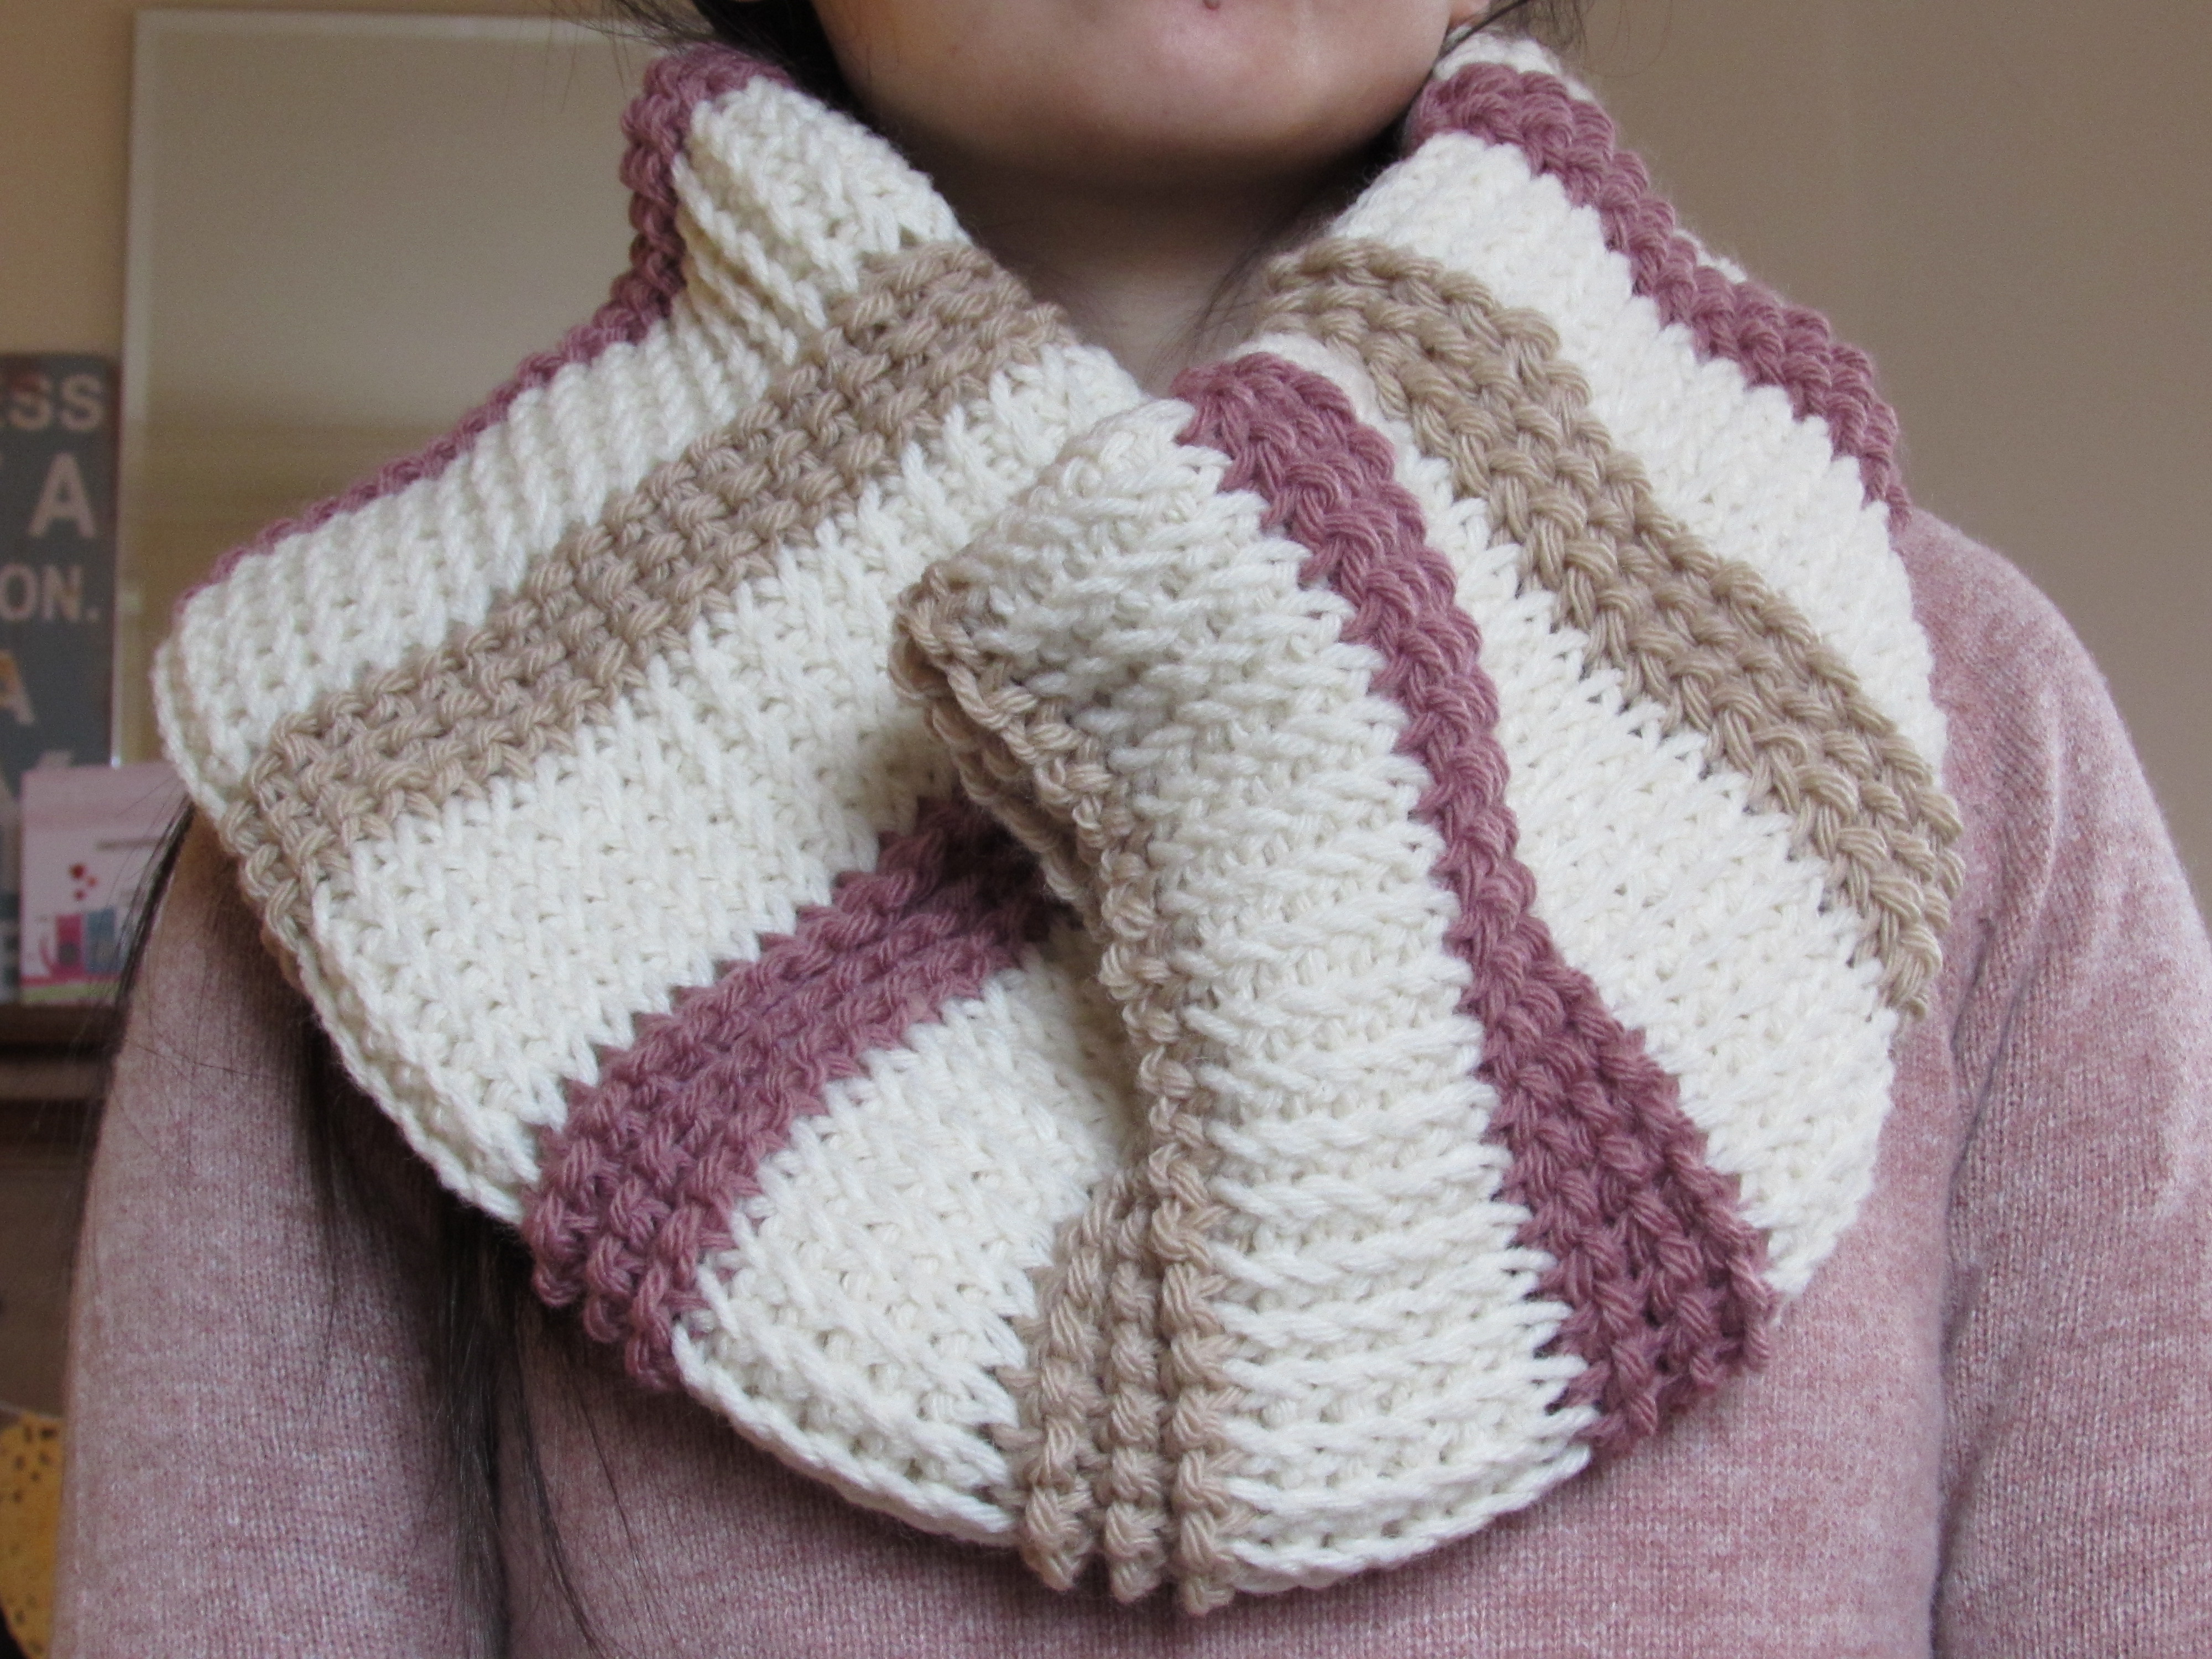
This is my second chunky cowl design of this winter, it is an oversized cowl using vintage colours which goes well with many things in my (and hopefully your) wardrobe. It is quite big, so if you don’t like too much fabric around your neck I would make this less wide and maybe a bit longer. It is up to you!
If you are looking for a quick and warm project for this winter then you should give this a try, the yarn is quite affordable, easy to work with and lovely colours available.
Enjoy 🙂
Vintage Cunky Cowl Pattern
This tunisian crochet pattern is worked flat and then folded and sown to make it double. The inside of the fabric is therefore not shown so there is no need to weave ends since they can be left inside. It uses only two stitches and it works up very quickly.
If you don’t know the stitches or how to change colours with tunisian crochet please refer to my tutorials page where you will find everything you need to work this pattern. The two stitches used for the sample in the picture are tunisian reverse simple stitch and tunisian twisted knit stitch, though I will replace this last one in the following pattern for the normal tunisian knit stitch since I don’t have a tutorial for the twisted version. If you like the look of the twisted knit stitch please give it a try, it is a bit slower to work but it looks very nice, there are several tutorials online you can search for.
The cowl measures 40cm wide and 85cm long when flat (before sewing) but you should make it as wide and long as you prefer, it is quite big as you can see in the picture. My gauge for this yarn is 10sts and 10 rows in the stitch pattern in 4inx4in, however gauge is not essential since you can just adjust the amount of stitches to get the width you want for the yarn you wish to use.
Materials
Deramores Vintage Chunky Yarn:
- 2 x 100g Chalk (Colour A)
- 1 x 100g Rose (Colour B)
- 1 x 100g Barley (Colour C)
9mm tunisian crochet hook with extension
Needle to sew ends together if you prefer this instead of slip stitching.
Abbreviations
ch – chain
st – stitch
Tks – tunisian knit stitch
Trss – tunisian reverse simple stitch
lp – loop(s)
sl st – slip stitch
yo – yarn over
end st – last stitch of forward pass (see stitch guide below)
Stitch Guide
Foundation Row – Forward Pass: Chain number of stitches needed. Skip first chain, insert hook under back strand of next chain, yarn over and pull up a loop. Repeat until last chain.
Return Pass: Yarn over pull through one loop on hook, (yarn over and pull through two loops on hook) until you have one loop left on hook.
Last stitch of any forward pass (End st): Insert hook under last vertical bar and strand behind it, yarn over and pull up a loop.
Tunisian Knit Stitch (Tks): Skip first st, insert hook between front and back vertical bars, yarn over and pull up a loop. Continue this way until last stitch, work last stitch normally. Work return pass normally.
Tunisian Reverse Simple Stitch (Trss): Skip first st, insert hook from right to left under back vertical bar, yarn over and pull up a loop. Work last stitch normally. Work return pass normally.
To change colours at the start of next forward pass: work previous return pass normally until you have two loops left on your hook. Drop old colour and pick up new colour, yarn over and pull through two loops on hook.
Slip st as in Tks: Insert hook between front and back vertical bars, pull through two loops on hook.
Slip st End st: Insert hook under last vertical bar and strand behind it, yarn over and pull through both loops on hook.

Instructions
With A ch 40. Work foundation forward pass, you should have 40 sts, each loop in the hook counts as a st. Work return pass.
Row 1: Skip first vertical bar, Tks in next st and each st across until last st, work End st. Work return pass.
Row 2 – 6: Repeat Row 1.
Row 7: Skip first vertical bar, Tks in next st and each st across until last st, work End st. Work return pass, change to B at the end of return pass. No need to cut yarns, you can carry it along on the back.
Row 8: Skip first vertical bar, Trss in next st and each st across until last st, work End st. Work return pass.
Row 9: Repeat Row 8.
Row 10: Skip first vertical bar, Trss in next st and each st across until last st, work End st. Work return pass, change to A at the end of return pass. No need to cut yarns, you can carry it along on the back.
Rows 10 to 100: Repeat Rows 1 to 10 alternating colours B and C.
Row 101: Skip first vertical bar, slip st as in Tks in next st and each st across until last st, slip st End st.
Fold the fabric lengthways so that the wrong side of the fabric is facing you and sew in the long edge to make a tube. You can use slip st or any other joining method you like. Turn the fabric over so that the right side is facing (make sure all the ends remain inside the tube) and close the tube to turn it into a cowl by sewing both edges together. You will be sewing one circumference against another so that you end up with something like a donut (I am not sure I am making any sense so please ask if you are totally lost!). Don’t sew the four layers together or you won’t be able to hide the seams on the inside of the cowl when you are wearing it.
Let me know if you have any questions!
x
Sol