Previous posts in this series: Tunisian Crochet 101: Introduction and Tools, Tunisian Crochet 101: Foundation Row and Tunisian Simple Stitch
Hello there! How is that tunisian sampler going? Hope you have already mastered tunisian simple stitch since we are adding a new stitch today: tunisian knit stitch (Tks). If you are new to these tutorials you might want to check the links above, we are creating a sampler for tunisian stitches and adding one stitch per tutorial.
Tunisian knit stitch is a very popular stitch for those of us who can’t knit, and it was one of the reasons why I decided to learn this technique. I found a book at my local library which showed a piece that looked just like knitting but it claimed to be something called tunisian crochet.
Now, does it really look like knitting? Yes, it does look remarkably like a knit stitch but there is a key difference though. Tks creates a thicker fabric than its knitting counterpart, which makes it warmer and ideal for winter garments. It is also one of the stitches that creates a lot of curling, so a loose gauge is recommended.
Without further ado, may I present to you: tunisian knit stitch!
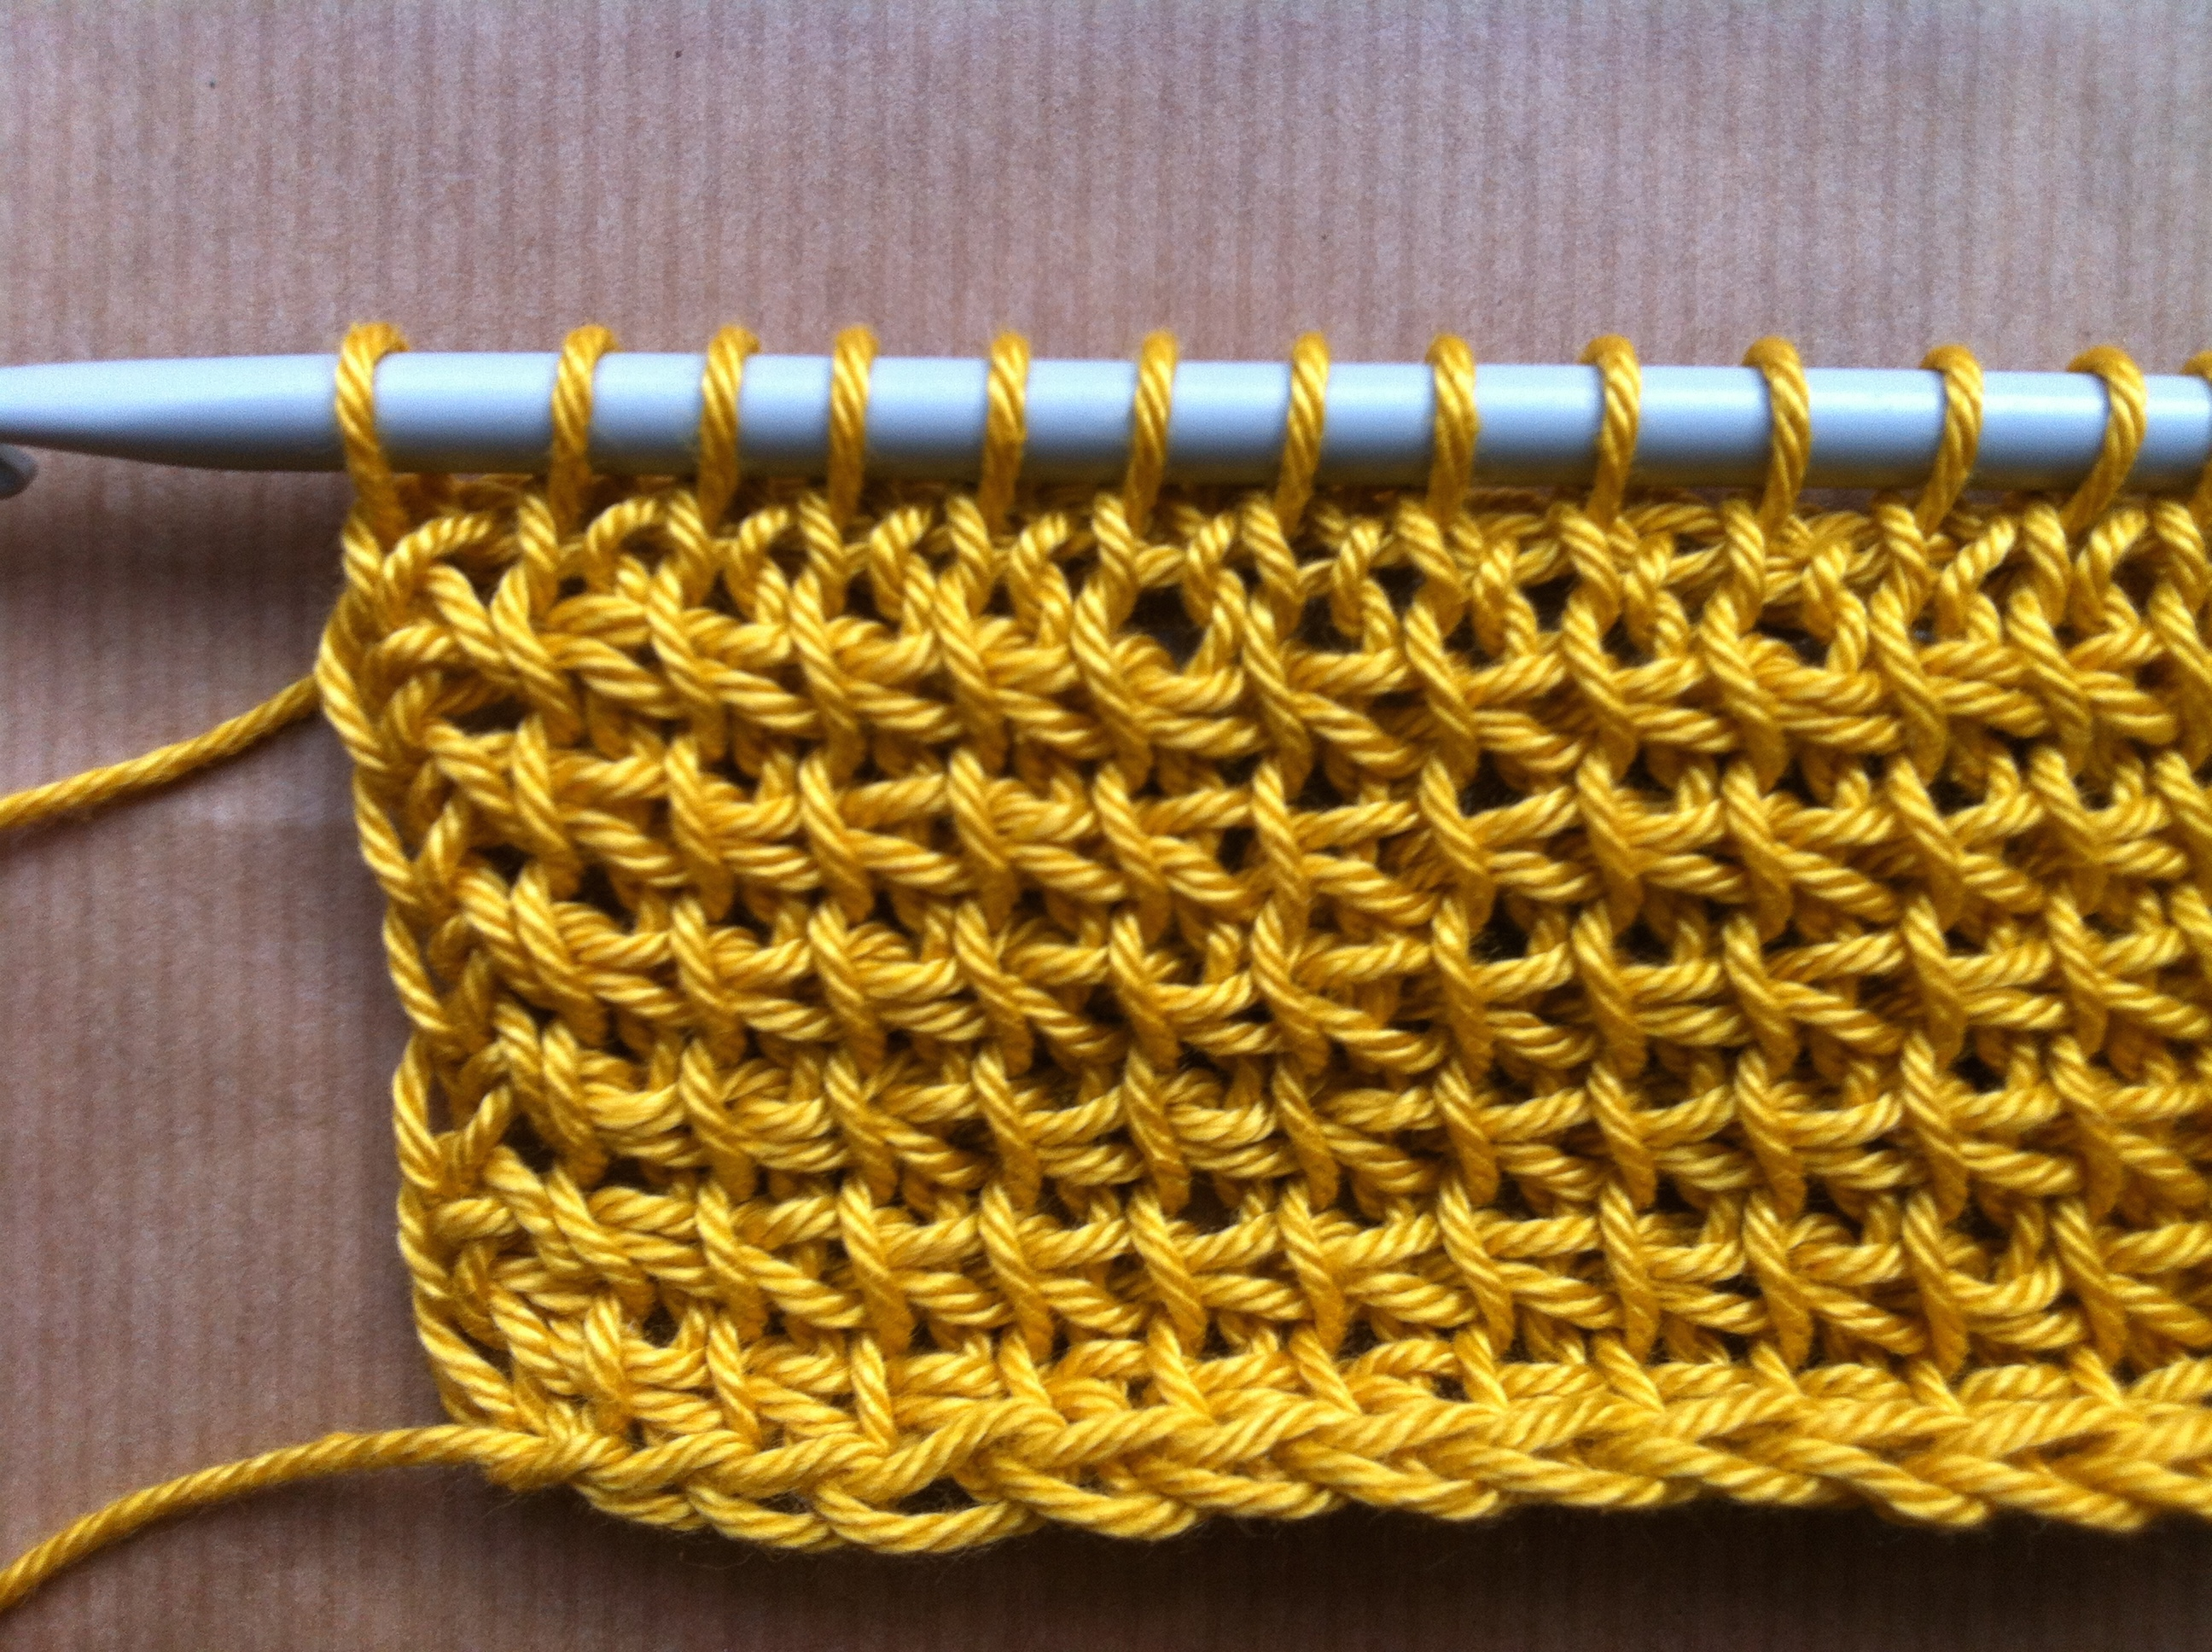
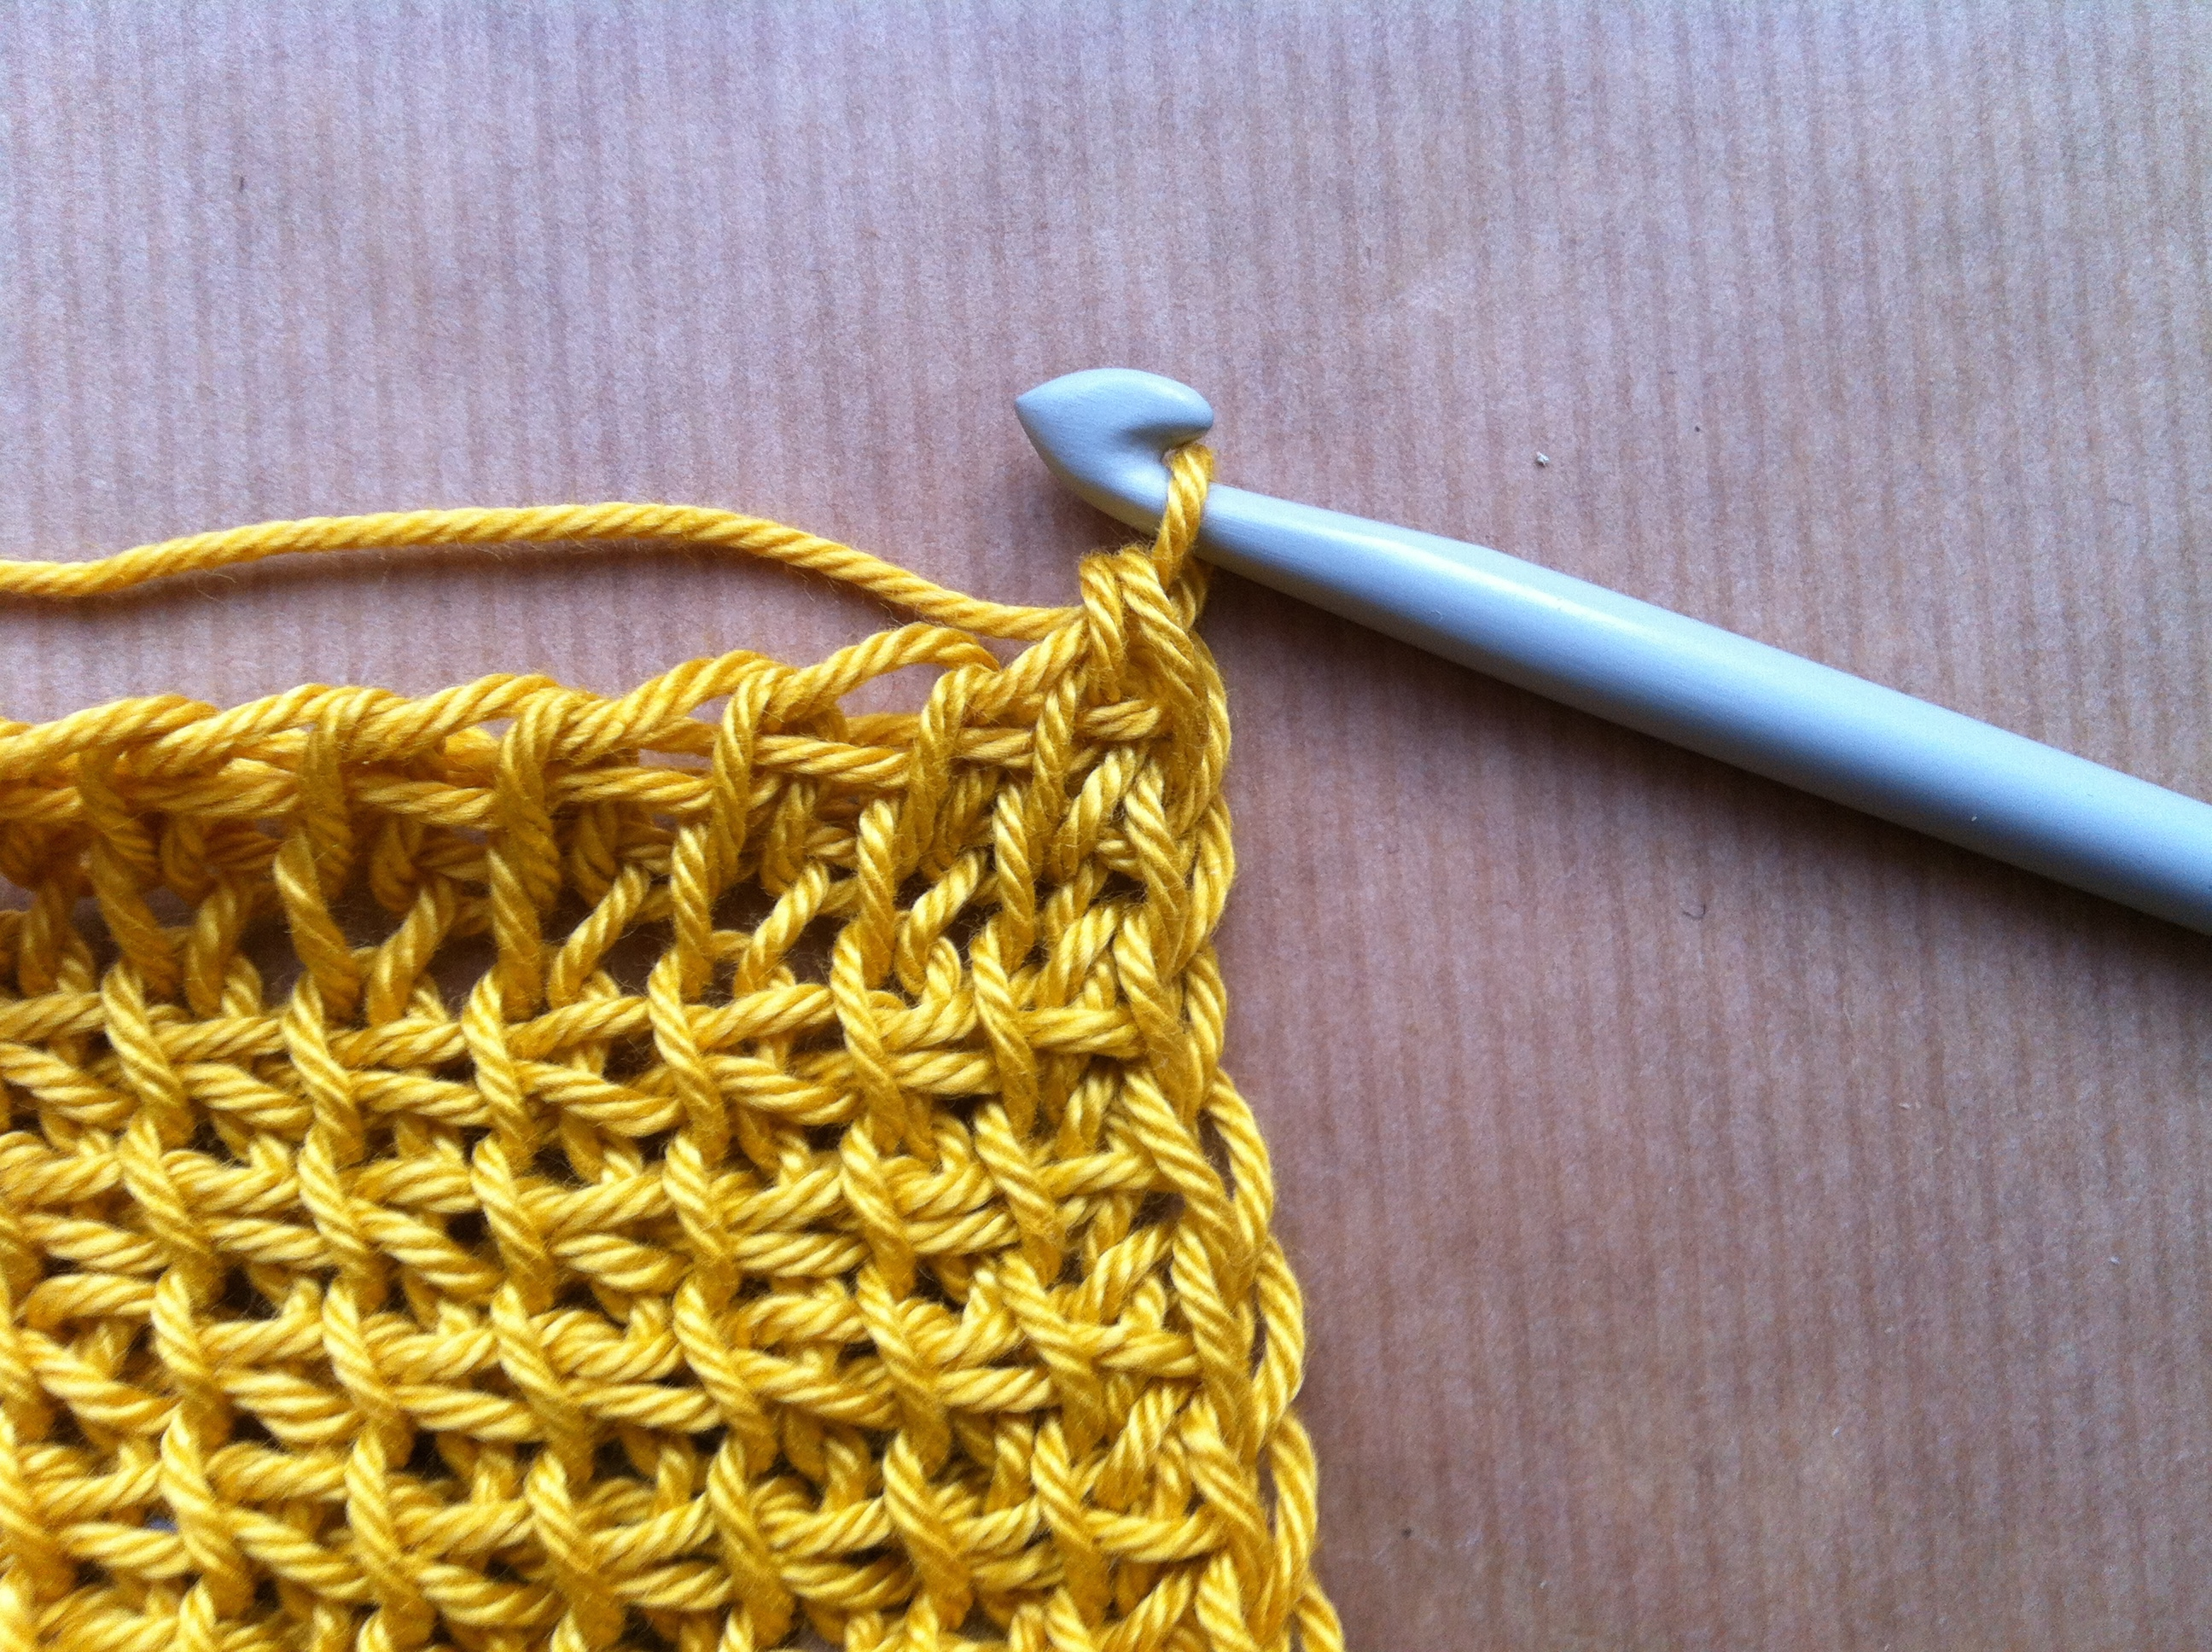
Your sampler should look something like this so far. Work as many rows as you need for each stitch to make sure you are comfortable with it.

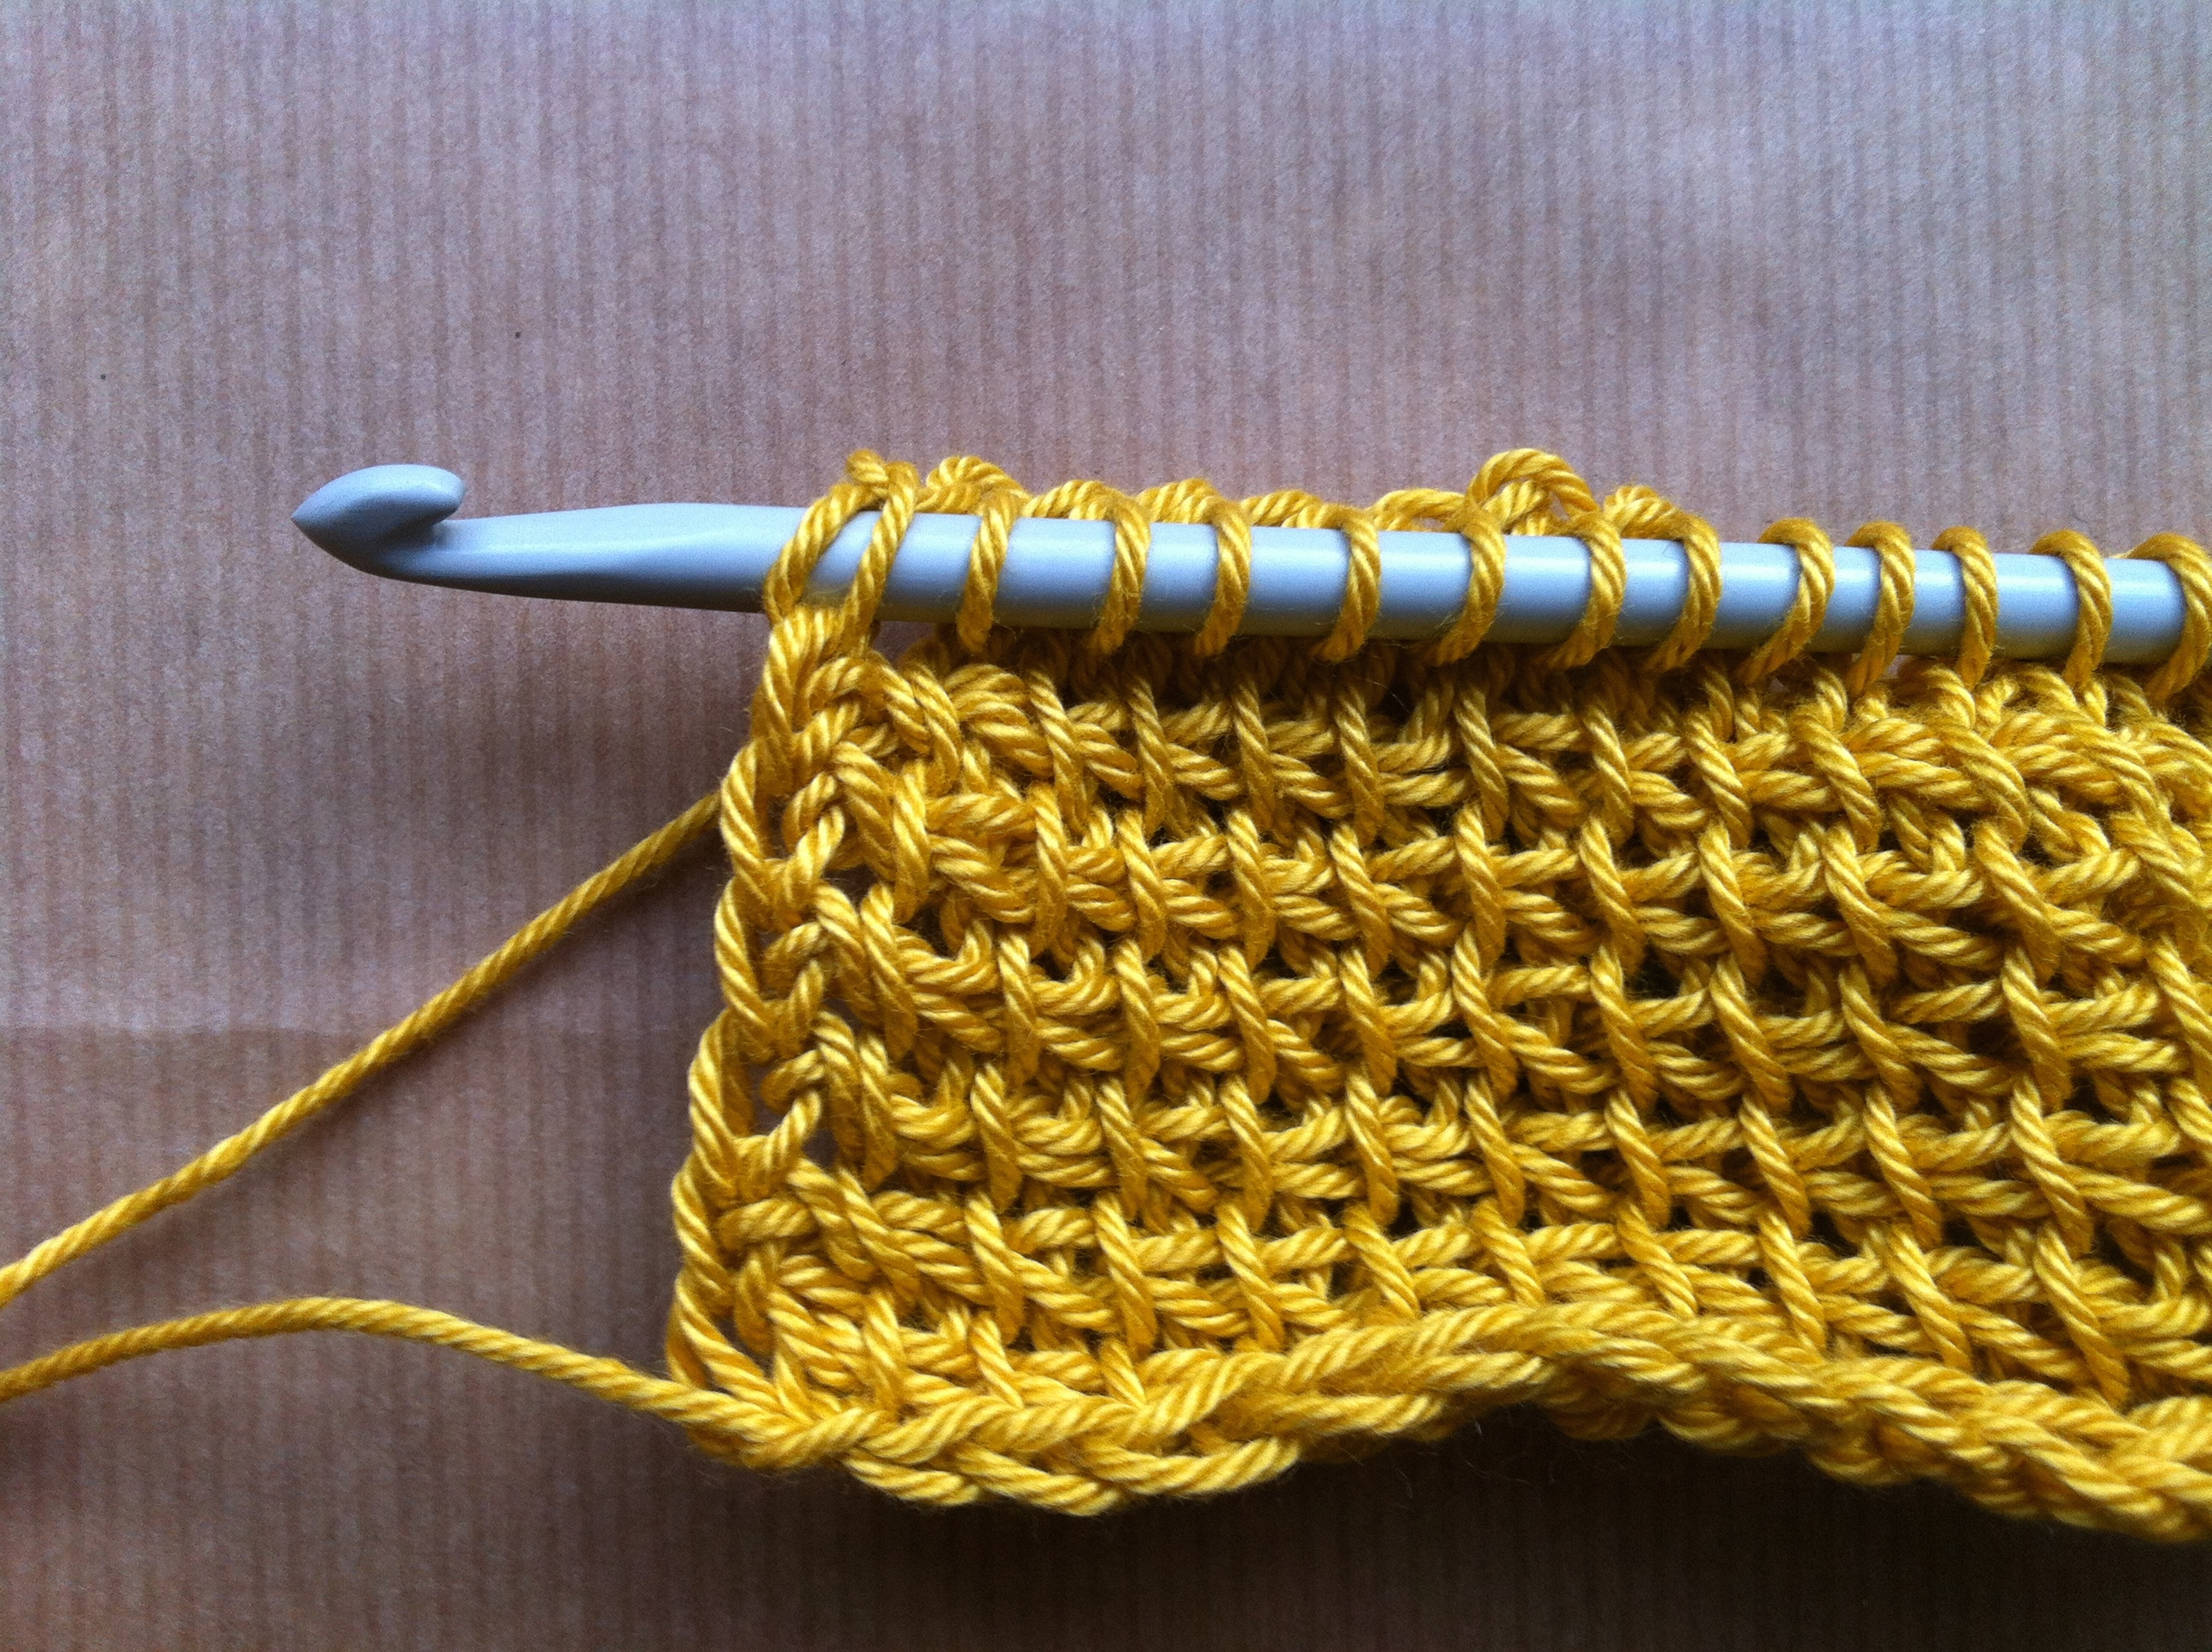
If you followed the last tutorial you will know that in this sample there are 6 rows of Tss (the first one is sort of hidden by the curl of the fabric) and the last row (Row 7) is currently undefined. I mention this because if you are following a pattern that says something like “work 6 rows of Tss followed by 6 rows of Tks”, you actually have to wait until you finish row 7 to change stitches so that you have 6 rows of Tss and one undefined row, and then start working Tks in the undefined row. A bit confusing I know, but for now if you are following a pattern that changes stitch in a certain row make sure you count rows where you can see the stitch and not count the undefined row.

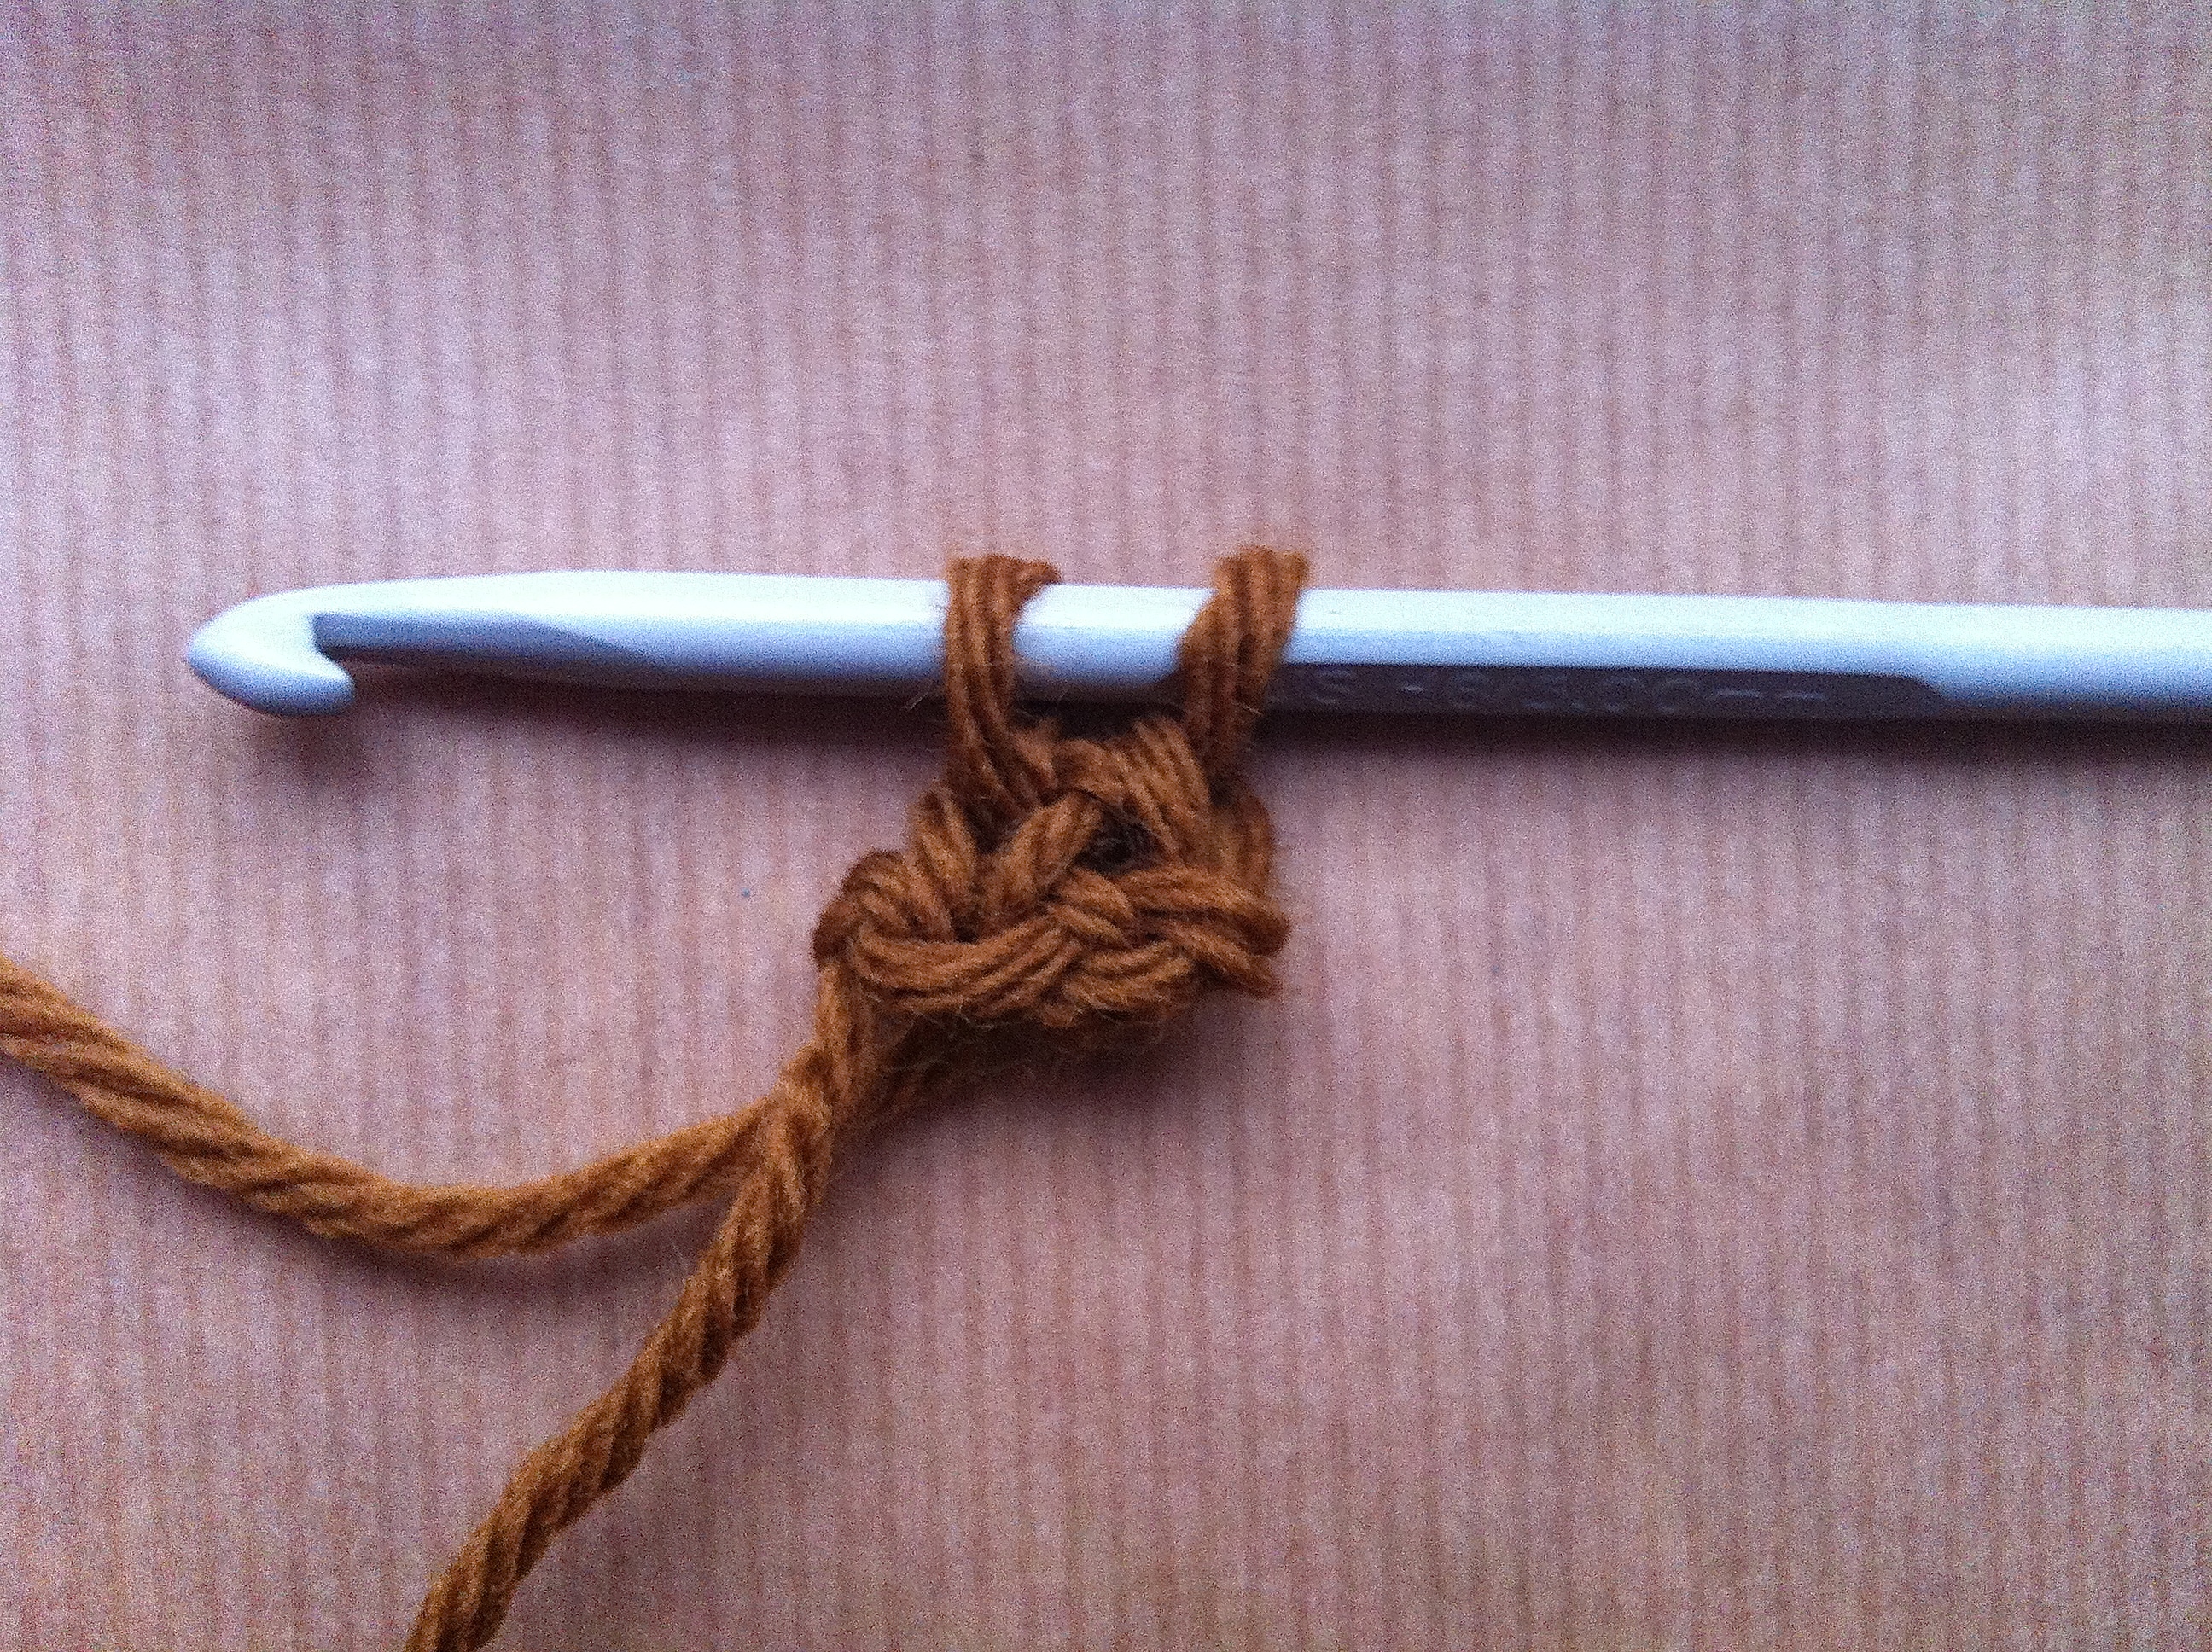
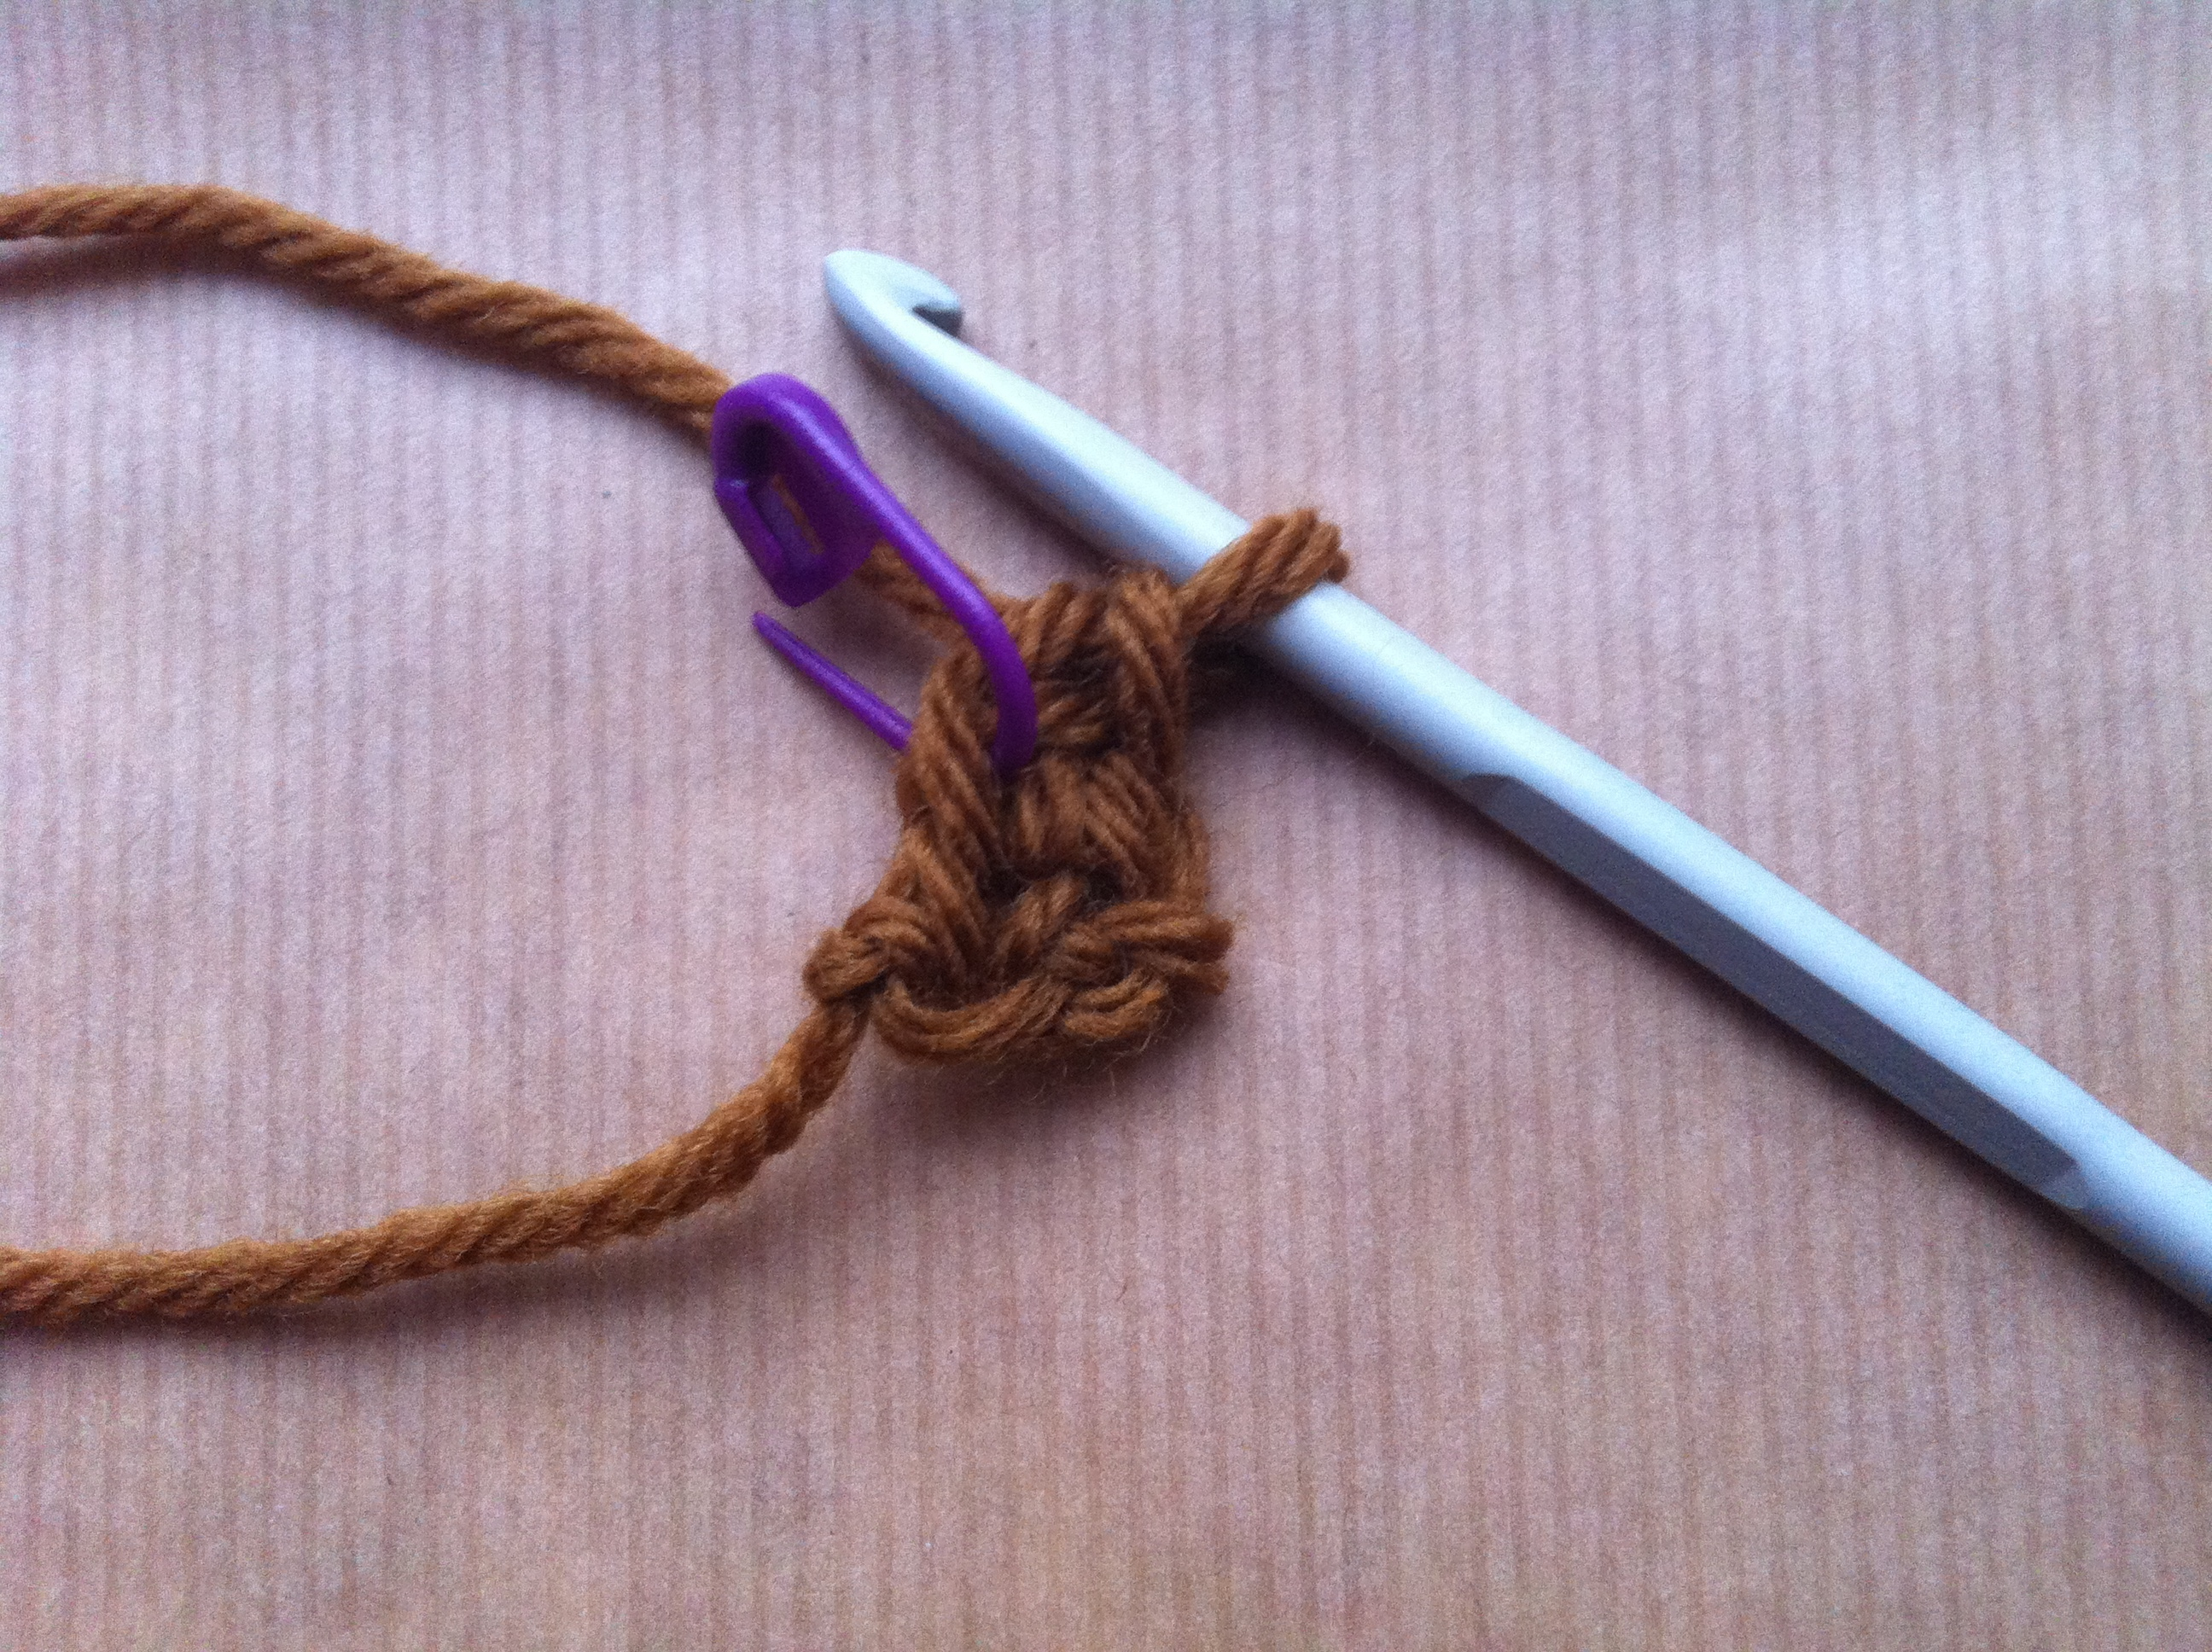
Let’s look at that undefined row a bit closer again. We mentioned in the last tutorial that stitches are defined by where you insert your hook at the forward pass in that undefined row, so you will know already it will be somewhere different than for the simple stitch. You may need to pull the fabric to the left a bit like I am doing in the picture, but basically in the undefined row you have front vertical bars, back vertical bars and a horizontal chain going through in between as a result of the return pass.

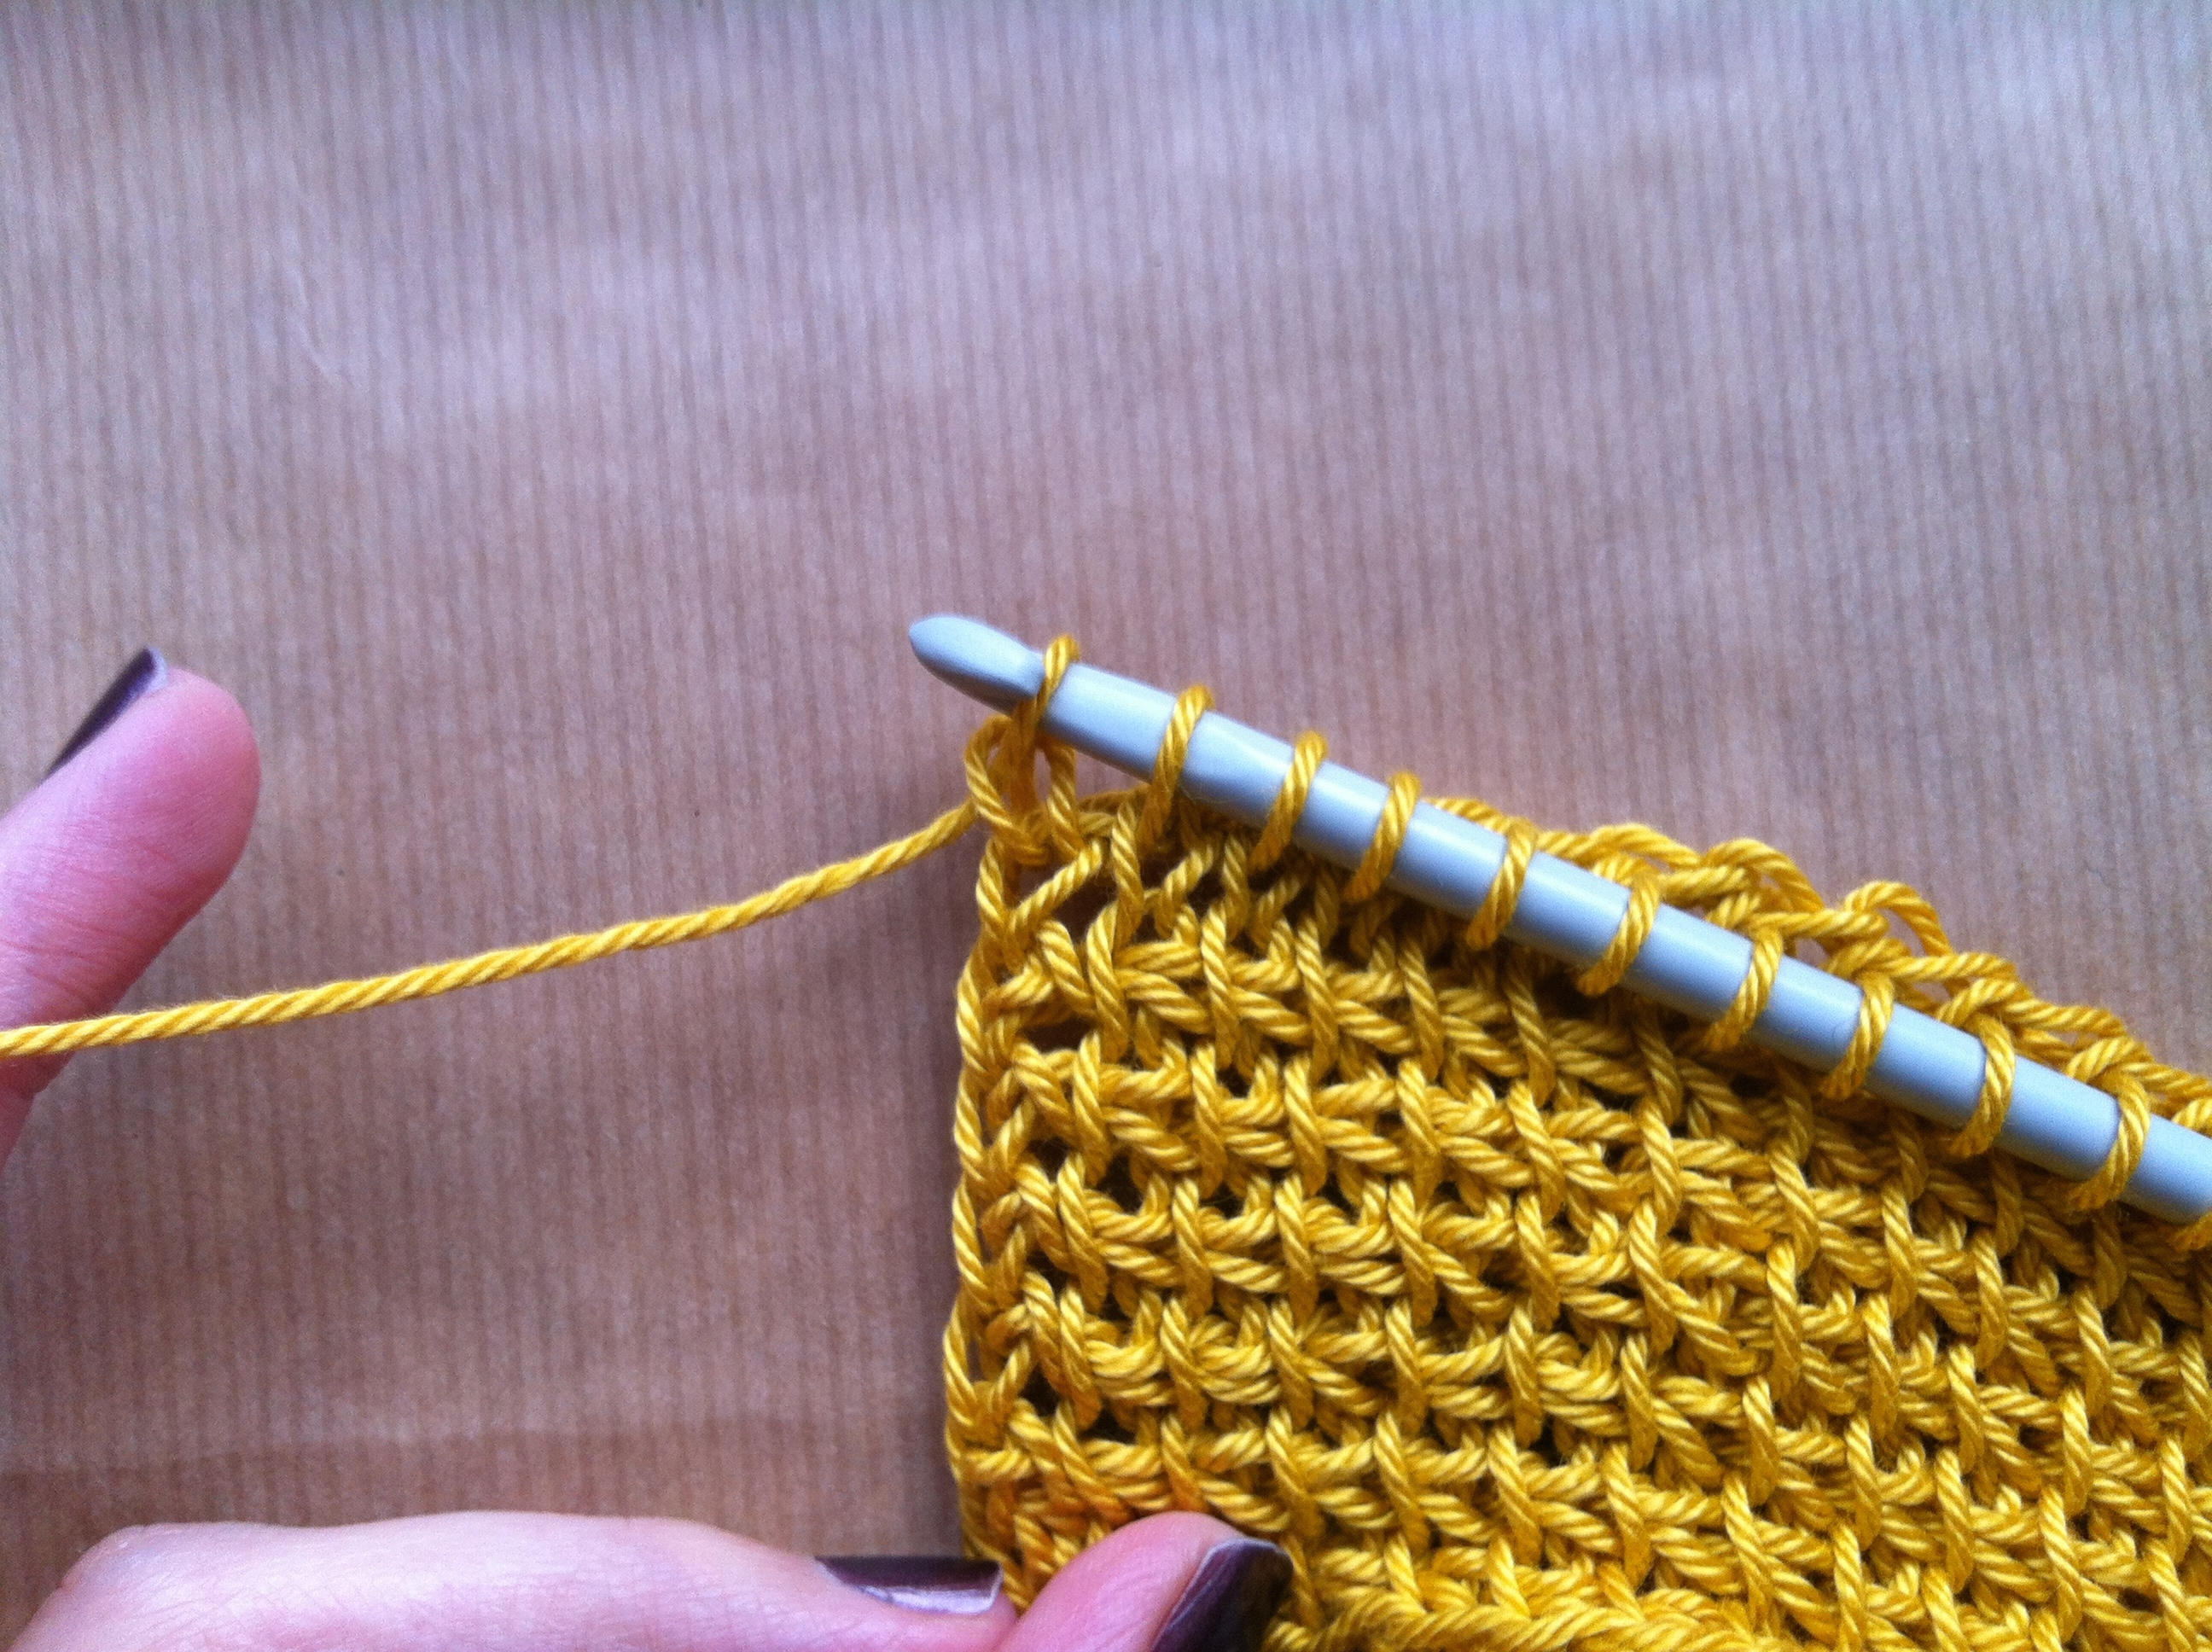
For Tks you need to identify the space between a front vertical bar and a back vertical bar, and under the horizontal chain (space where the arrow is pointing). Remember you skip the first stitch so you will begin on that second one.
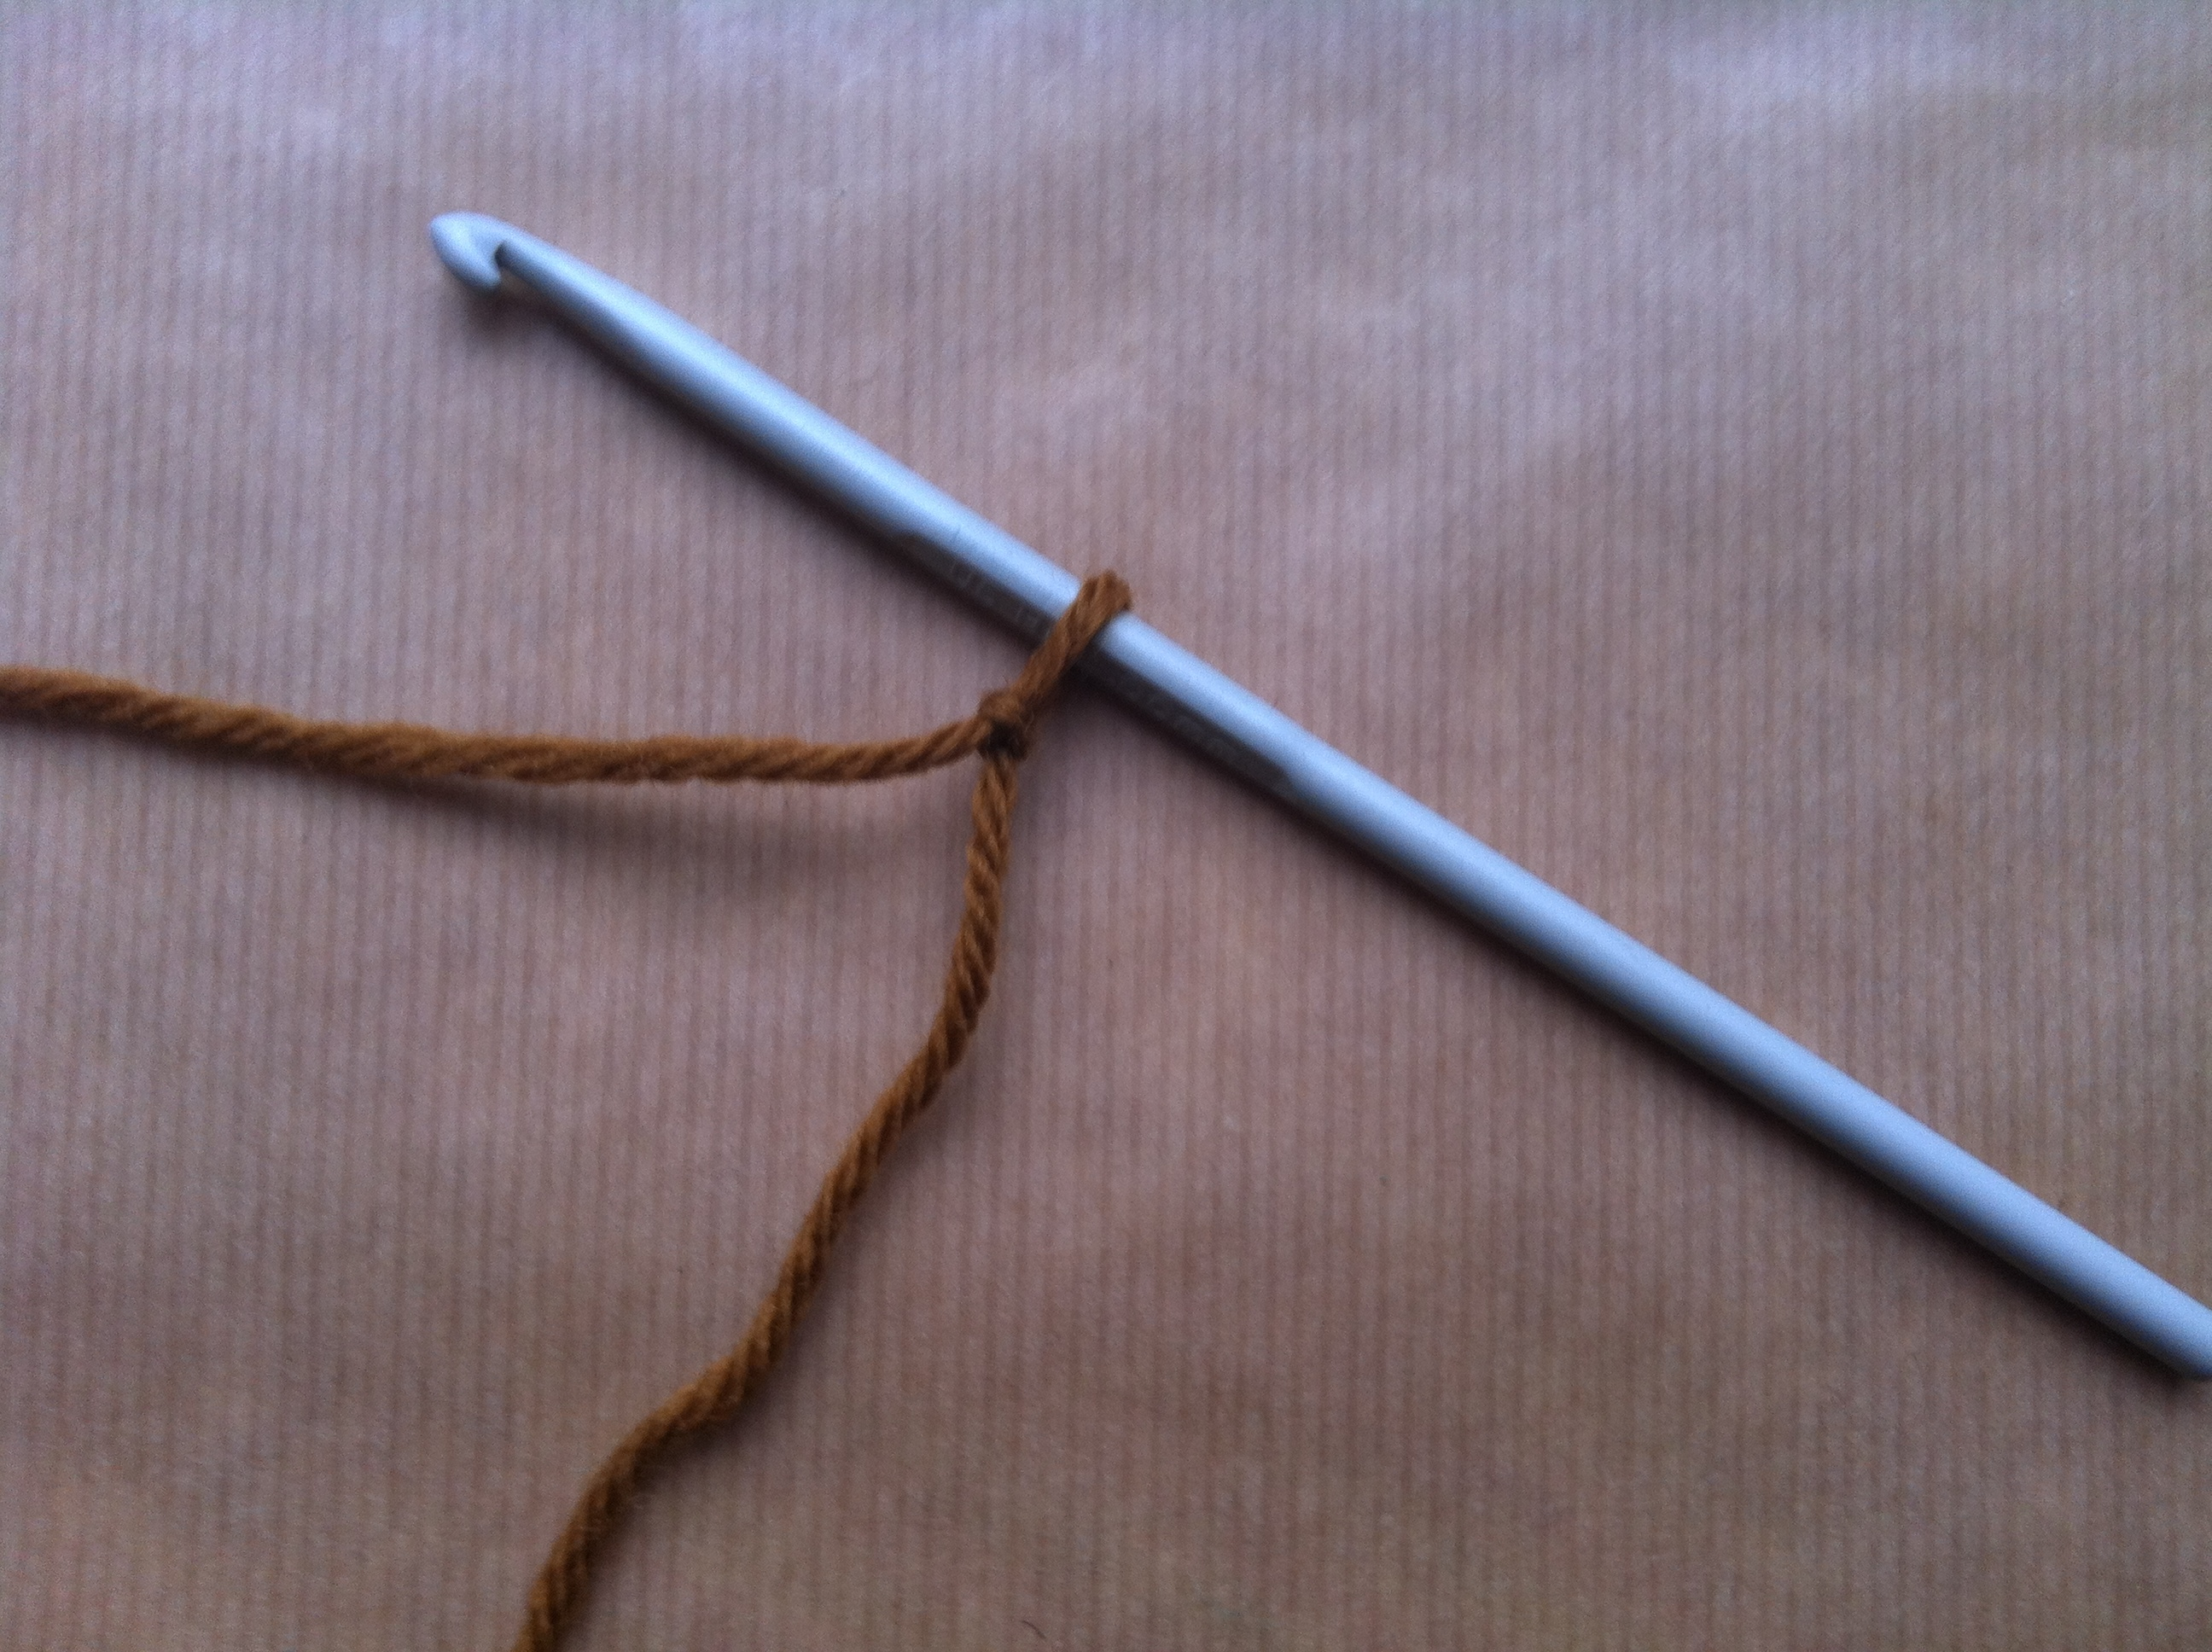
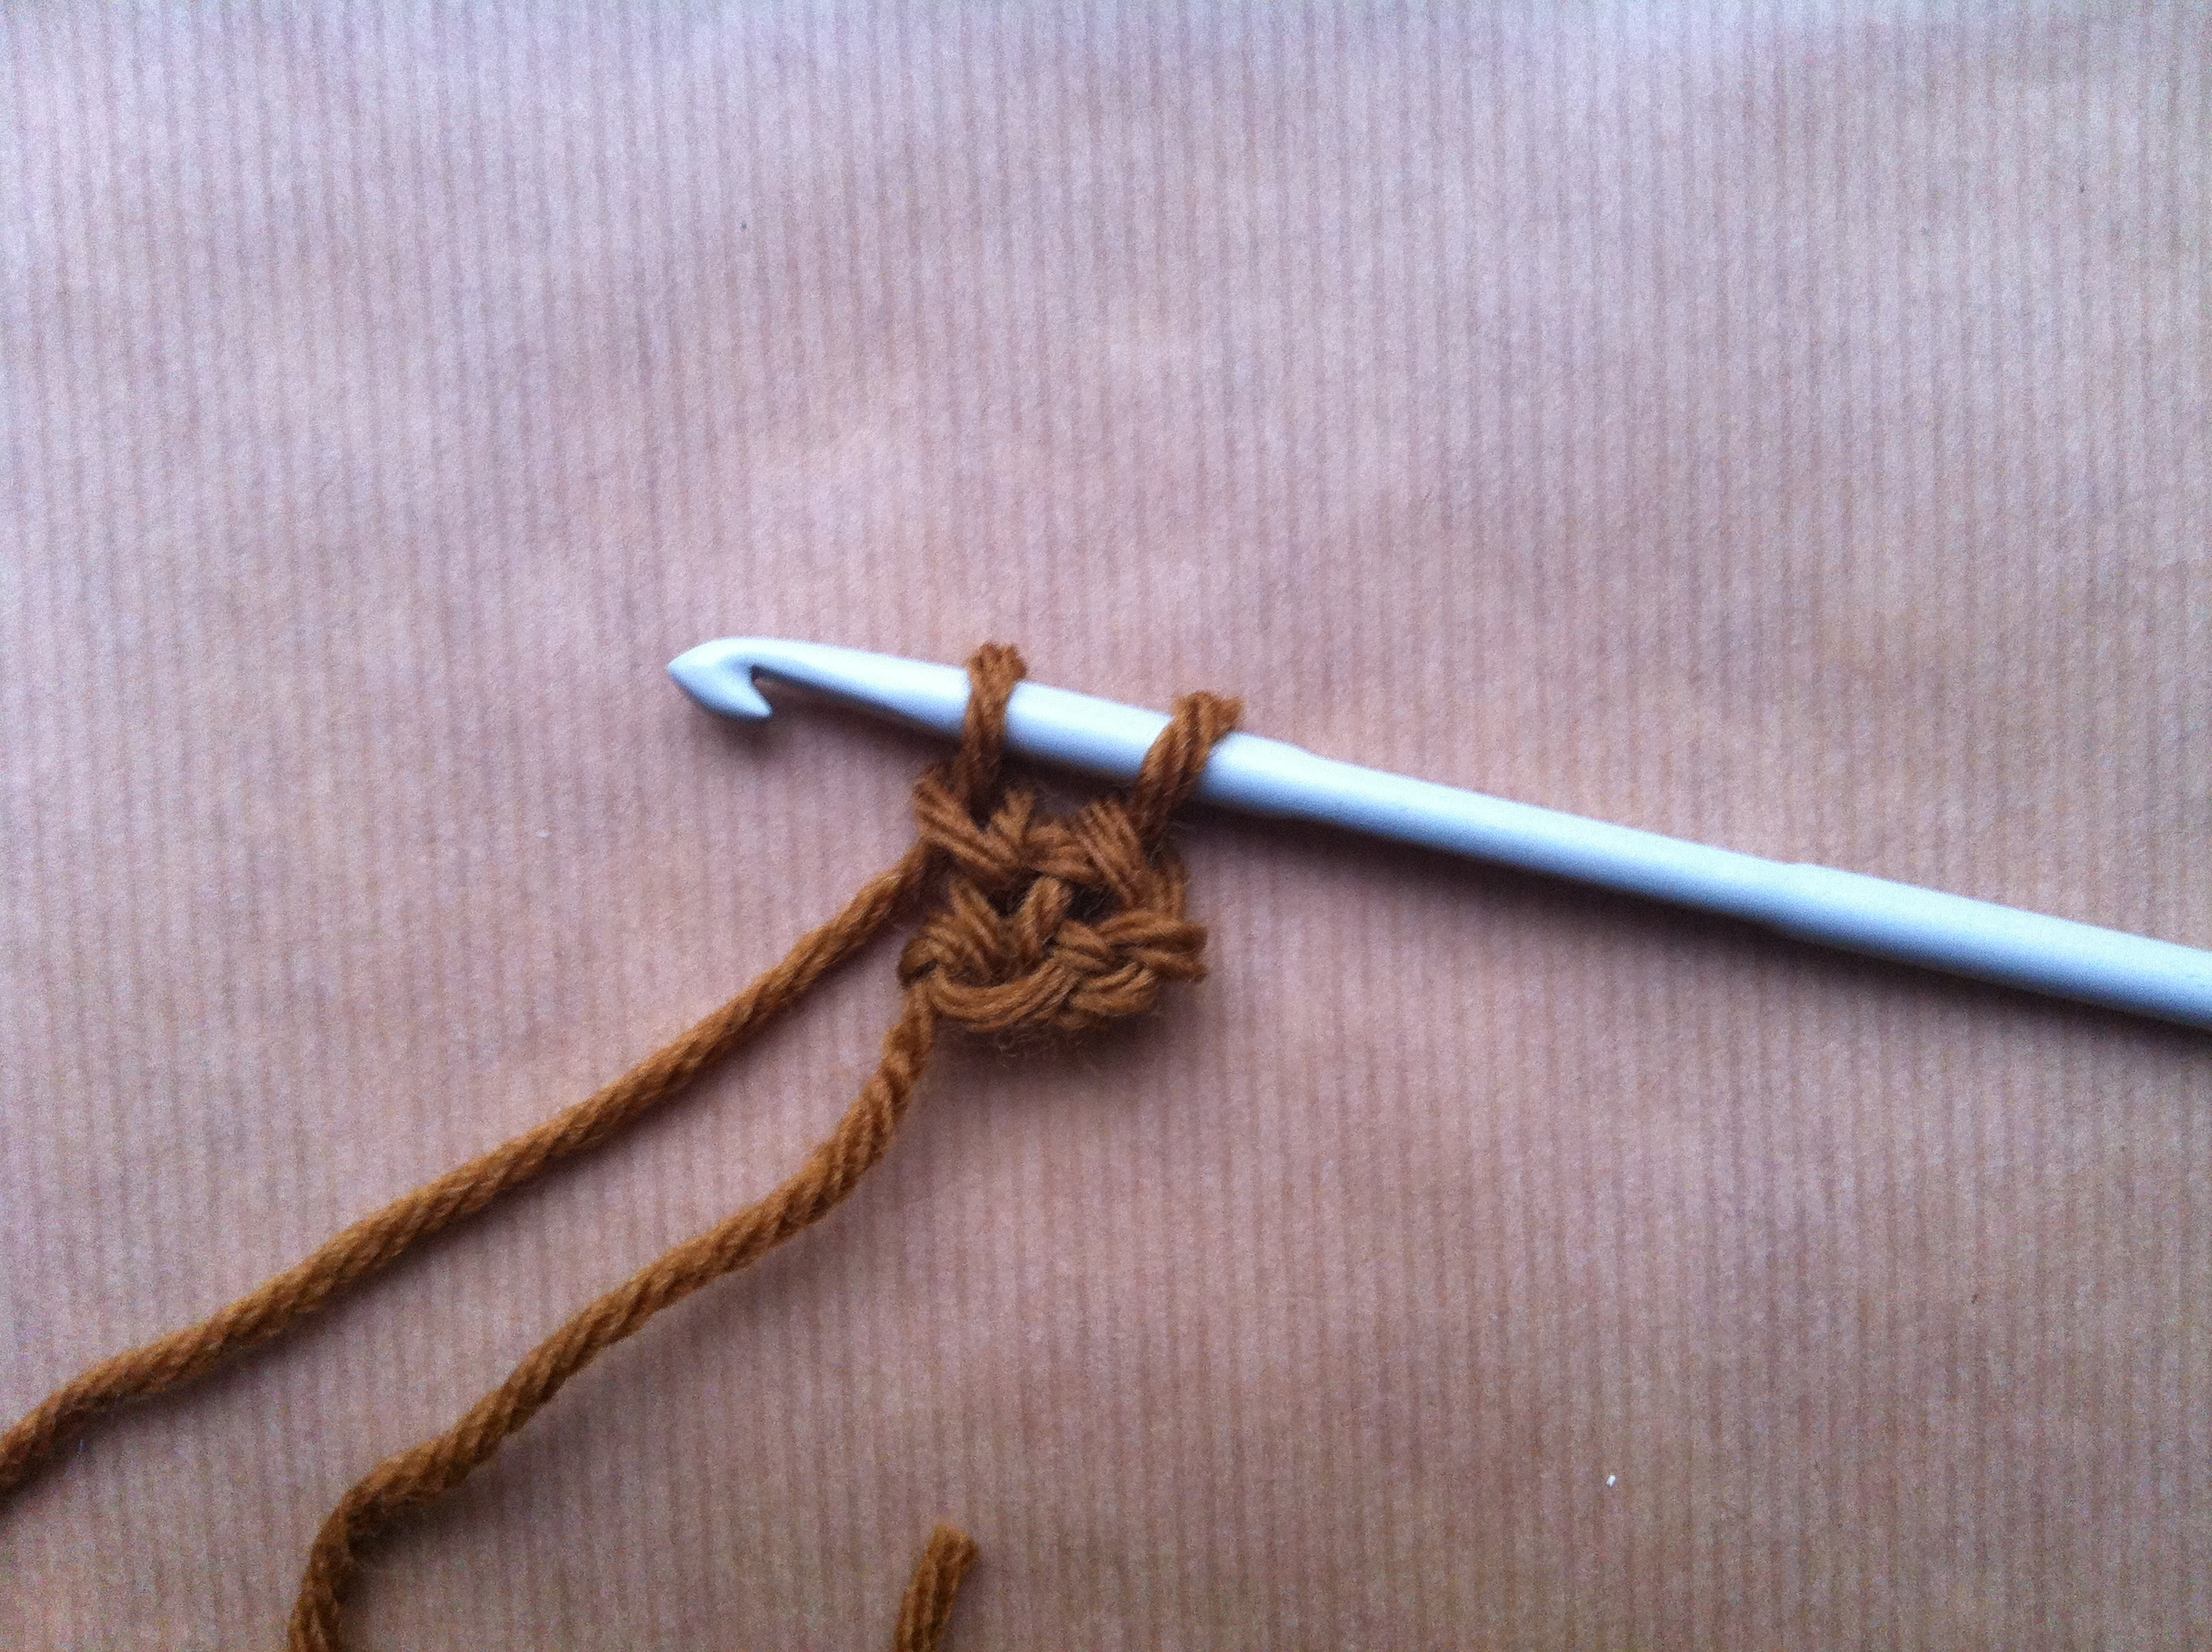
Found it? Now, insert your hook into that space, all the way to the back of the fabric.


Yarn over and pull up a loop.


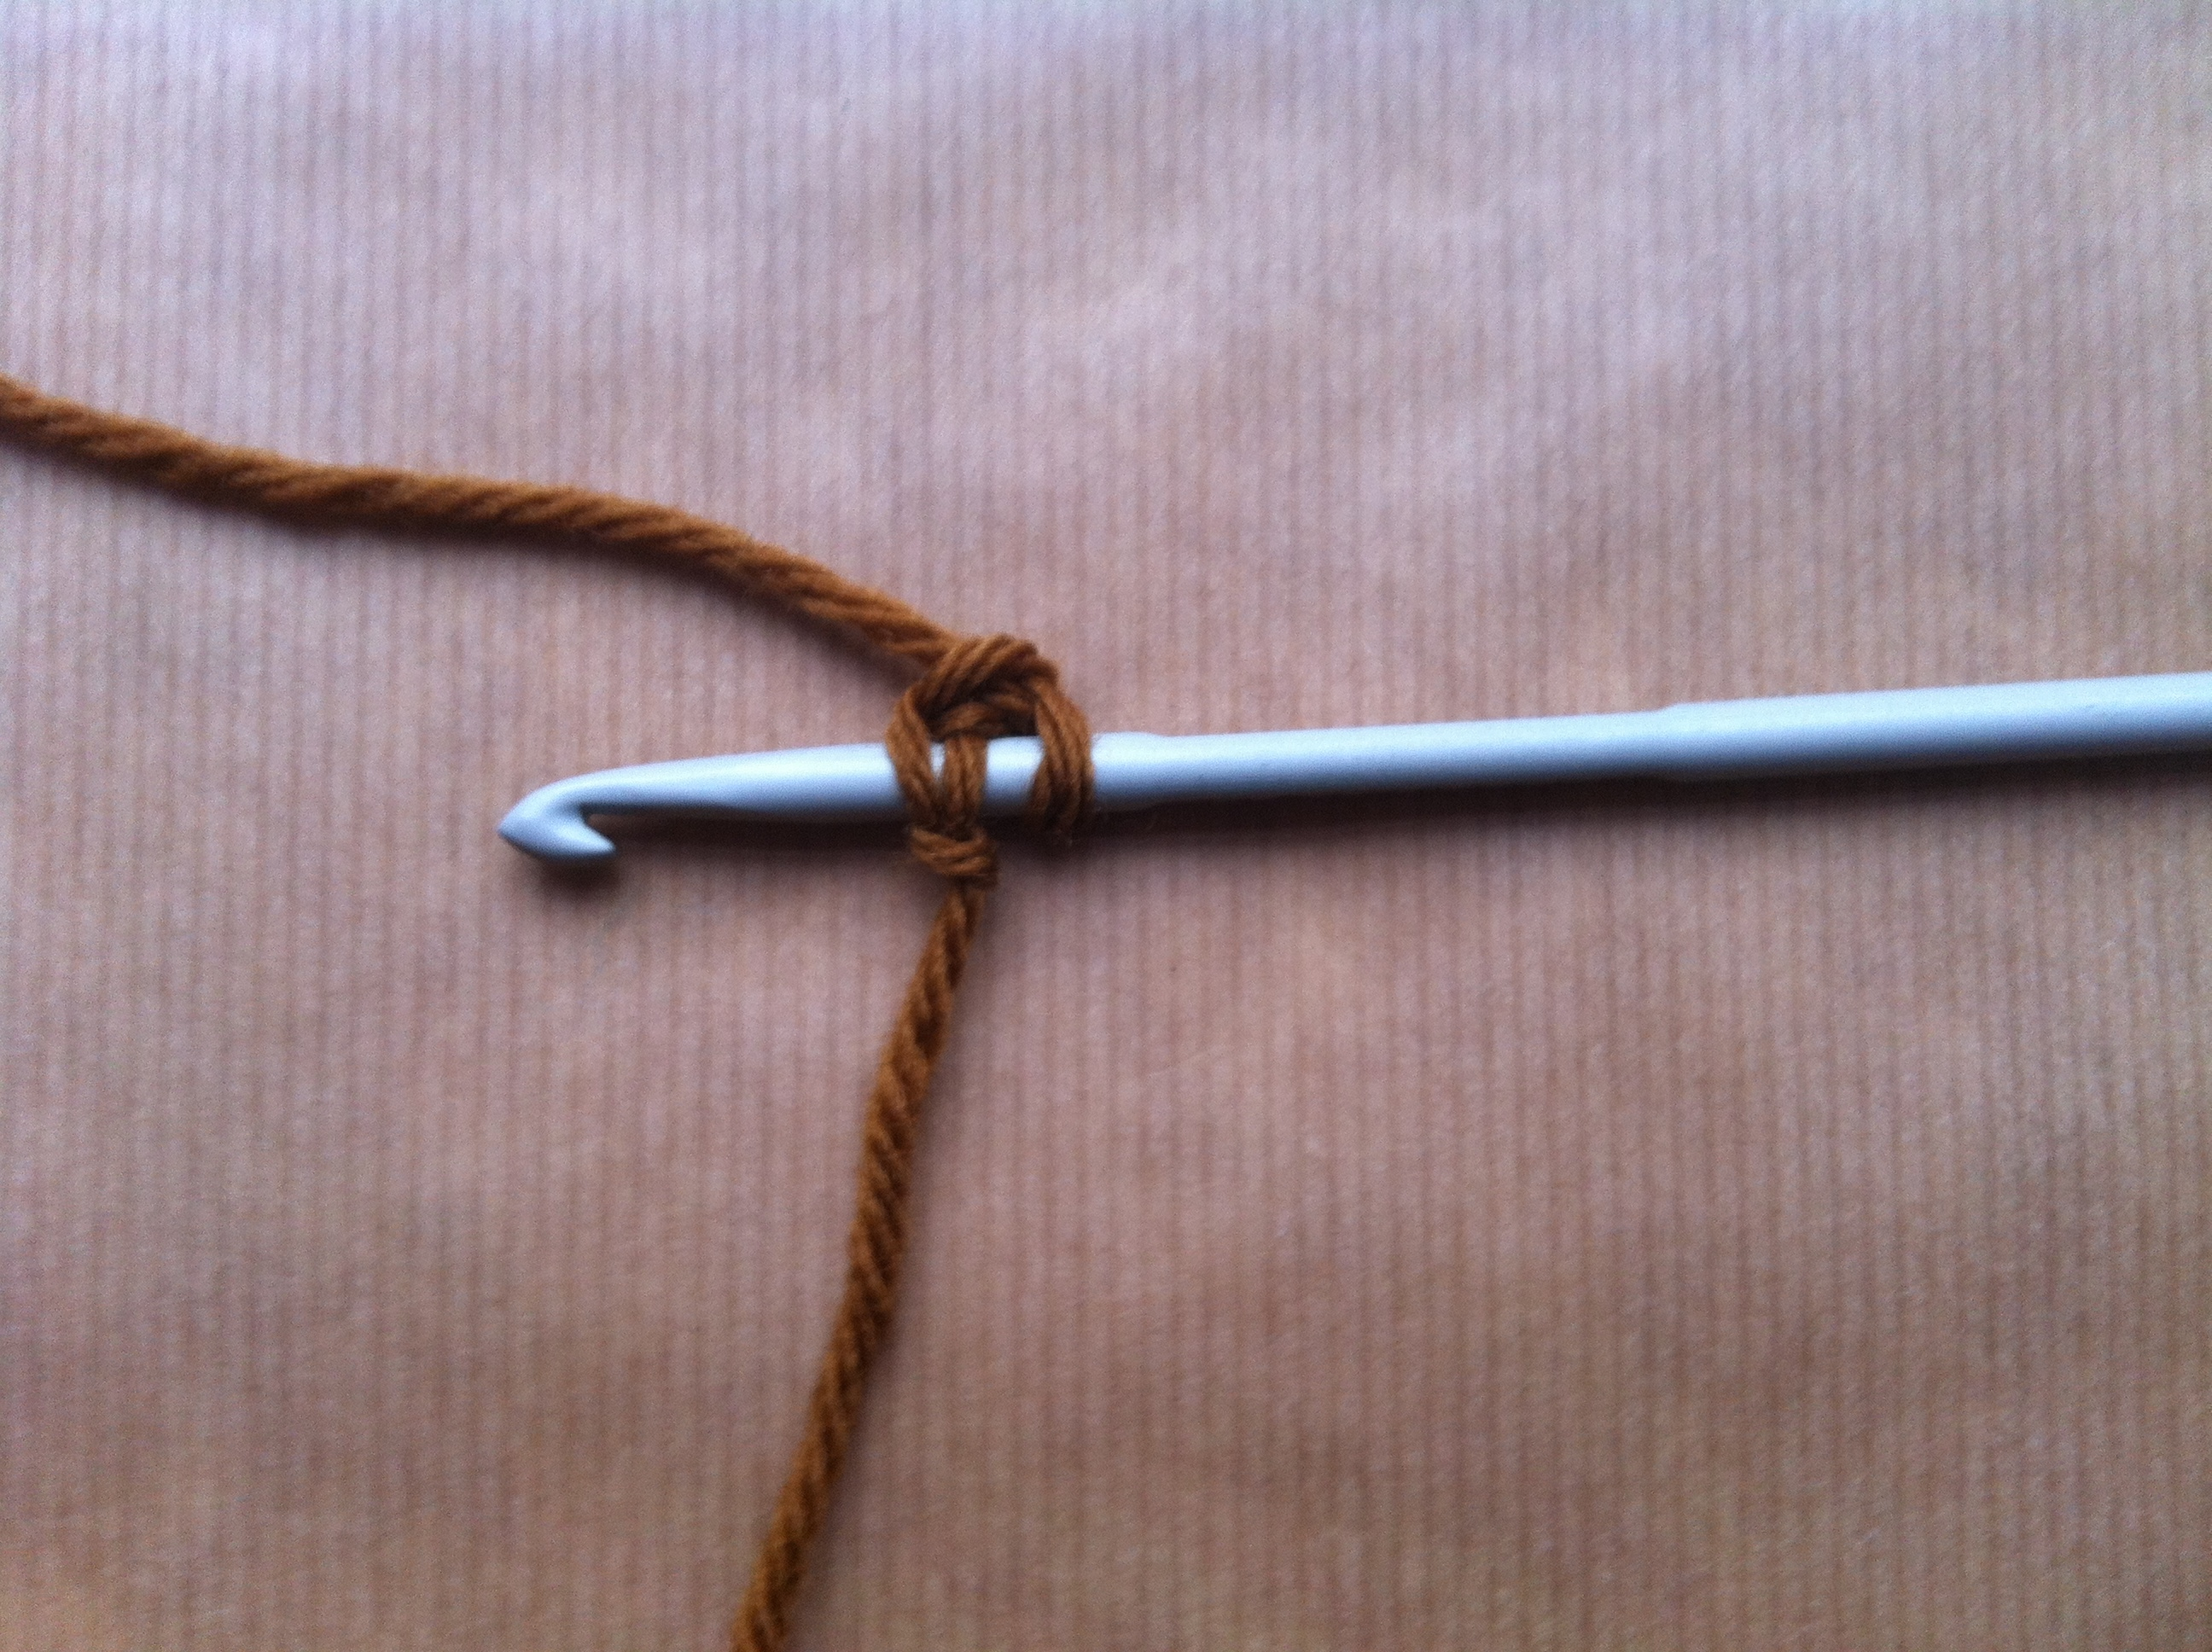
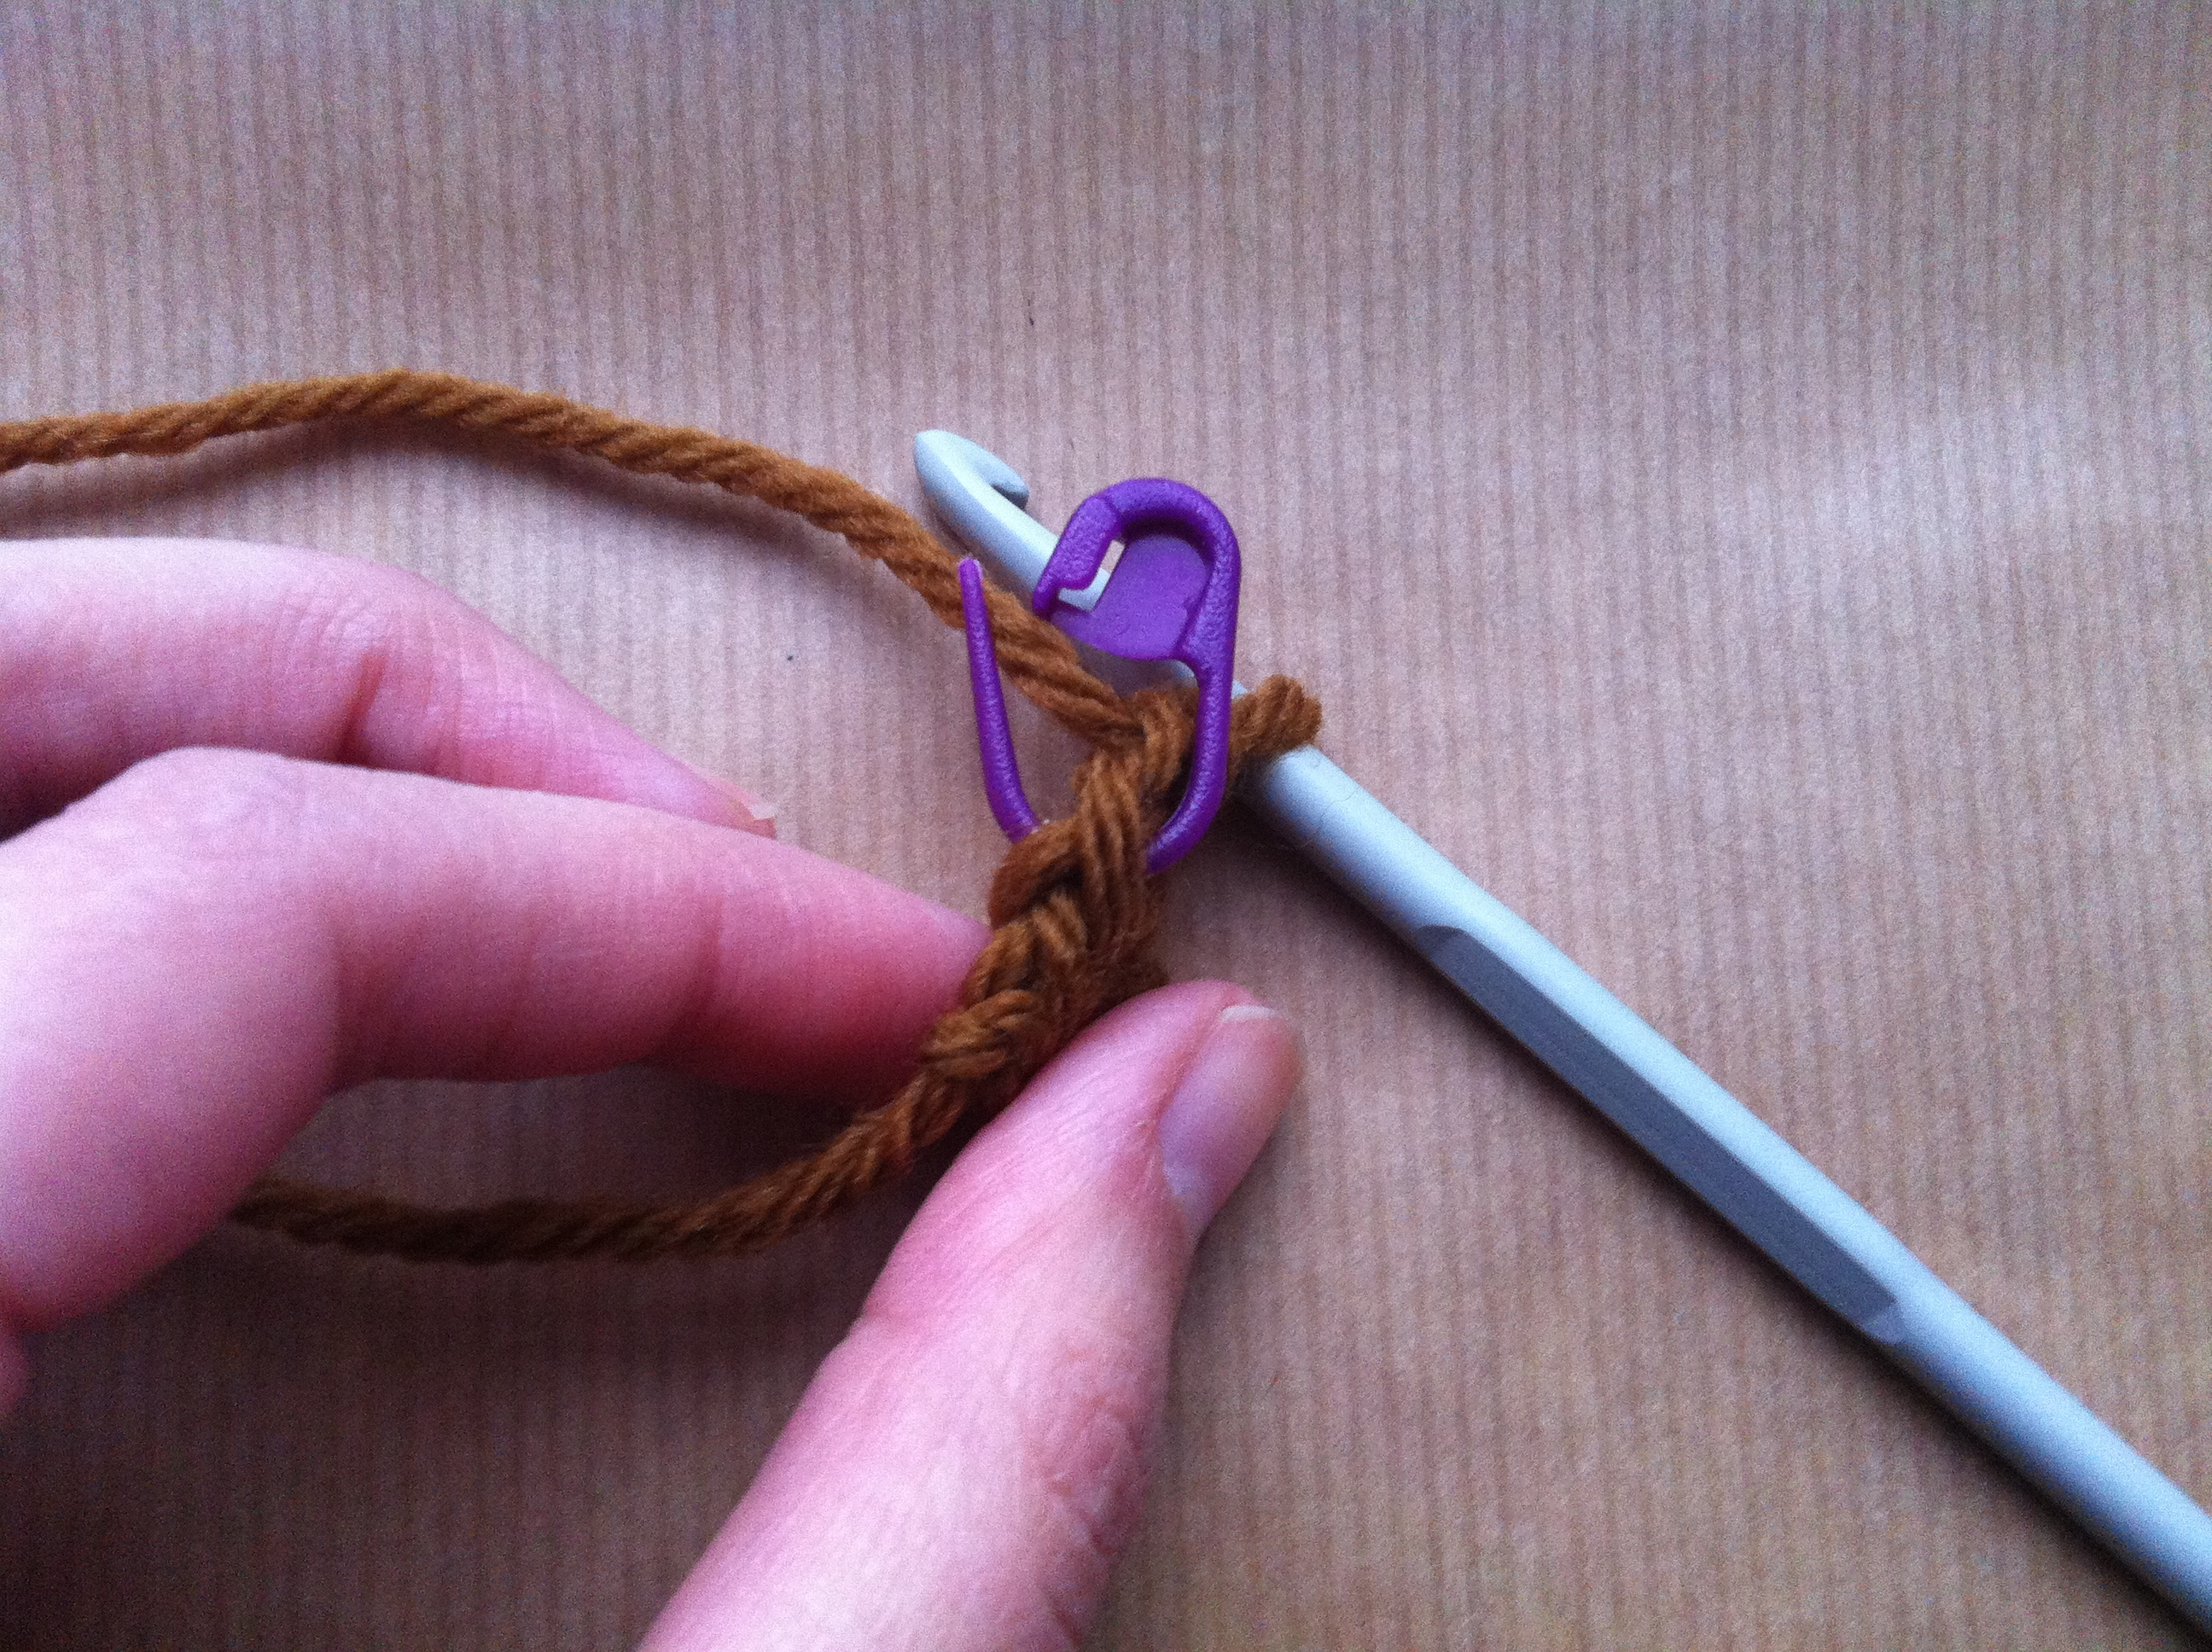
Continue with the next stitch, identify that space between the bars and under the chain.
Insert your hook through the space, all the way to the back.

Yarn over and pull up a loop.


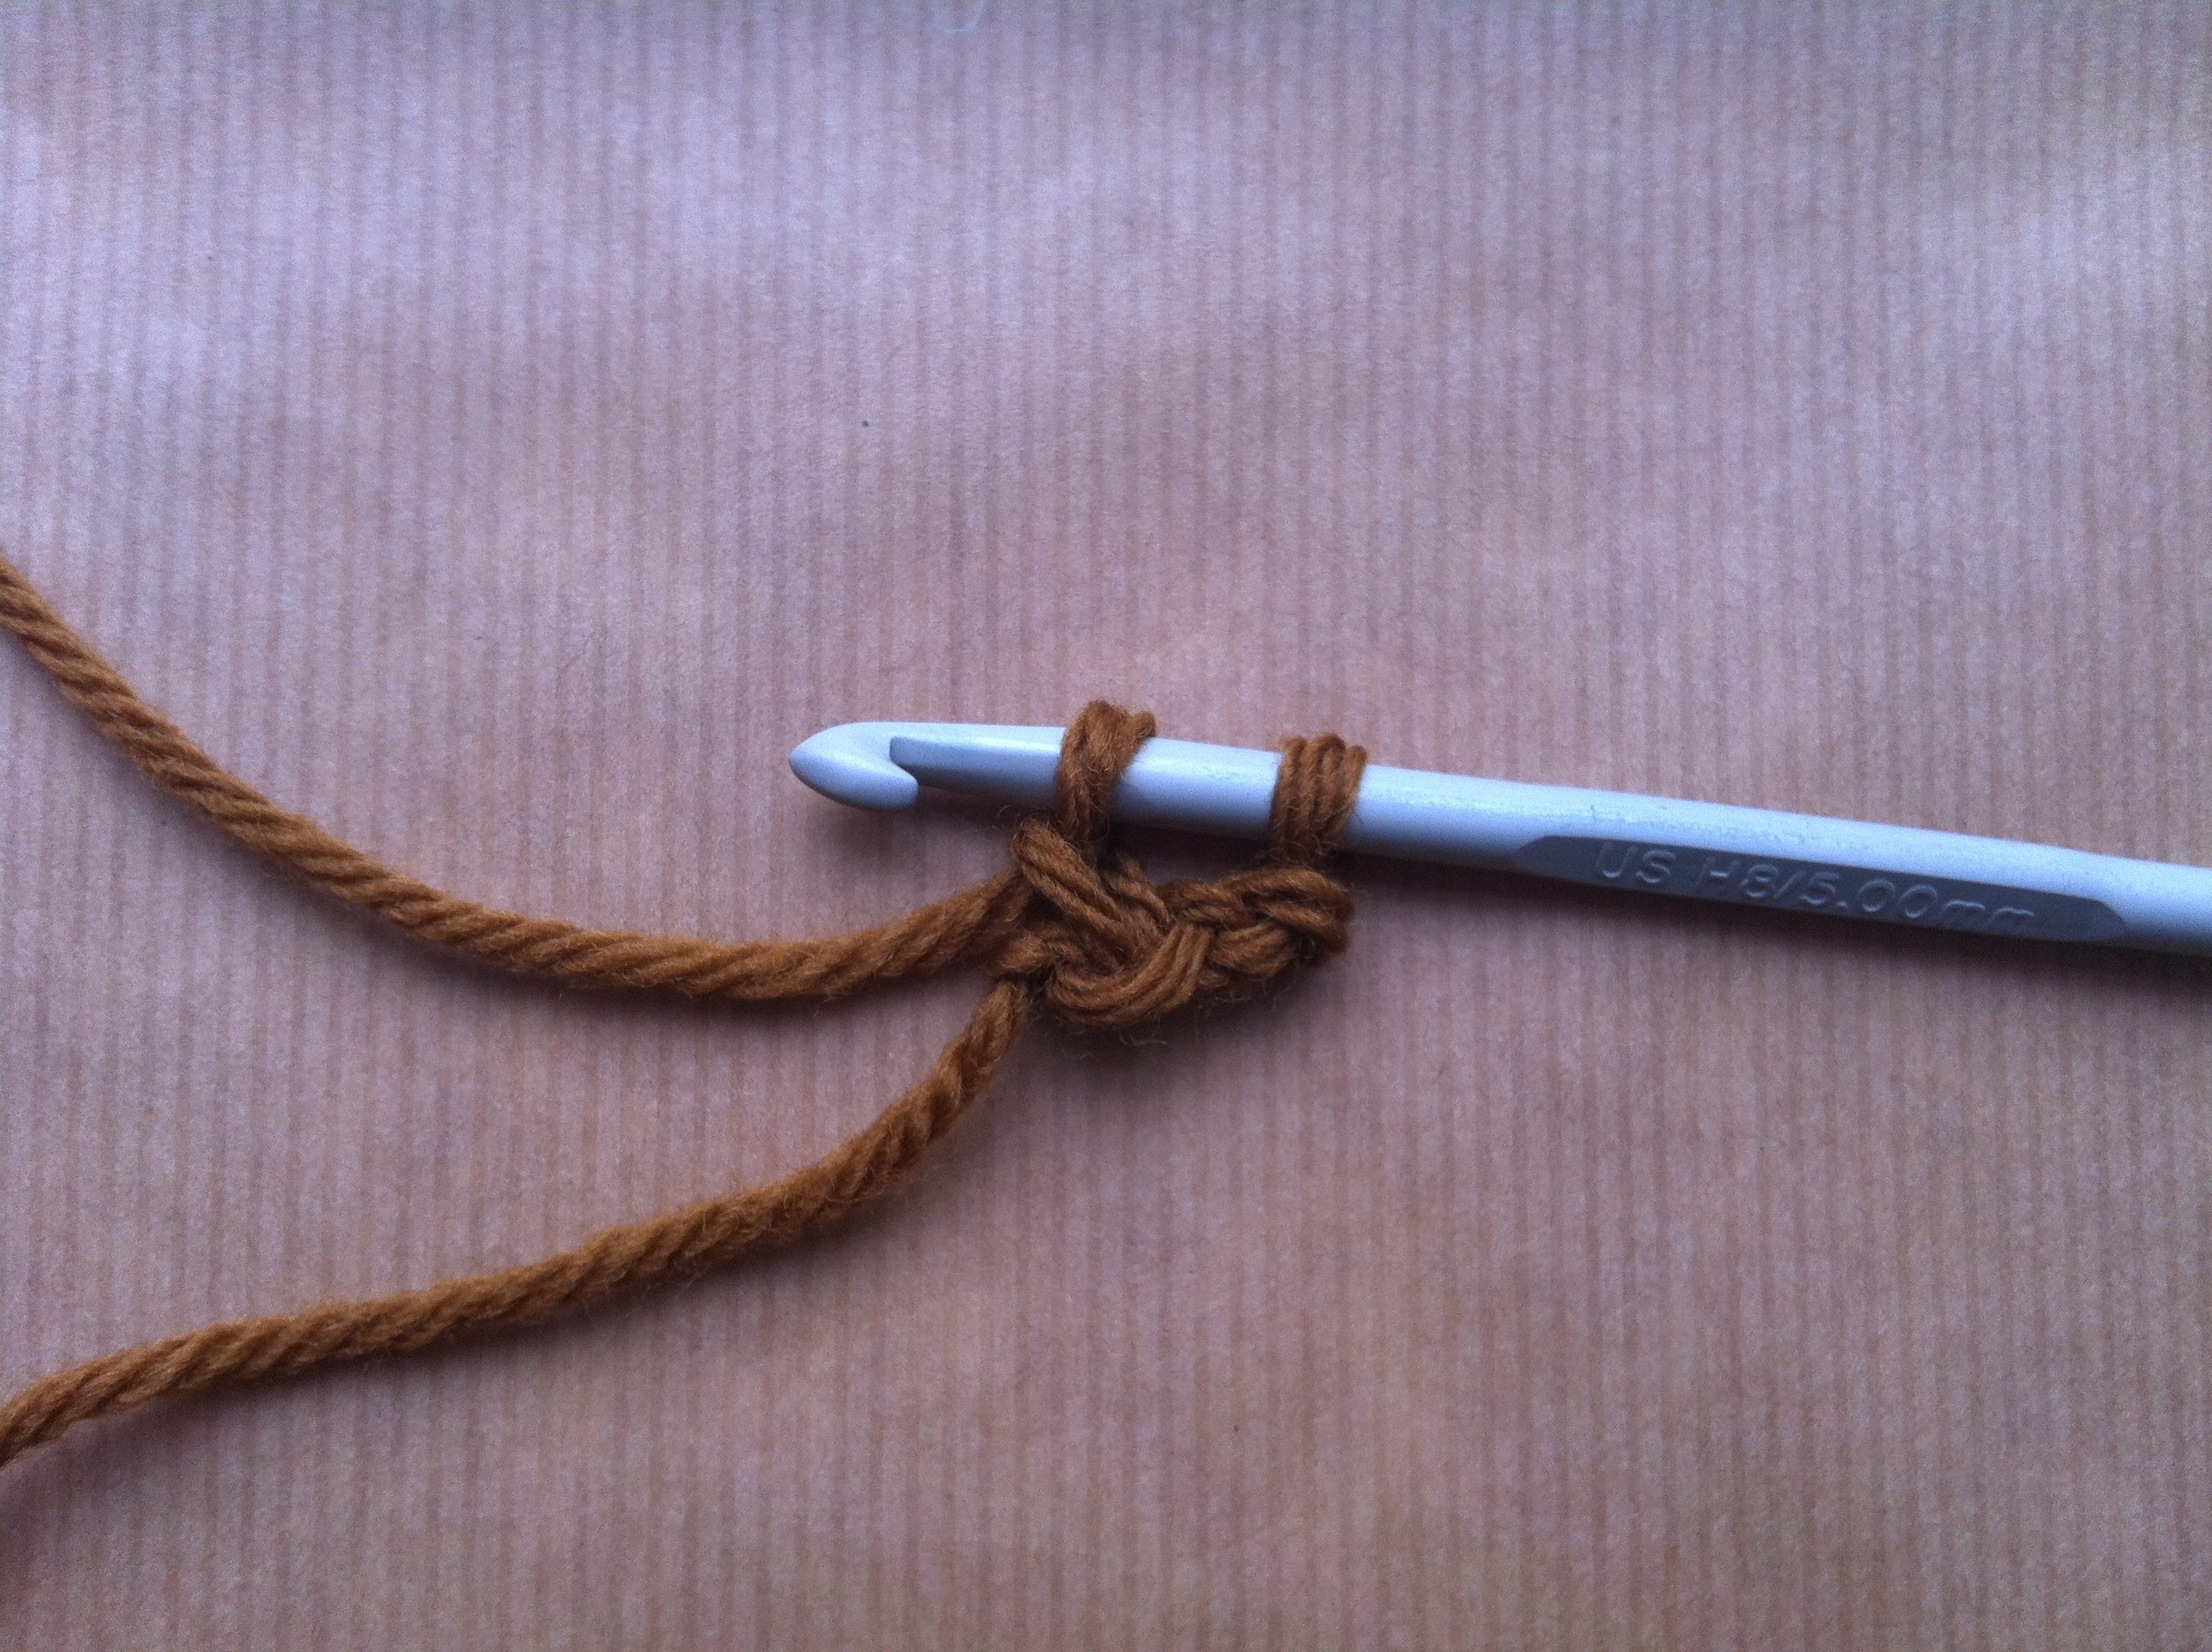
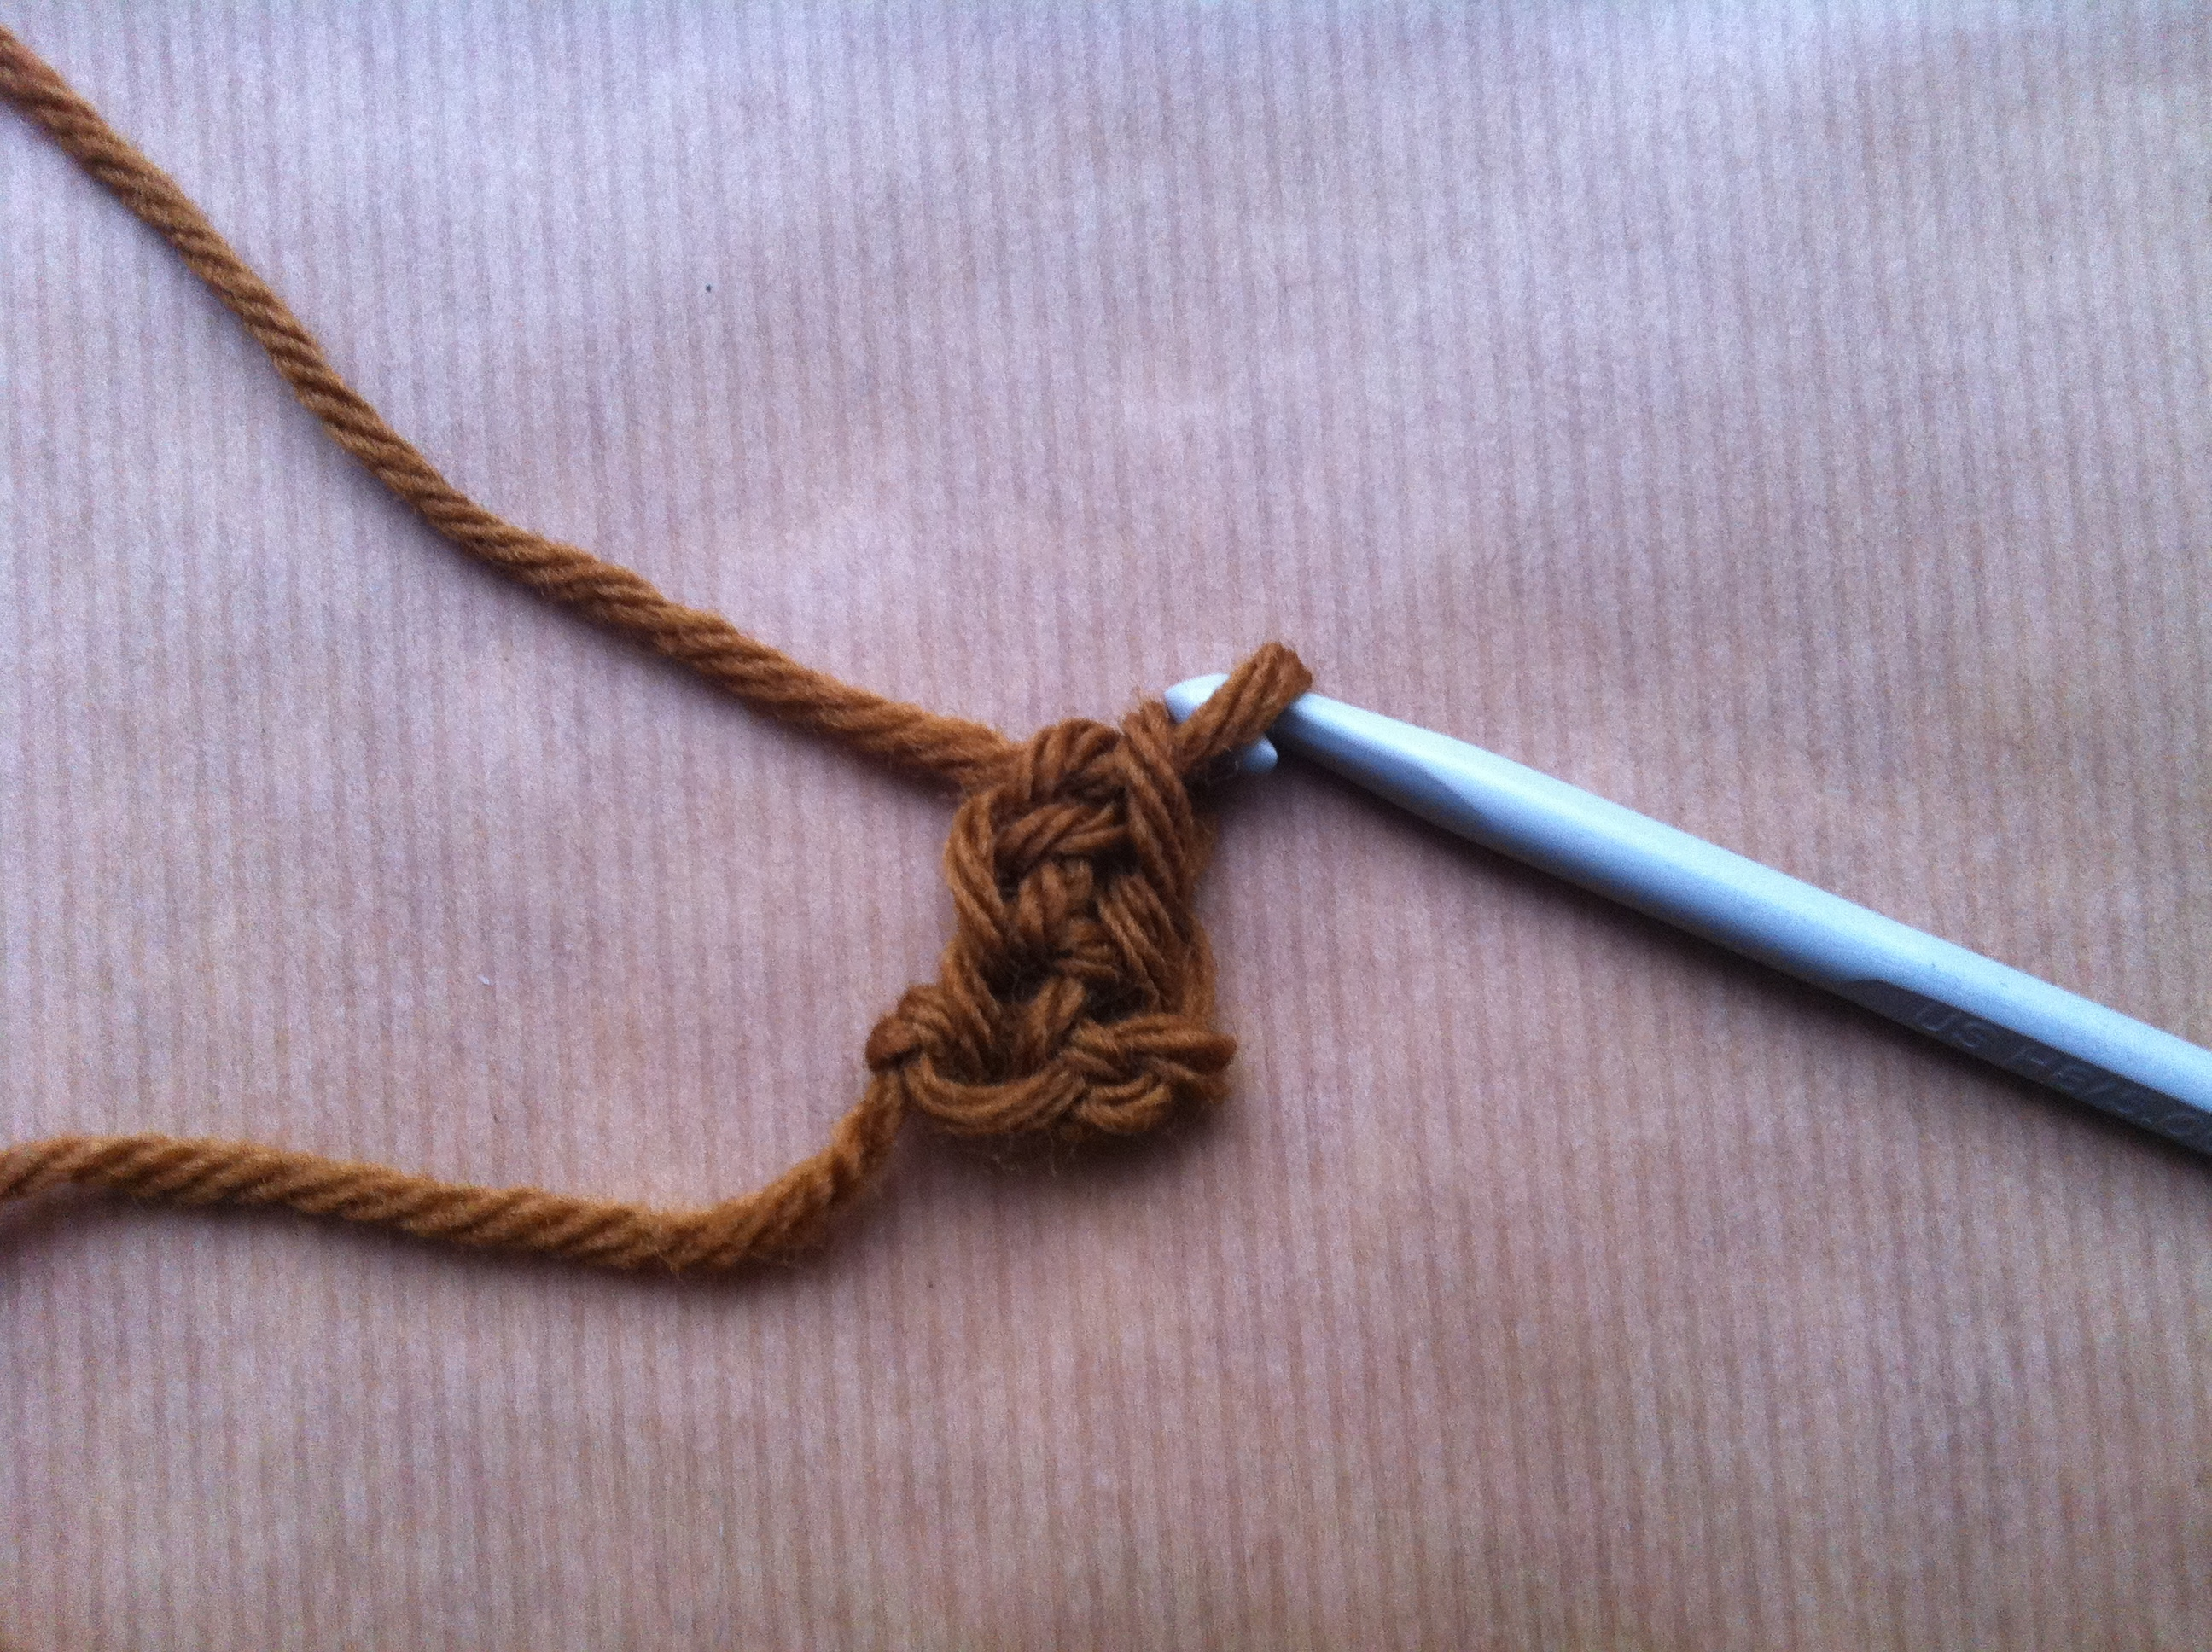
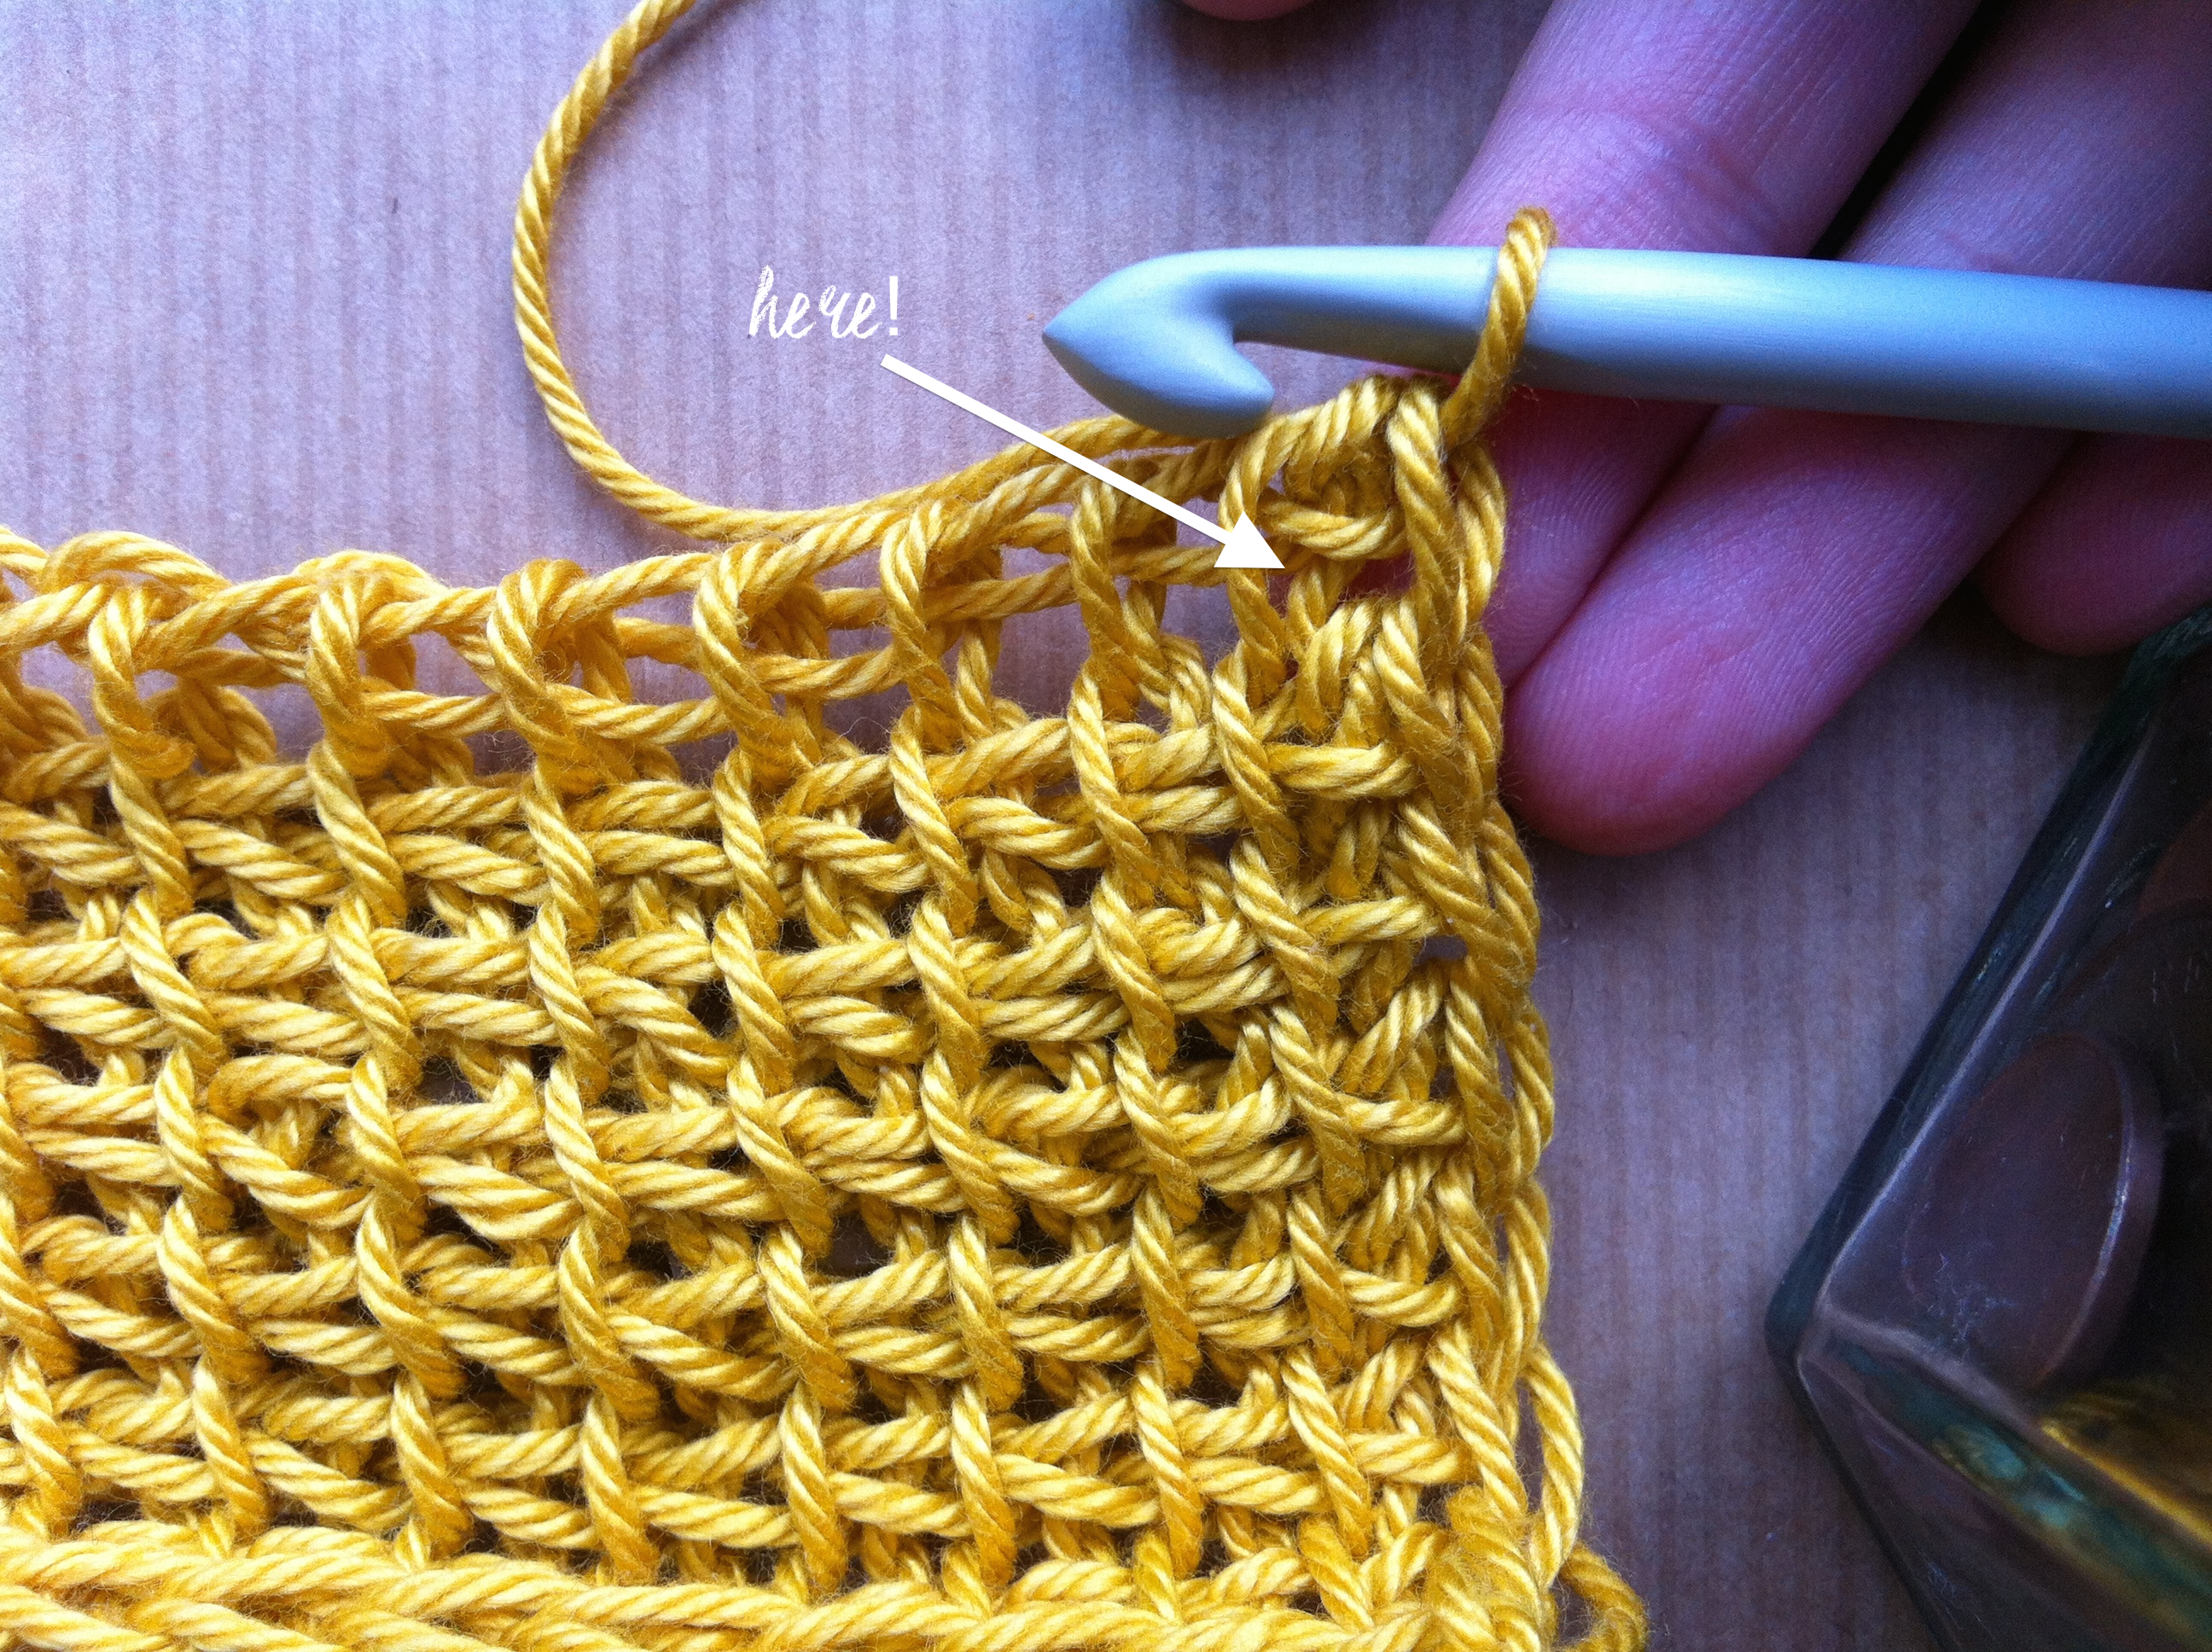
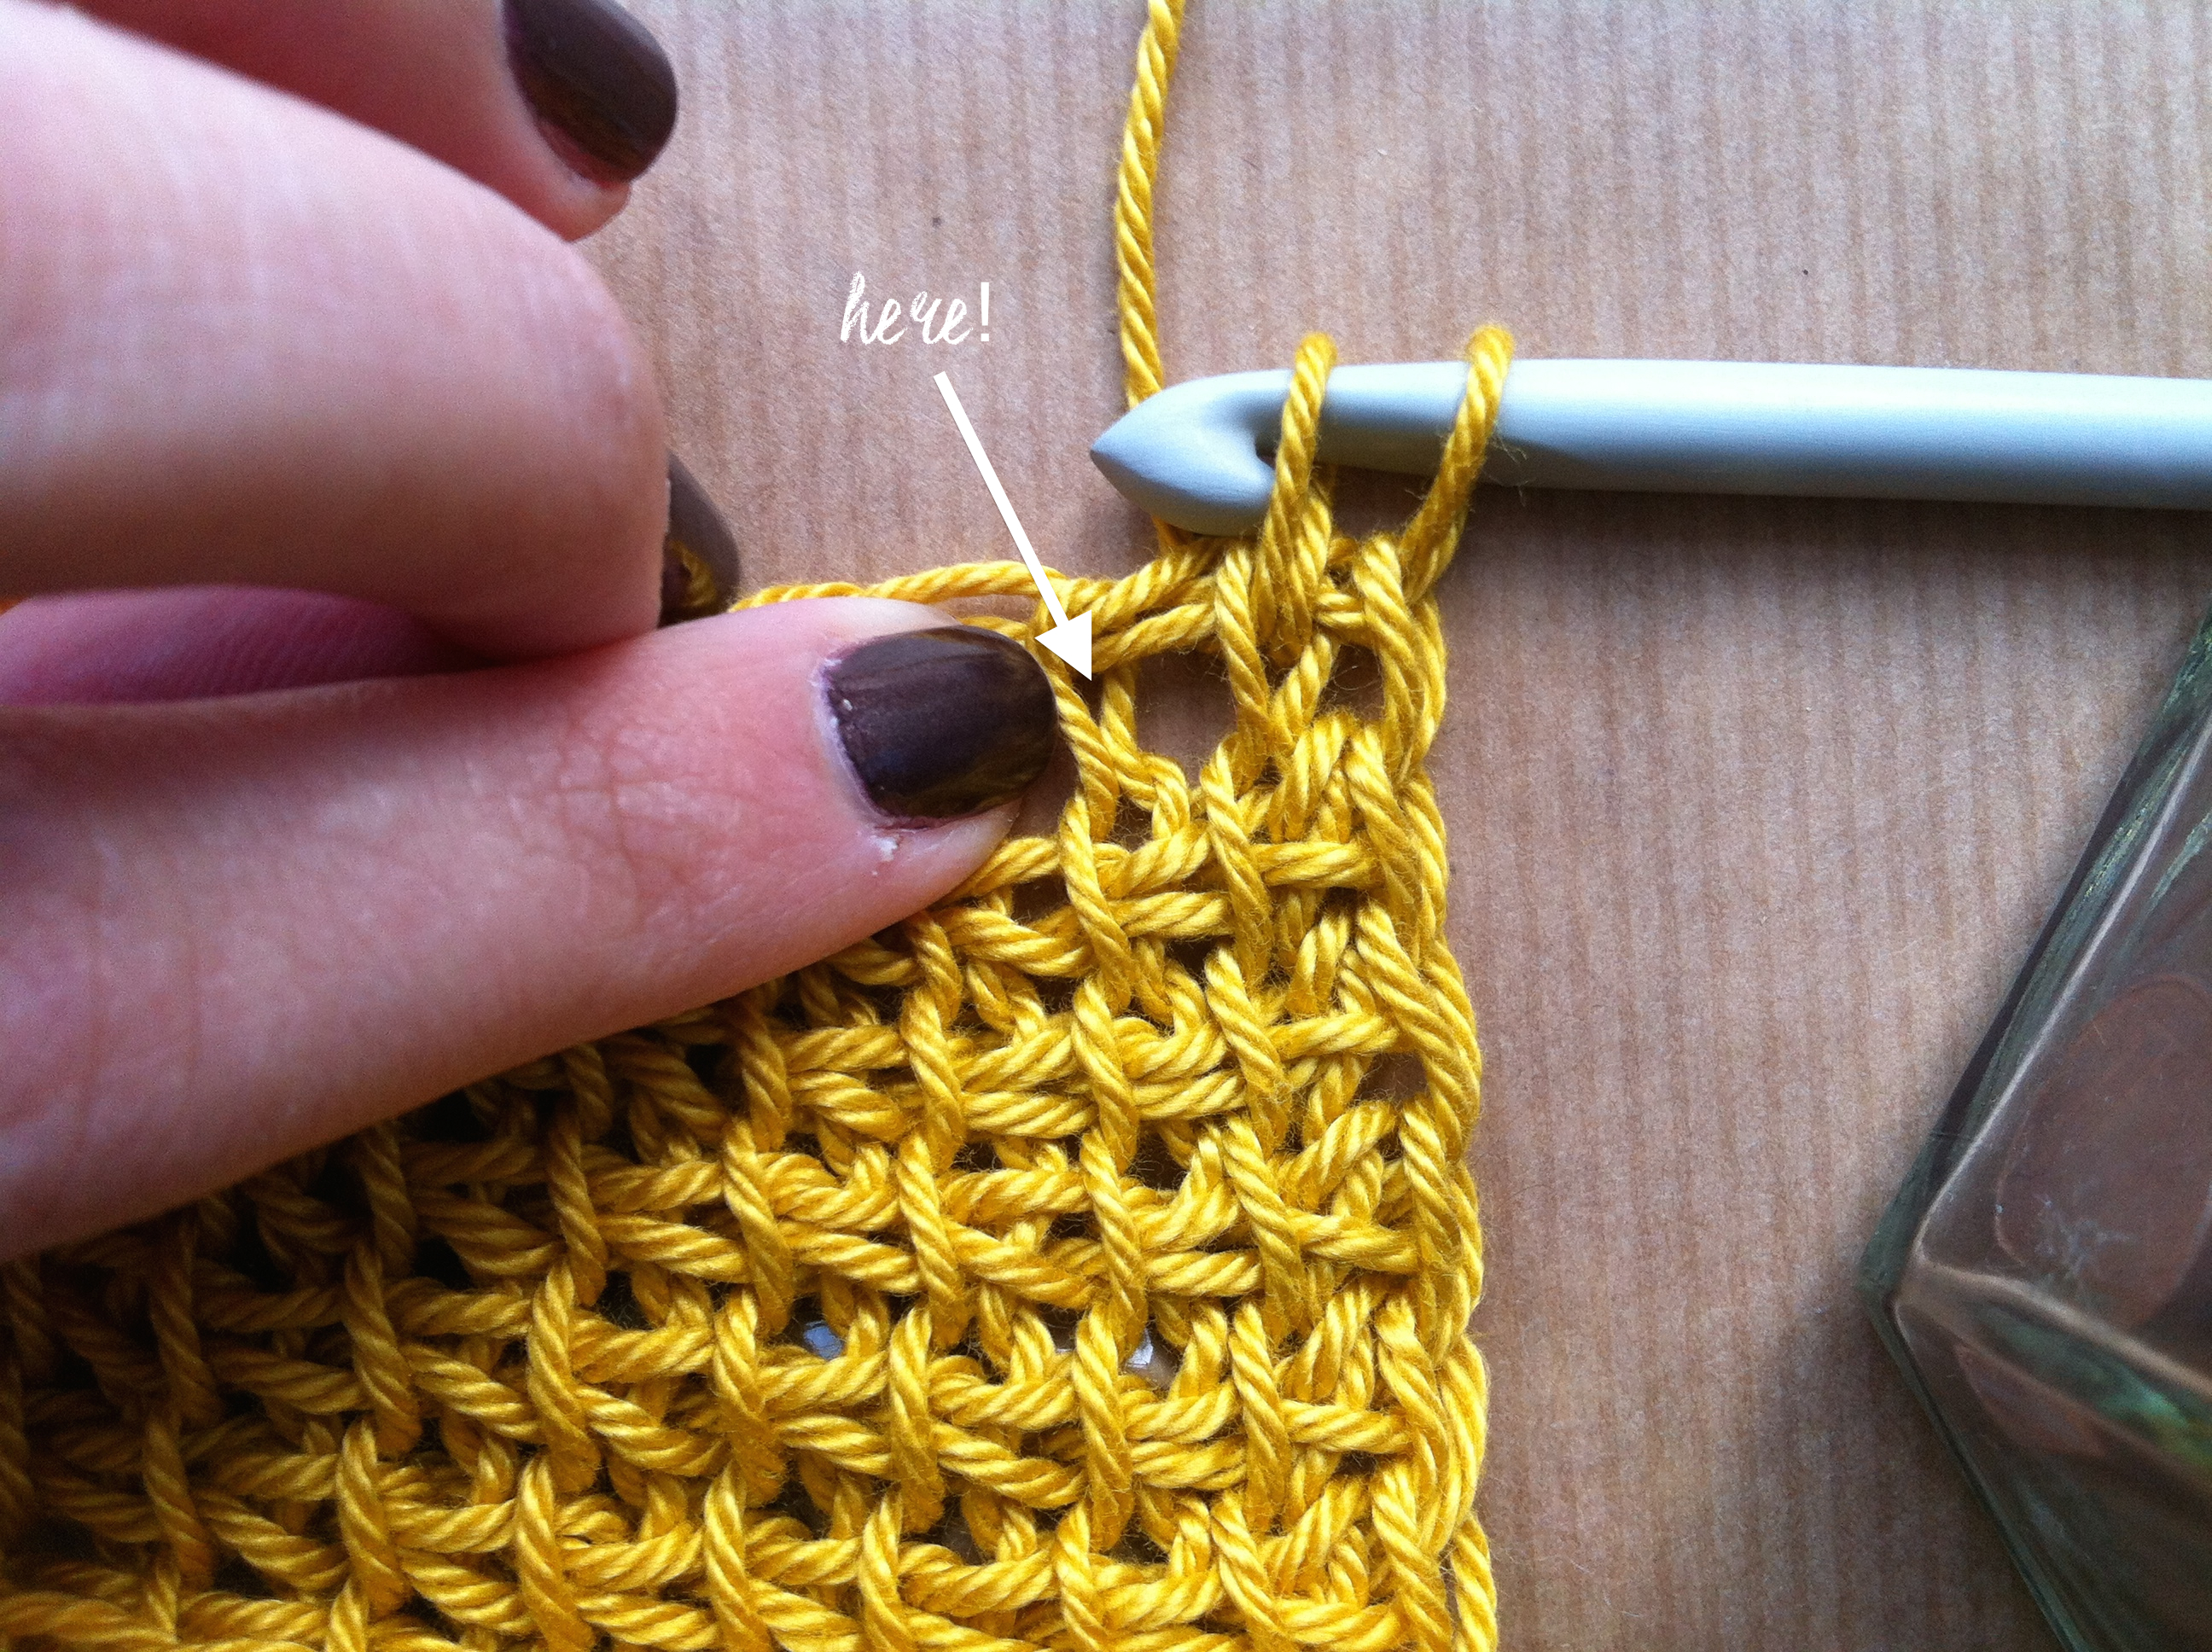
Continue with the rest of the stitches, until the last one. Remember the last stitch of the forward pass is worked the same way no matter what stitch you are using by inserting your hook under the vertical bar and the strand behind it that later shows up at the front, as shown in the pictures below.

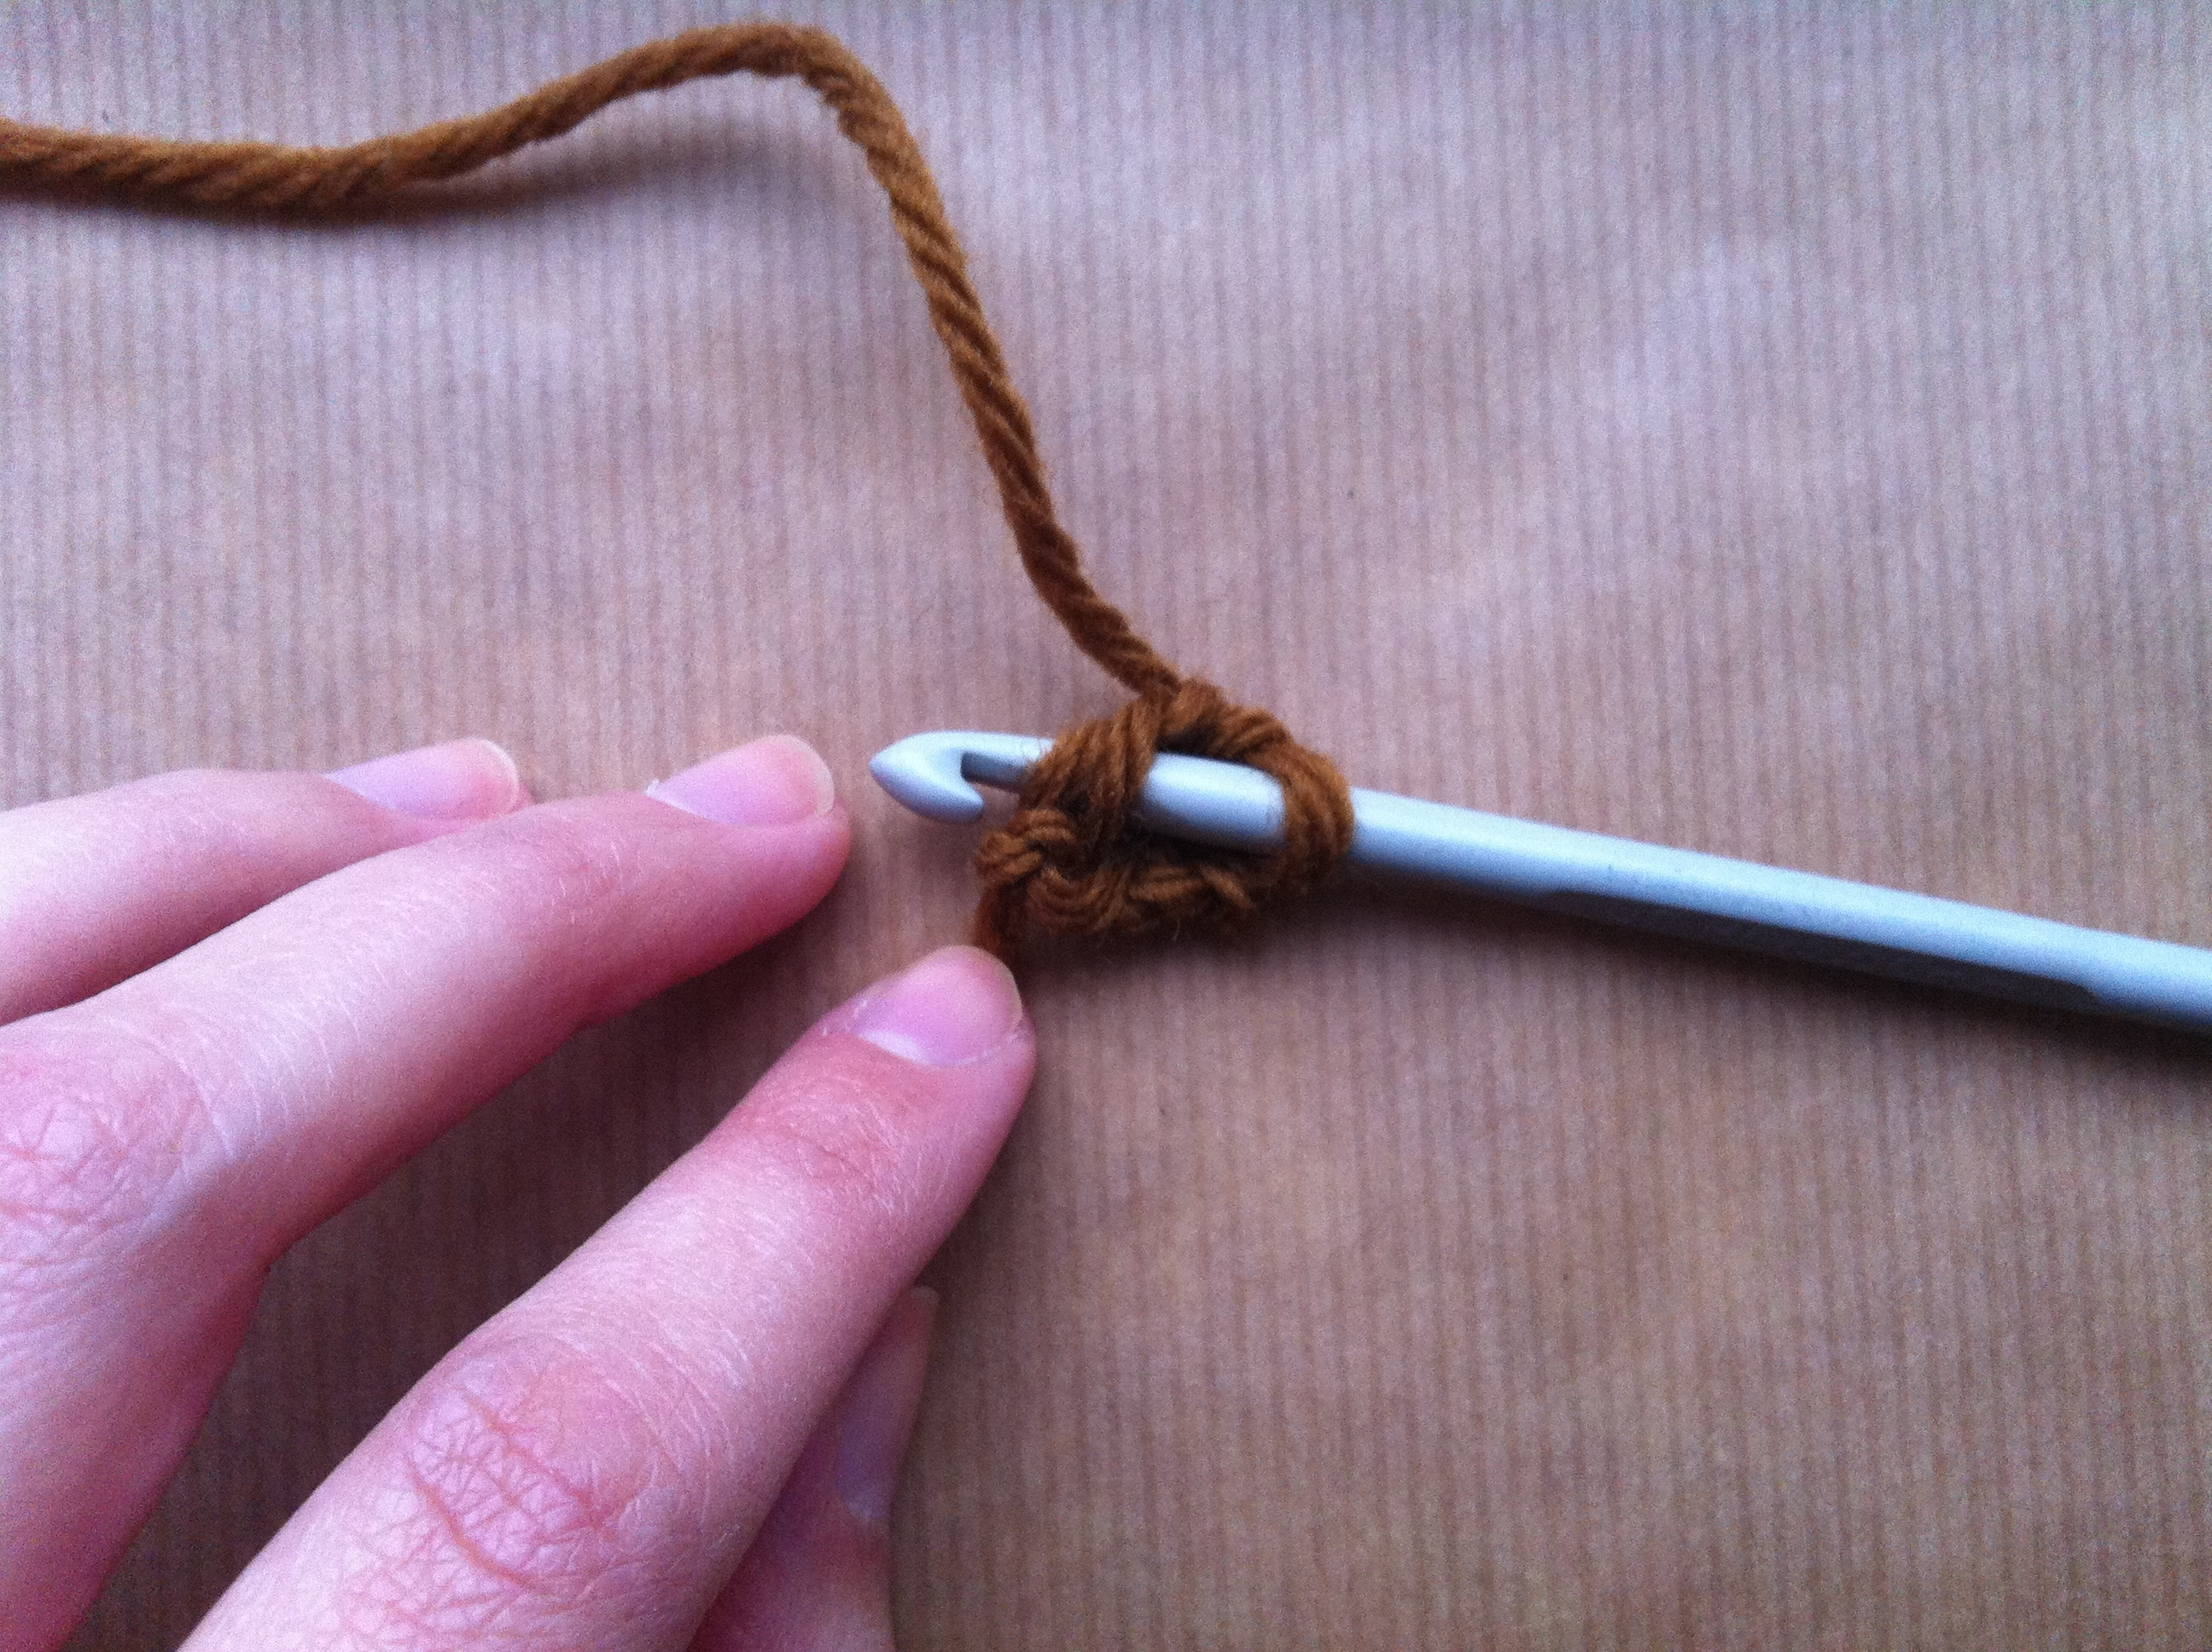
Forward pass finished. Now, work return pass as normal: Yarn over and pull through one loop, yarn over and pull through two loops until you have only one loop left on your hook.


And that is it!
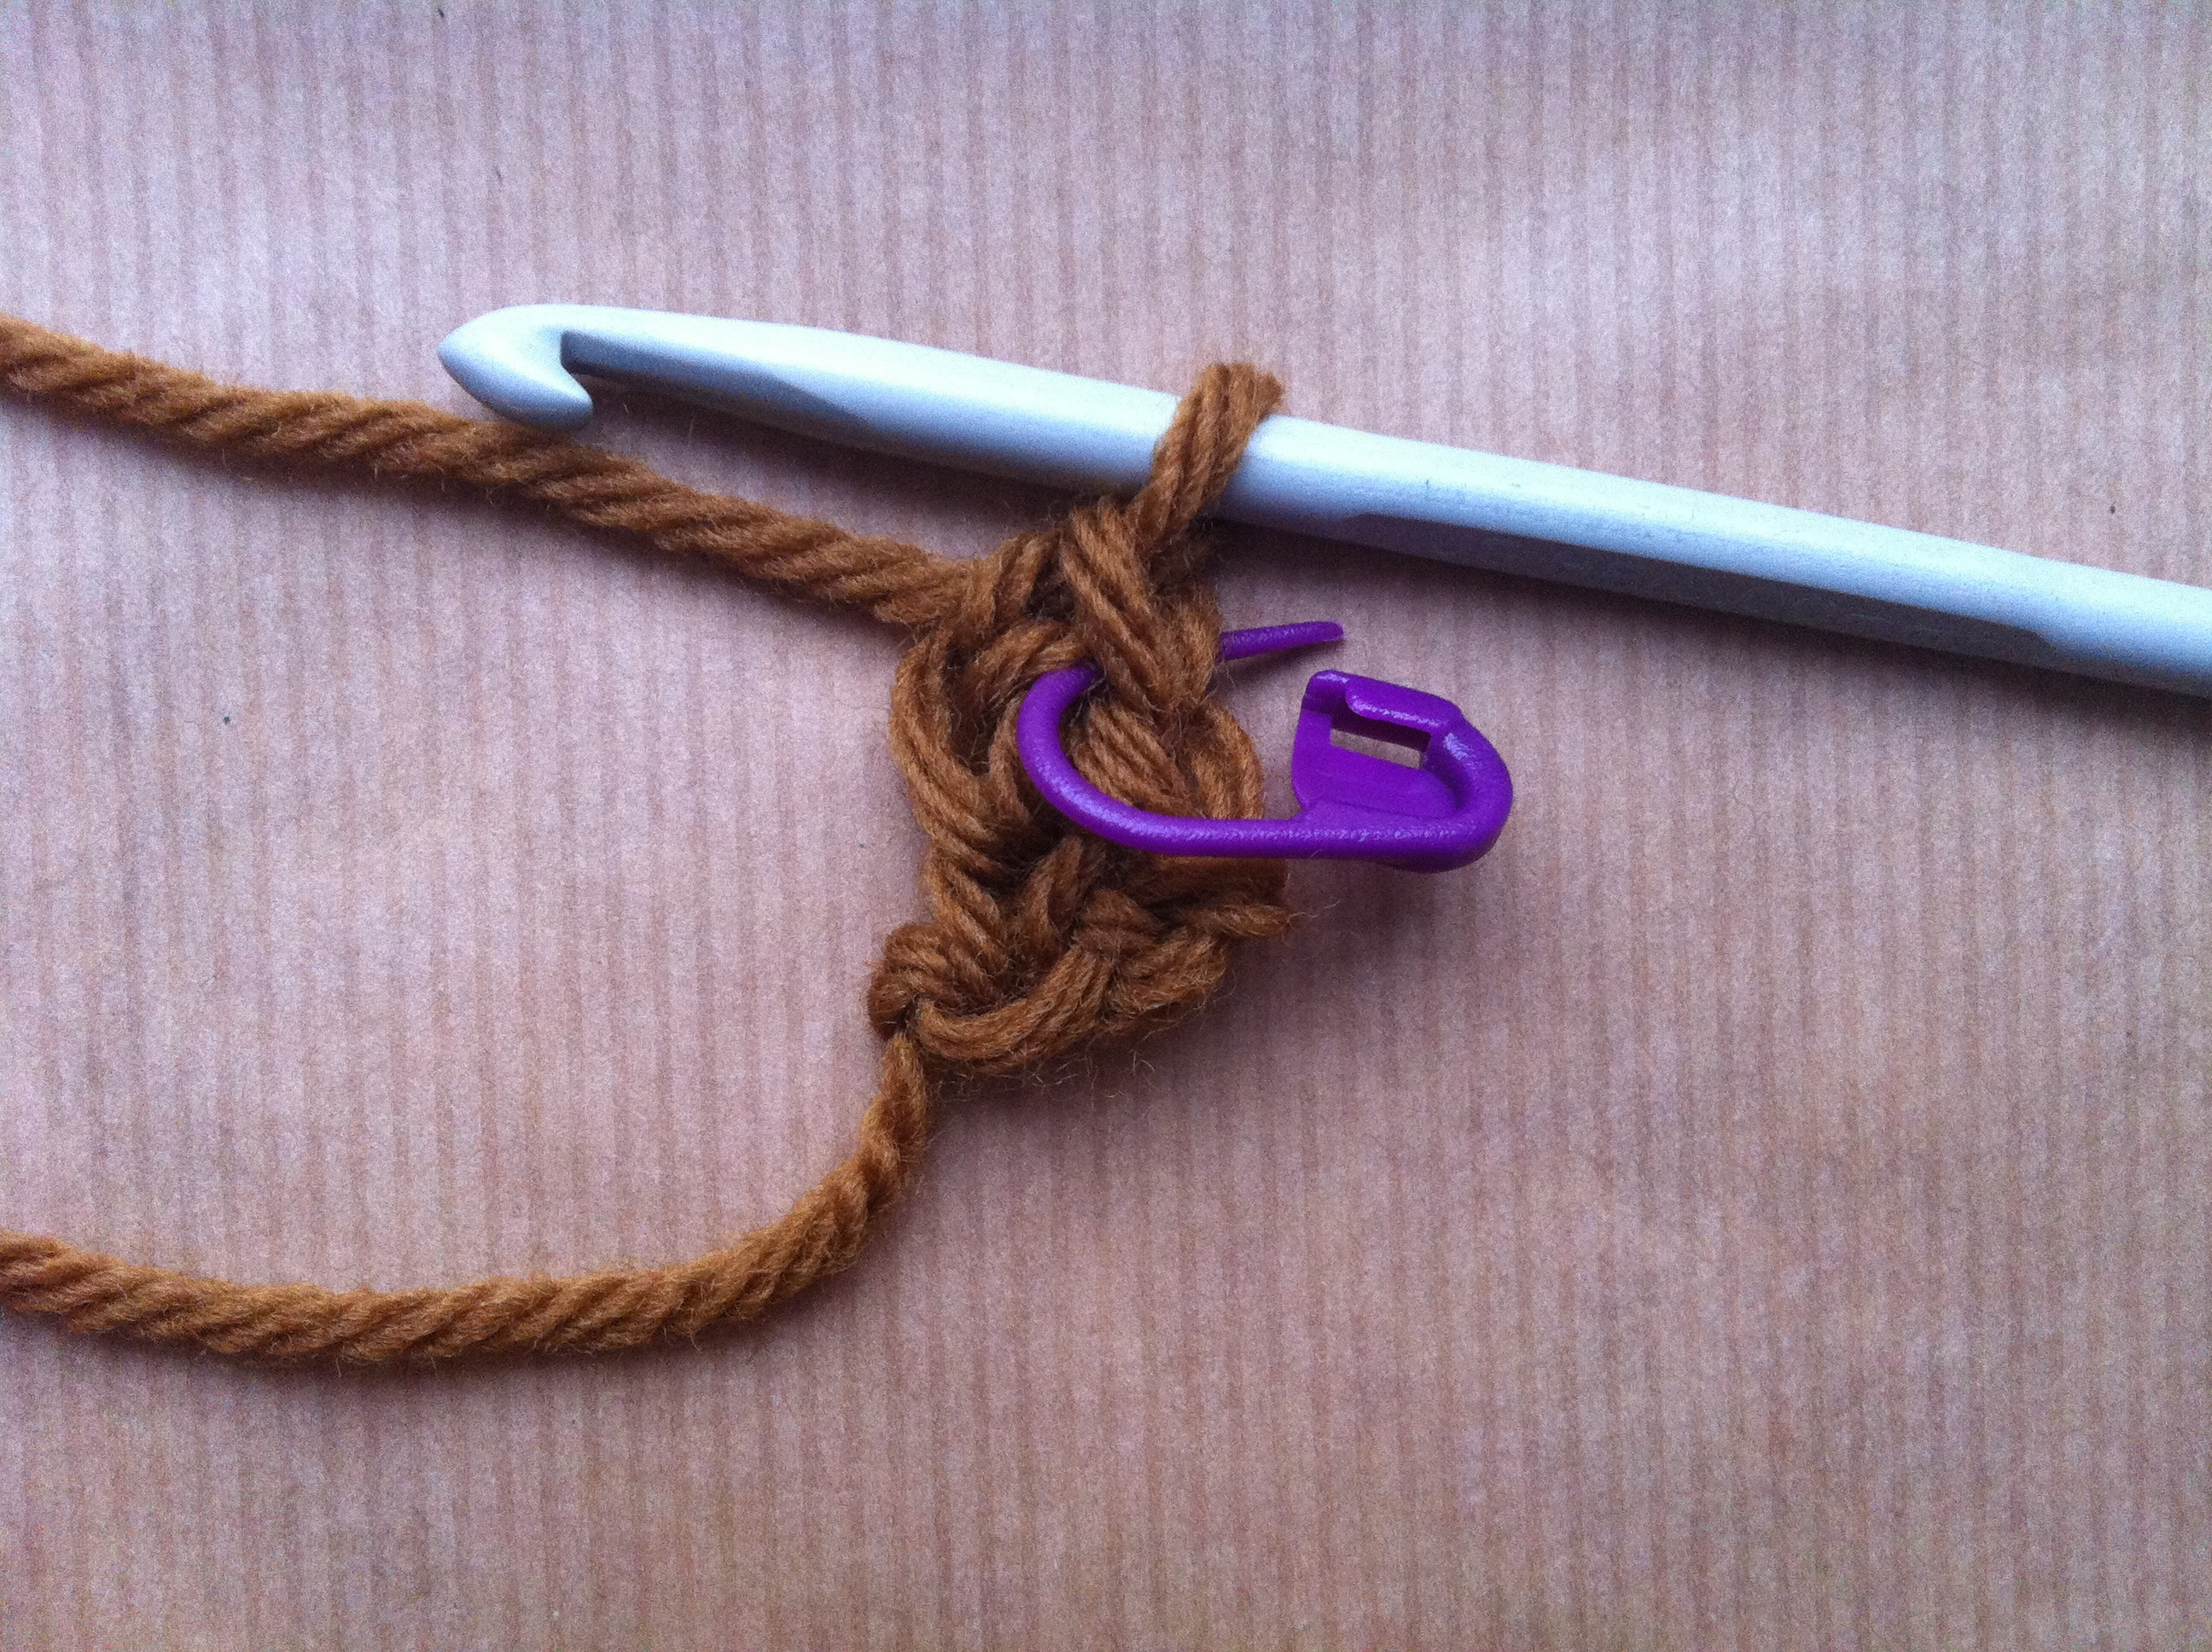
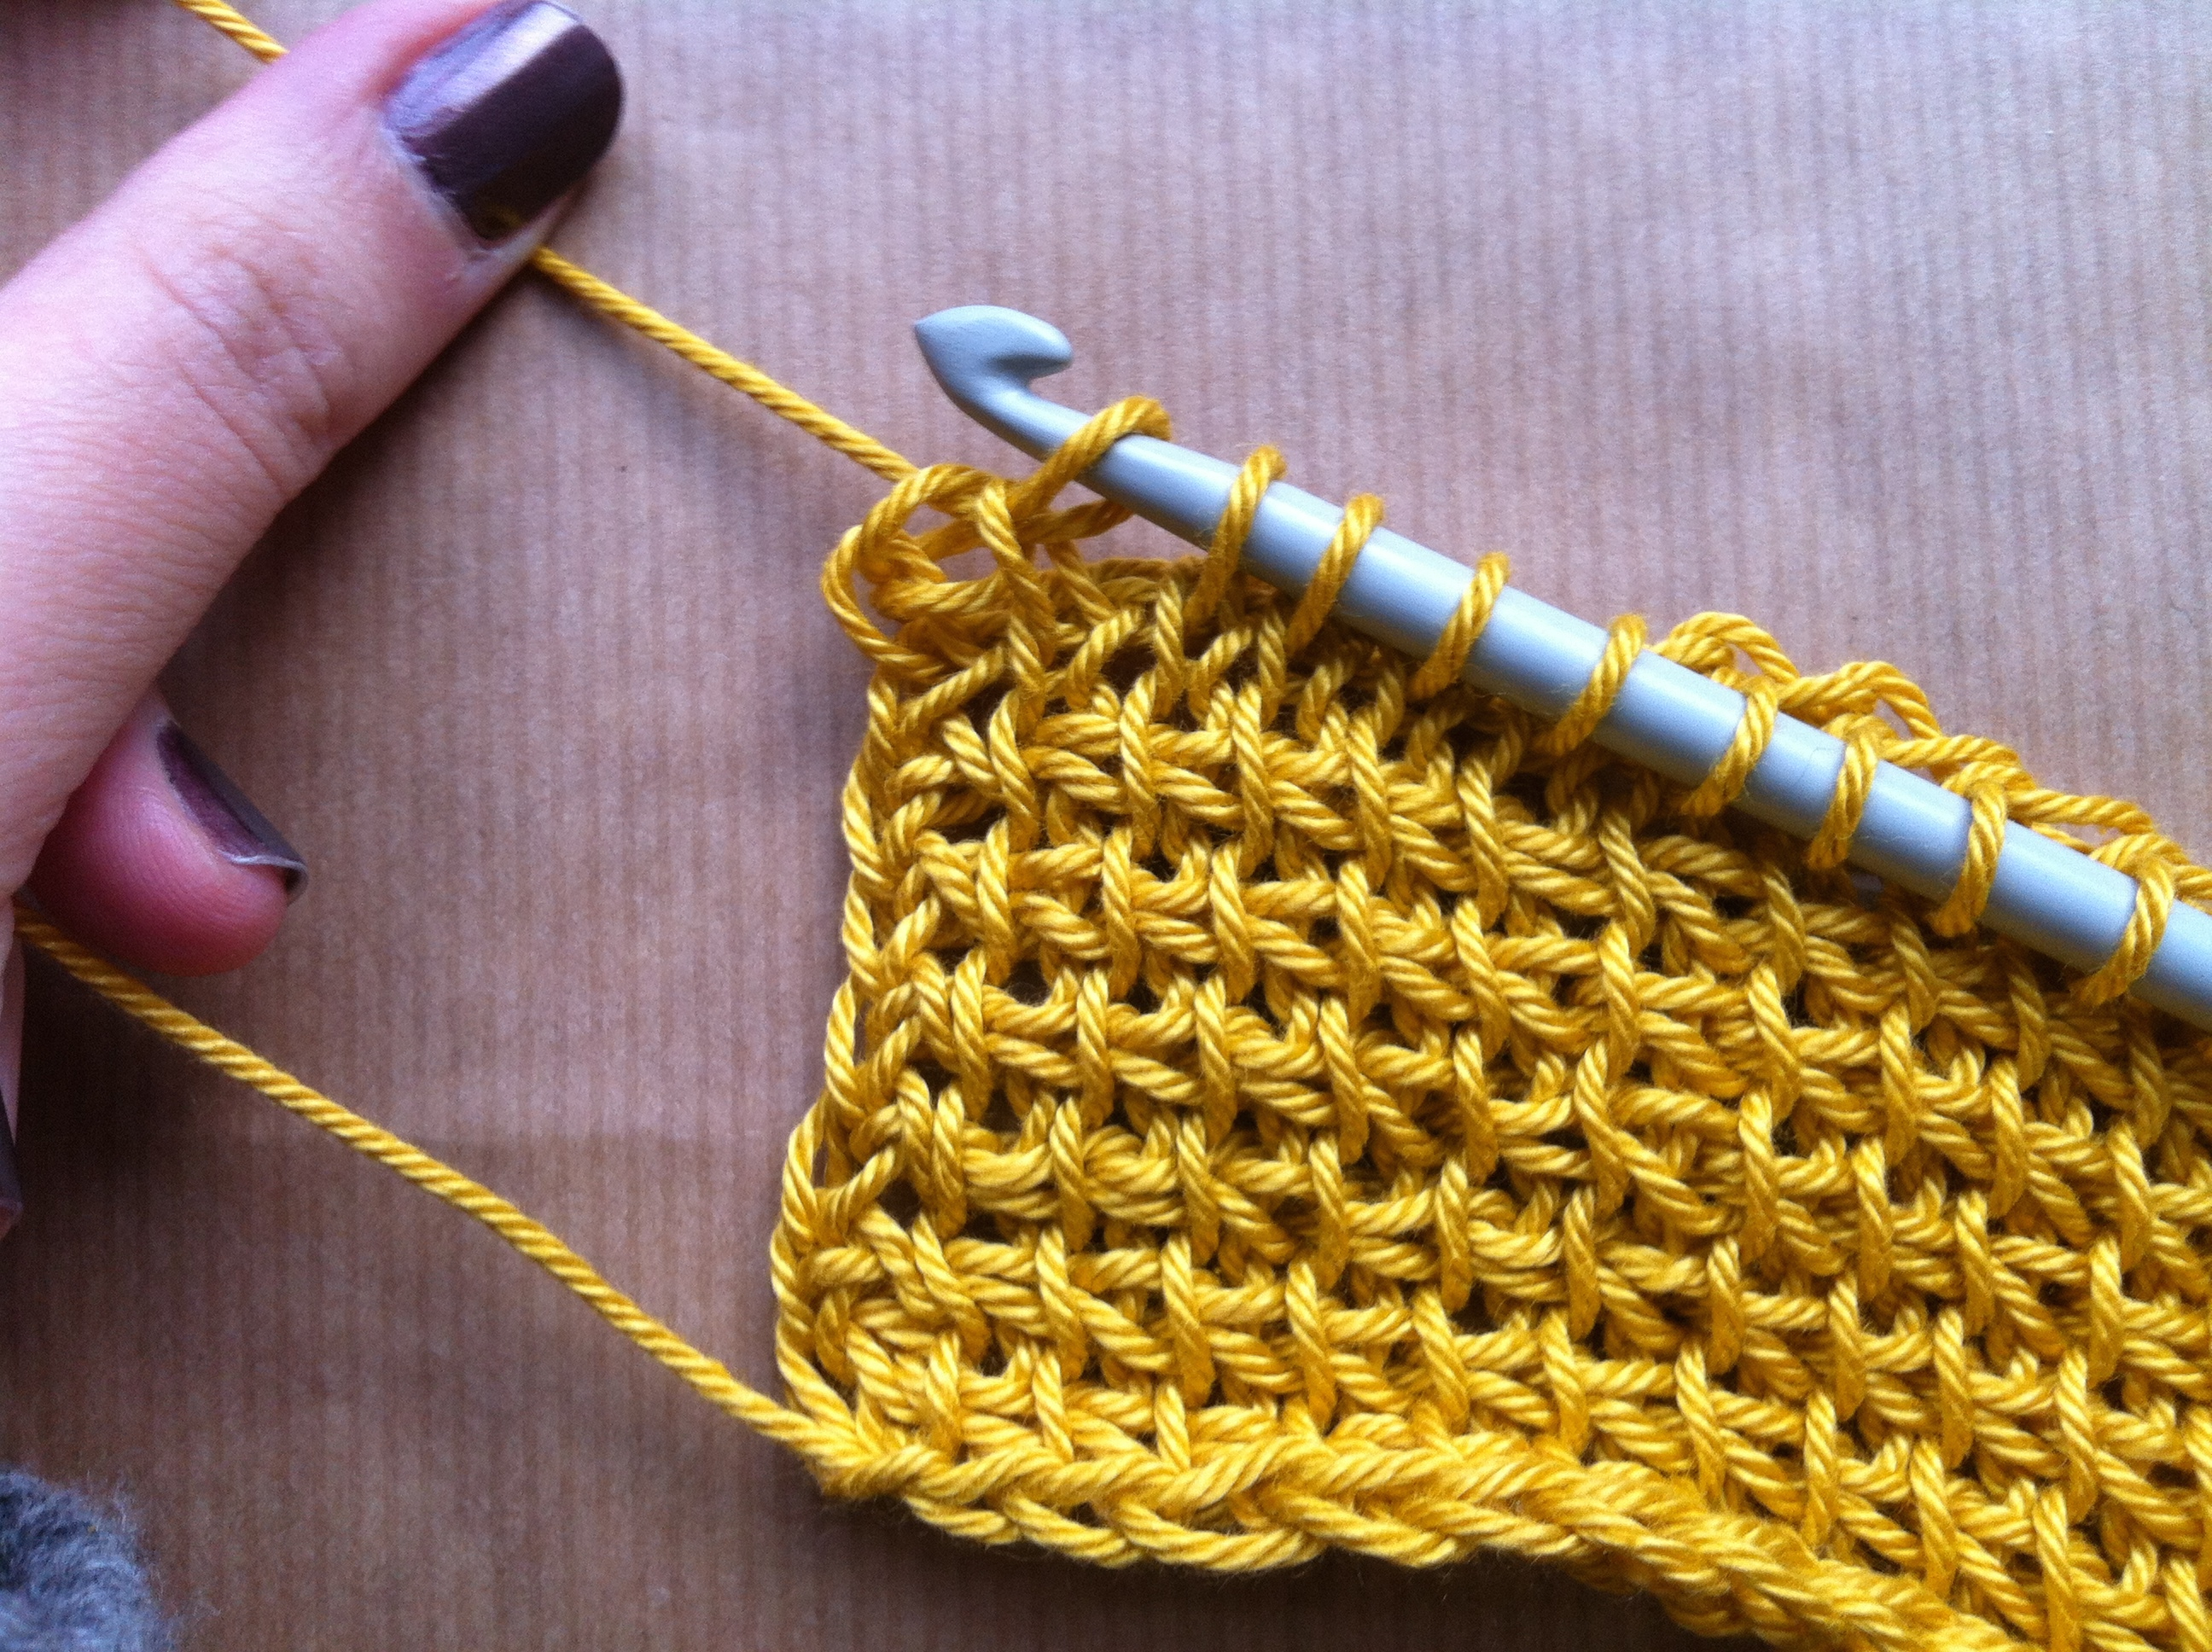
One last tip that we also mentioned on the last tutorial: remember to pull that loop on your hook before starting a forward pass so that you avoid those big first stitched and get a nice right edge to your work (see pictures below).
Work as many Tks rows as you want, if you are working with a wool yarn it will look a bit nicer than with this DK cotton yarn, so apologise if it’s not looking that good 😛 Below you can see how my sample is looking with both stitches. If yours is curling and a bit wonky, don’t worry mine is too! That is what blocking is for 🙂

I will add this stitch to our stitch guide below. Until next time!
Stitch Guide
Foundation Row – Forward Pass: Chain number of stitches needed. Skip first chain, insert hook under back strand of next chain, yarn over and pull up a loop. Repeat until last chain.
Return Pass: Yarn over pull through one loop on hook, yarn over and pull through two loops on hook until you have one loop left on hook.
Last stitch of any forward pass: Insert hook under last vertical bar and strand behind it, yarn over and pull up a loop.
Tunisian Simple Stitch: Skip first st, insert hook from right to left under next front vertical bar, yarn over and pull up a loop. Continue this way until last stitch, work last stitch normally. Work return pass normally.
Tunisian Knit Stitch: Skip first st, insert hook between front and back vertical bars, yarn over and pull up a loop. Continue this way until last stitch, work last stitch normally. Work return pass normally.
x
Sol