Hello! Remember my Xmas pattern sneak peek? Well I used foundation double crochet (fdc) to make those little hats and since I promised you a tutorial I thought I should make a separate one for this stitch and then it is there for all my future patterns that may use it.
You use this stitch as a replacement of a traditional double crochet foundation row where you would make a chain and then work the stitches into it. With fdc you do both the chain and the first row of dc at the same time, it gives a much sturdier edge allowing those little hats to stand up right.
So, this is how it’s done!
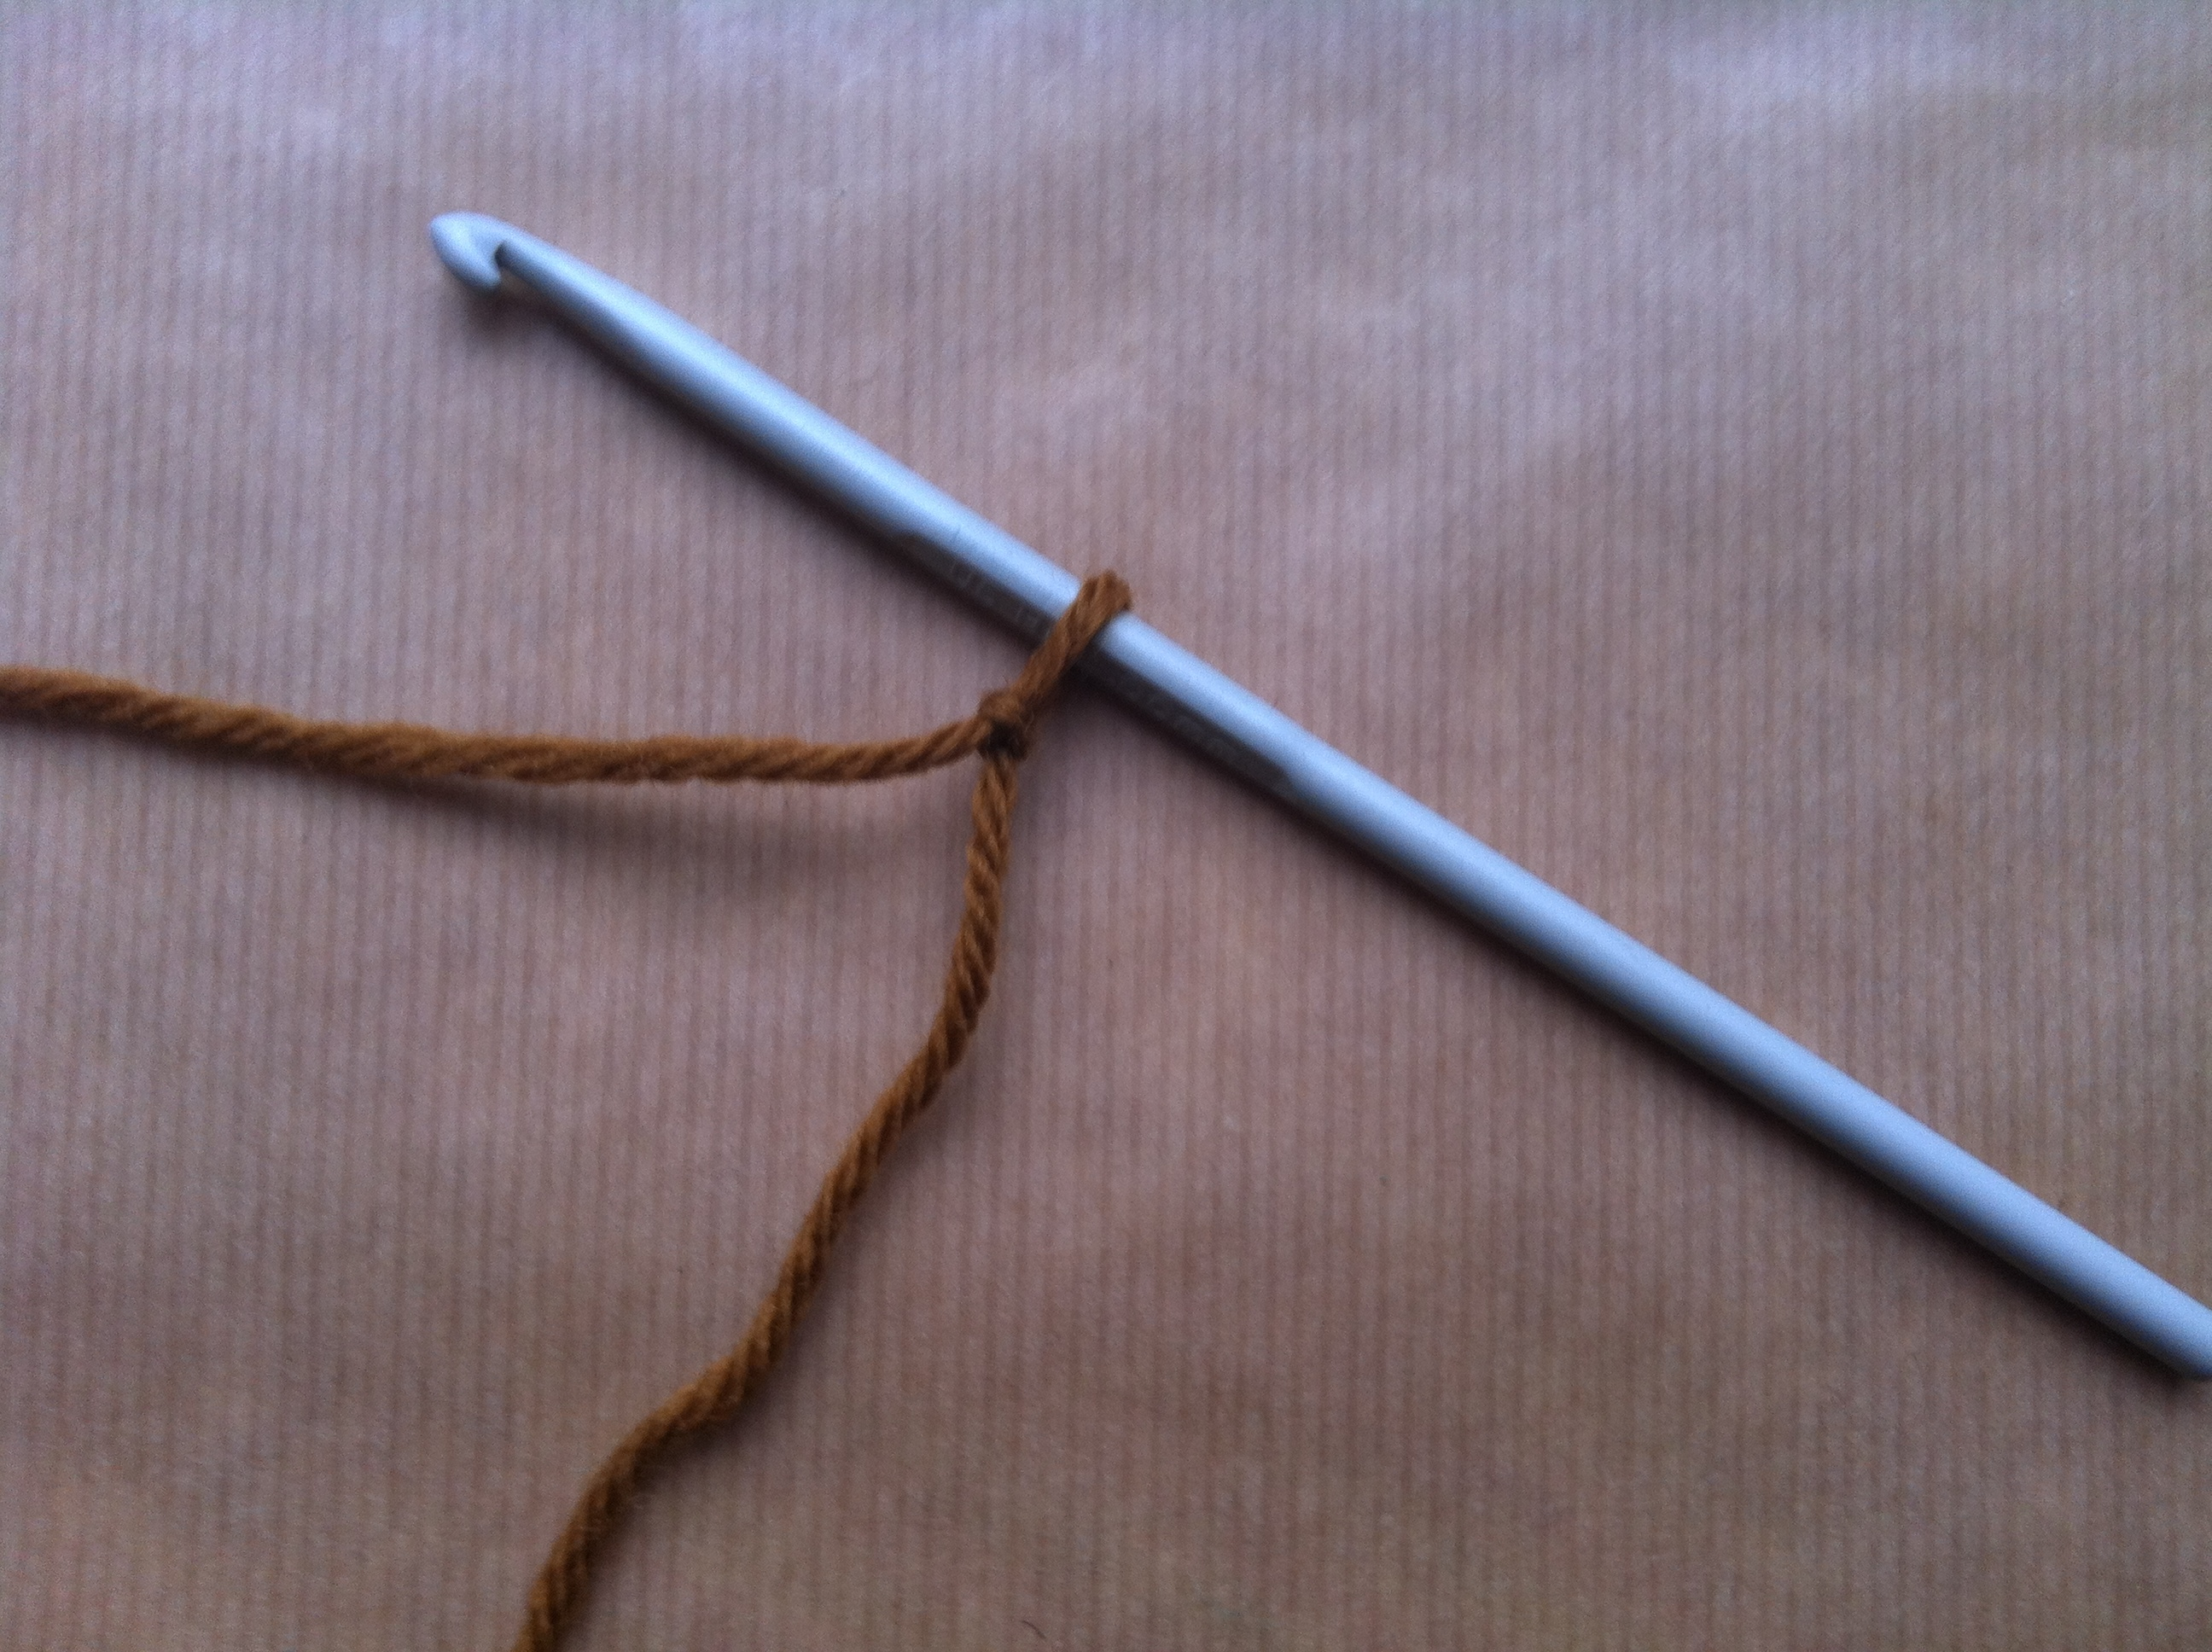
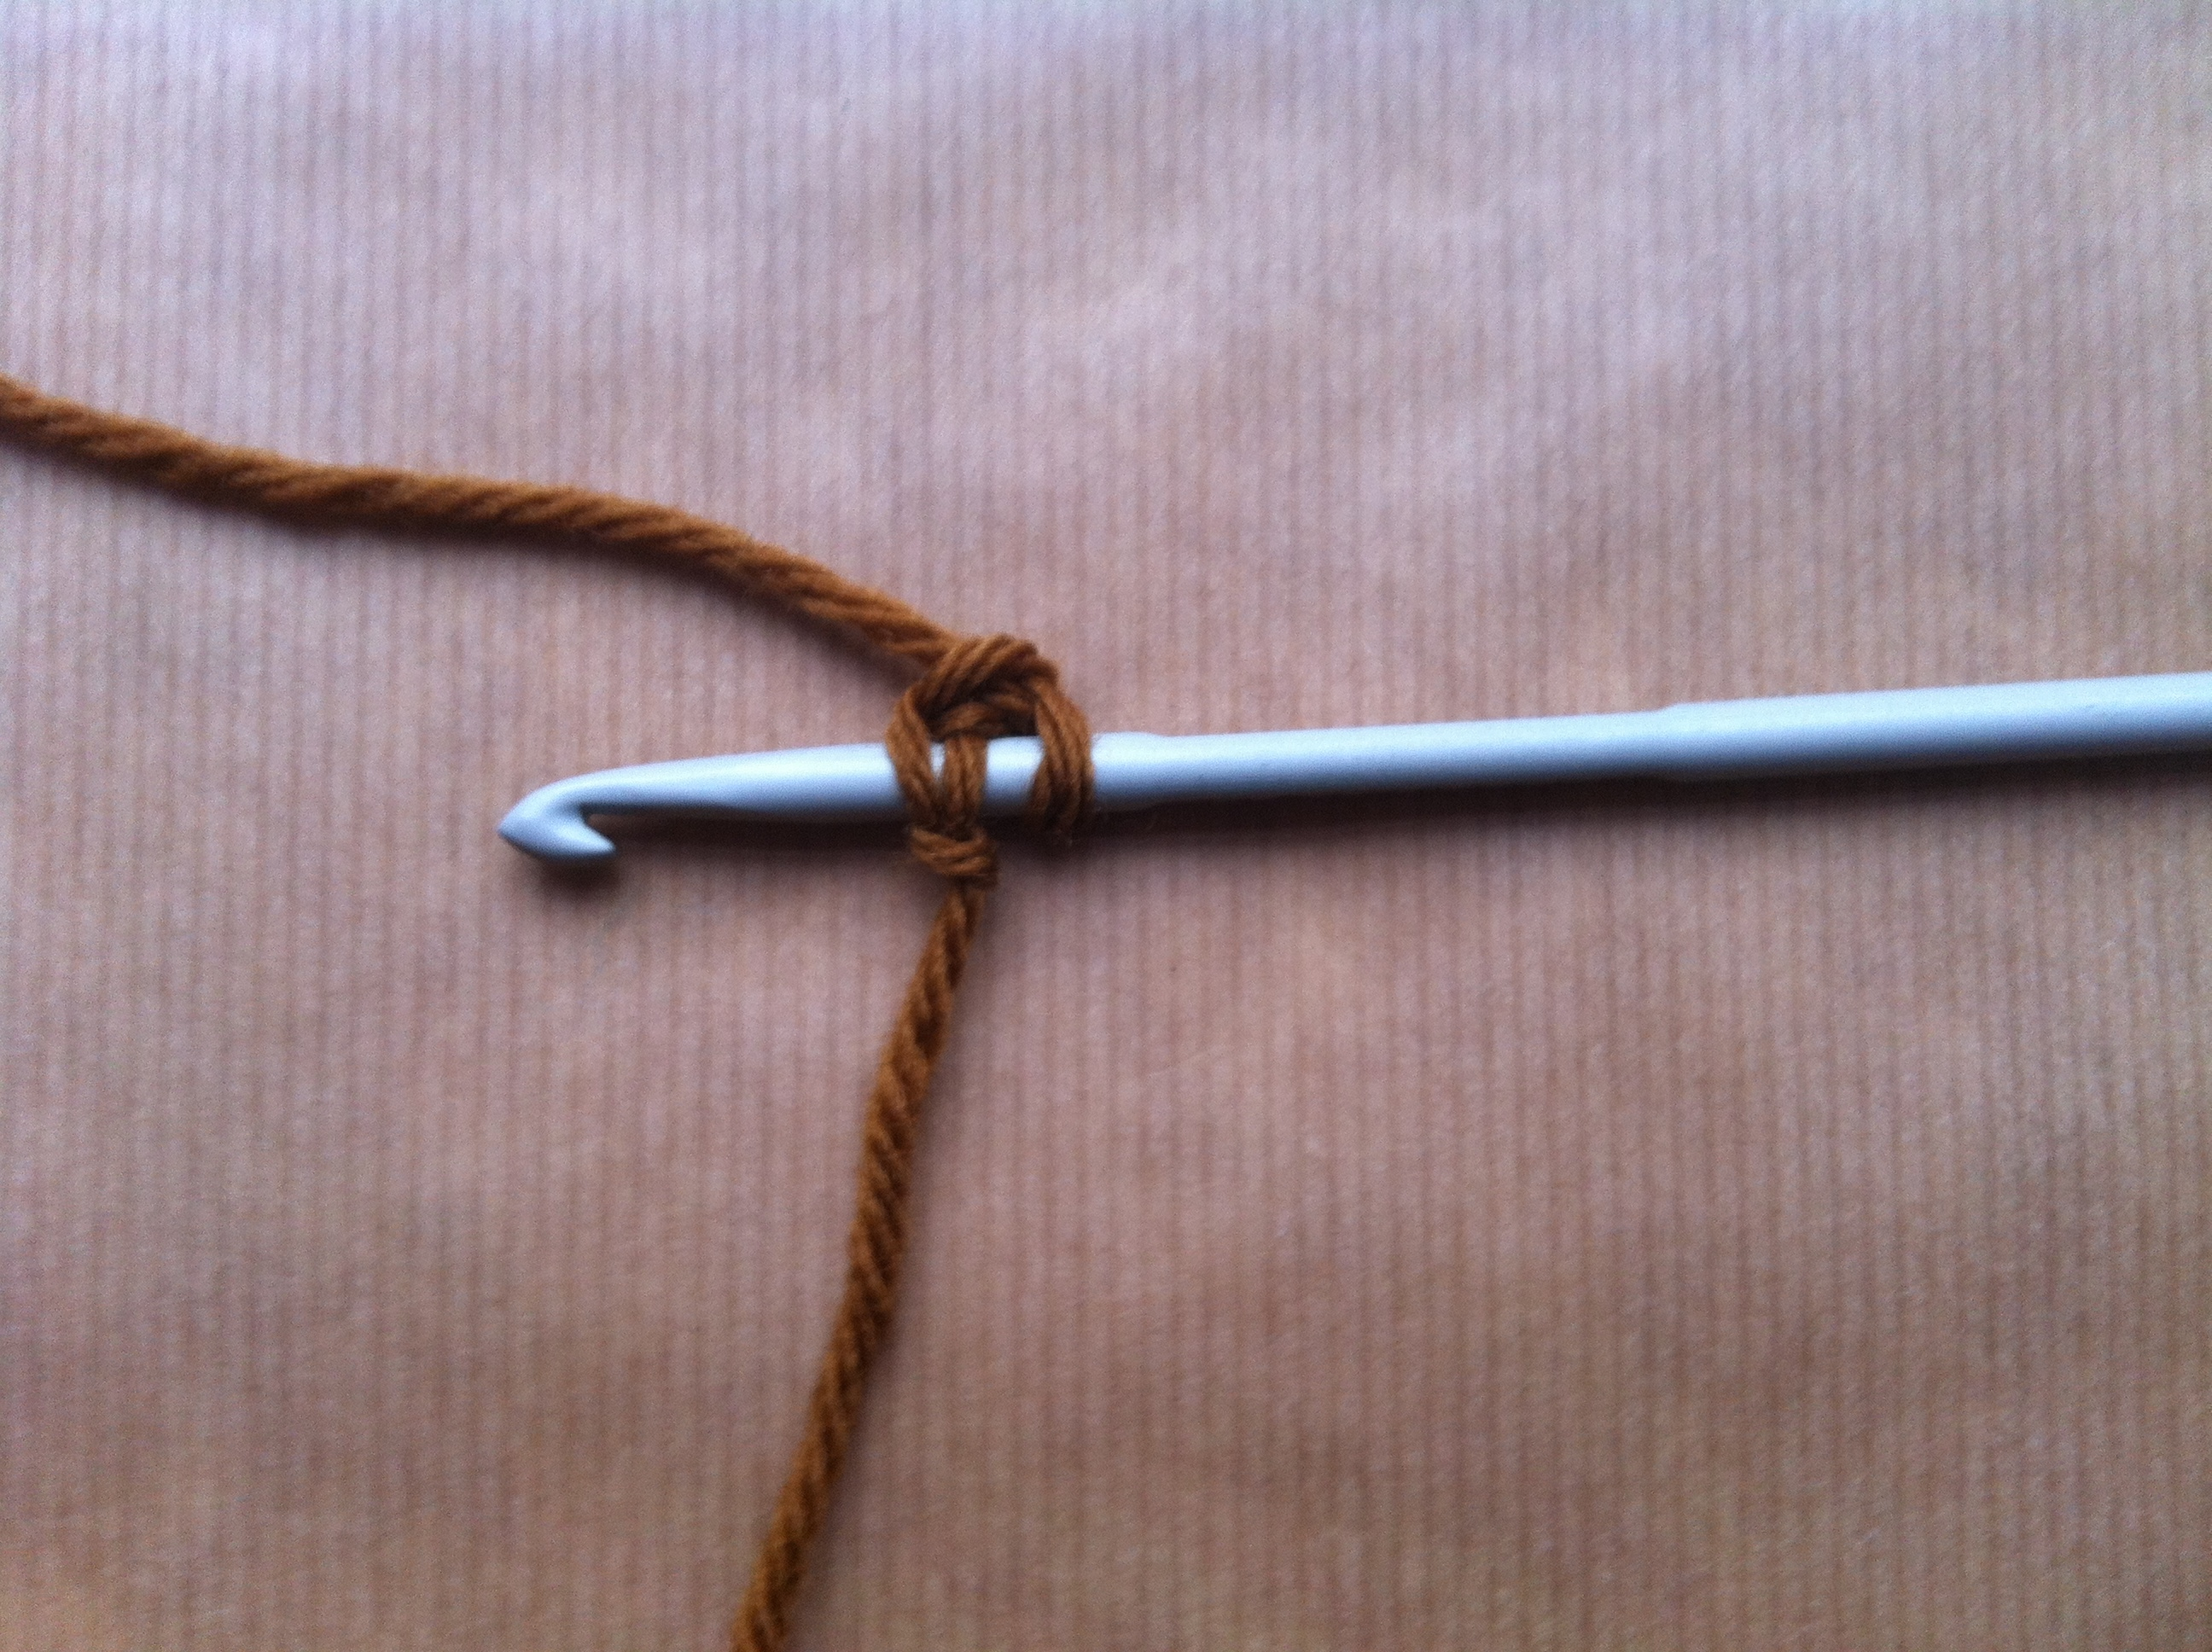
1) Make a slip knot.
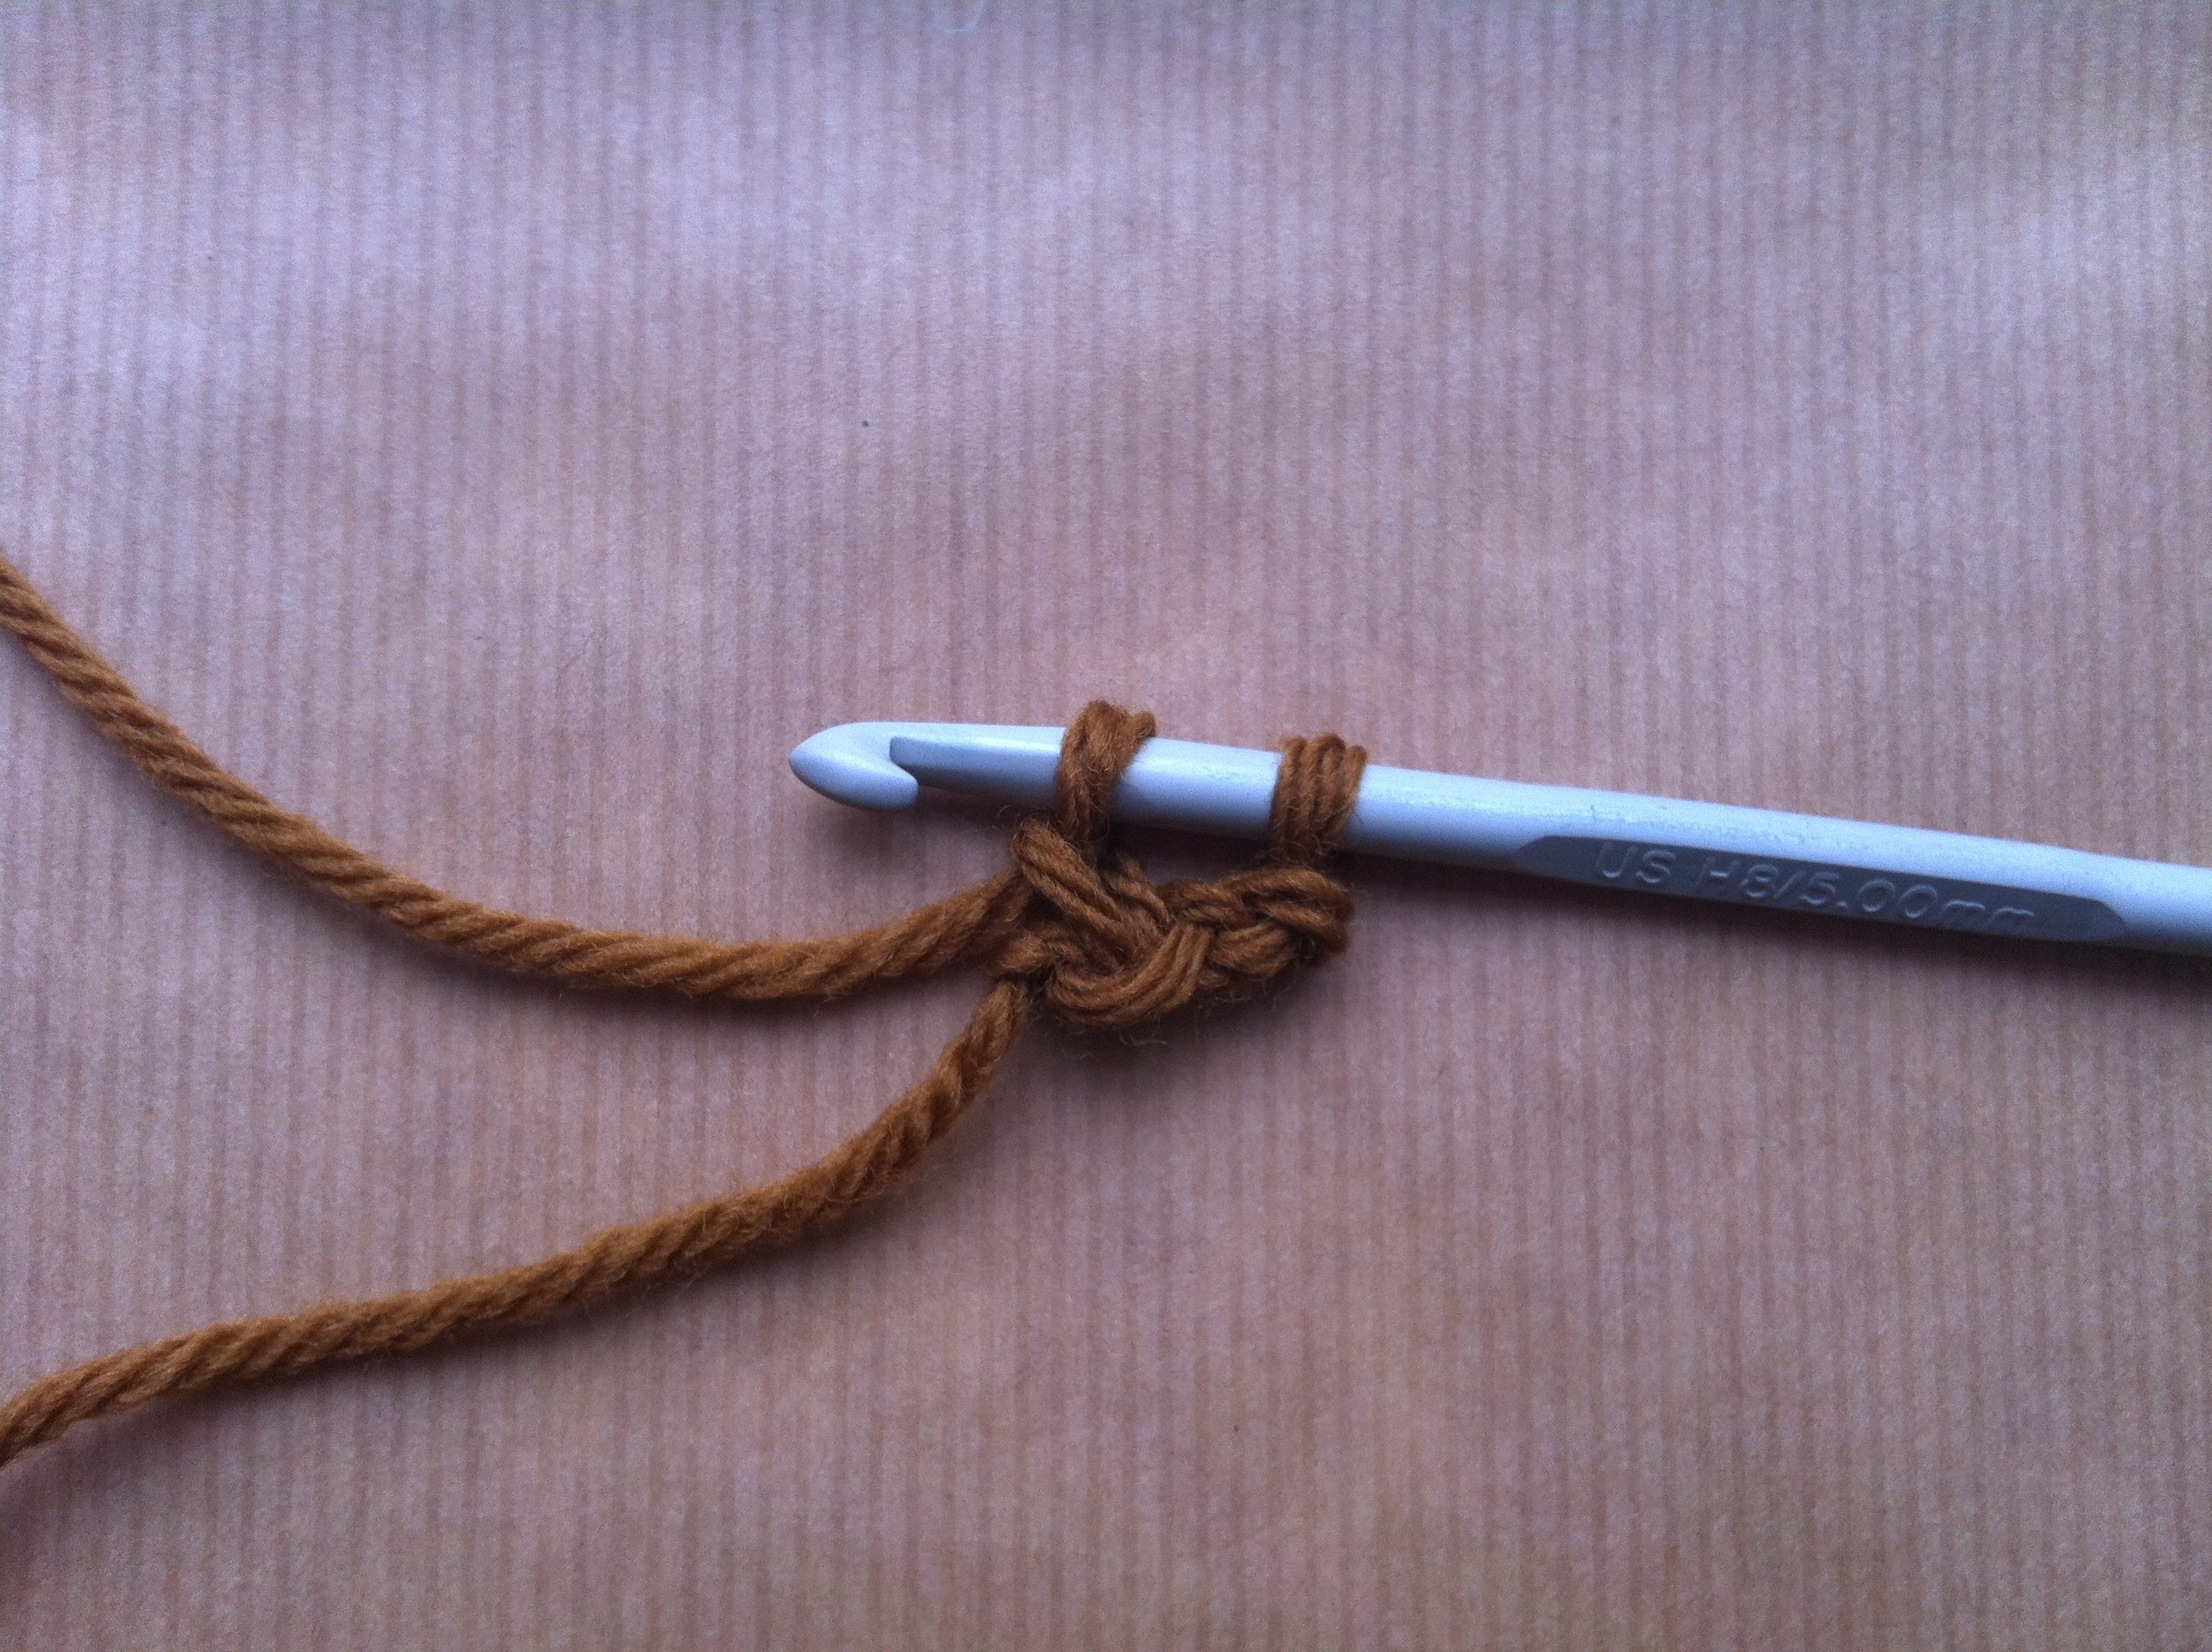
2) Chain 2.

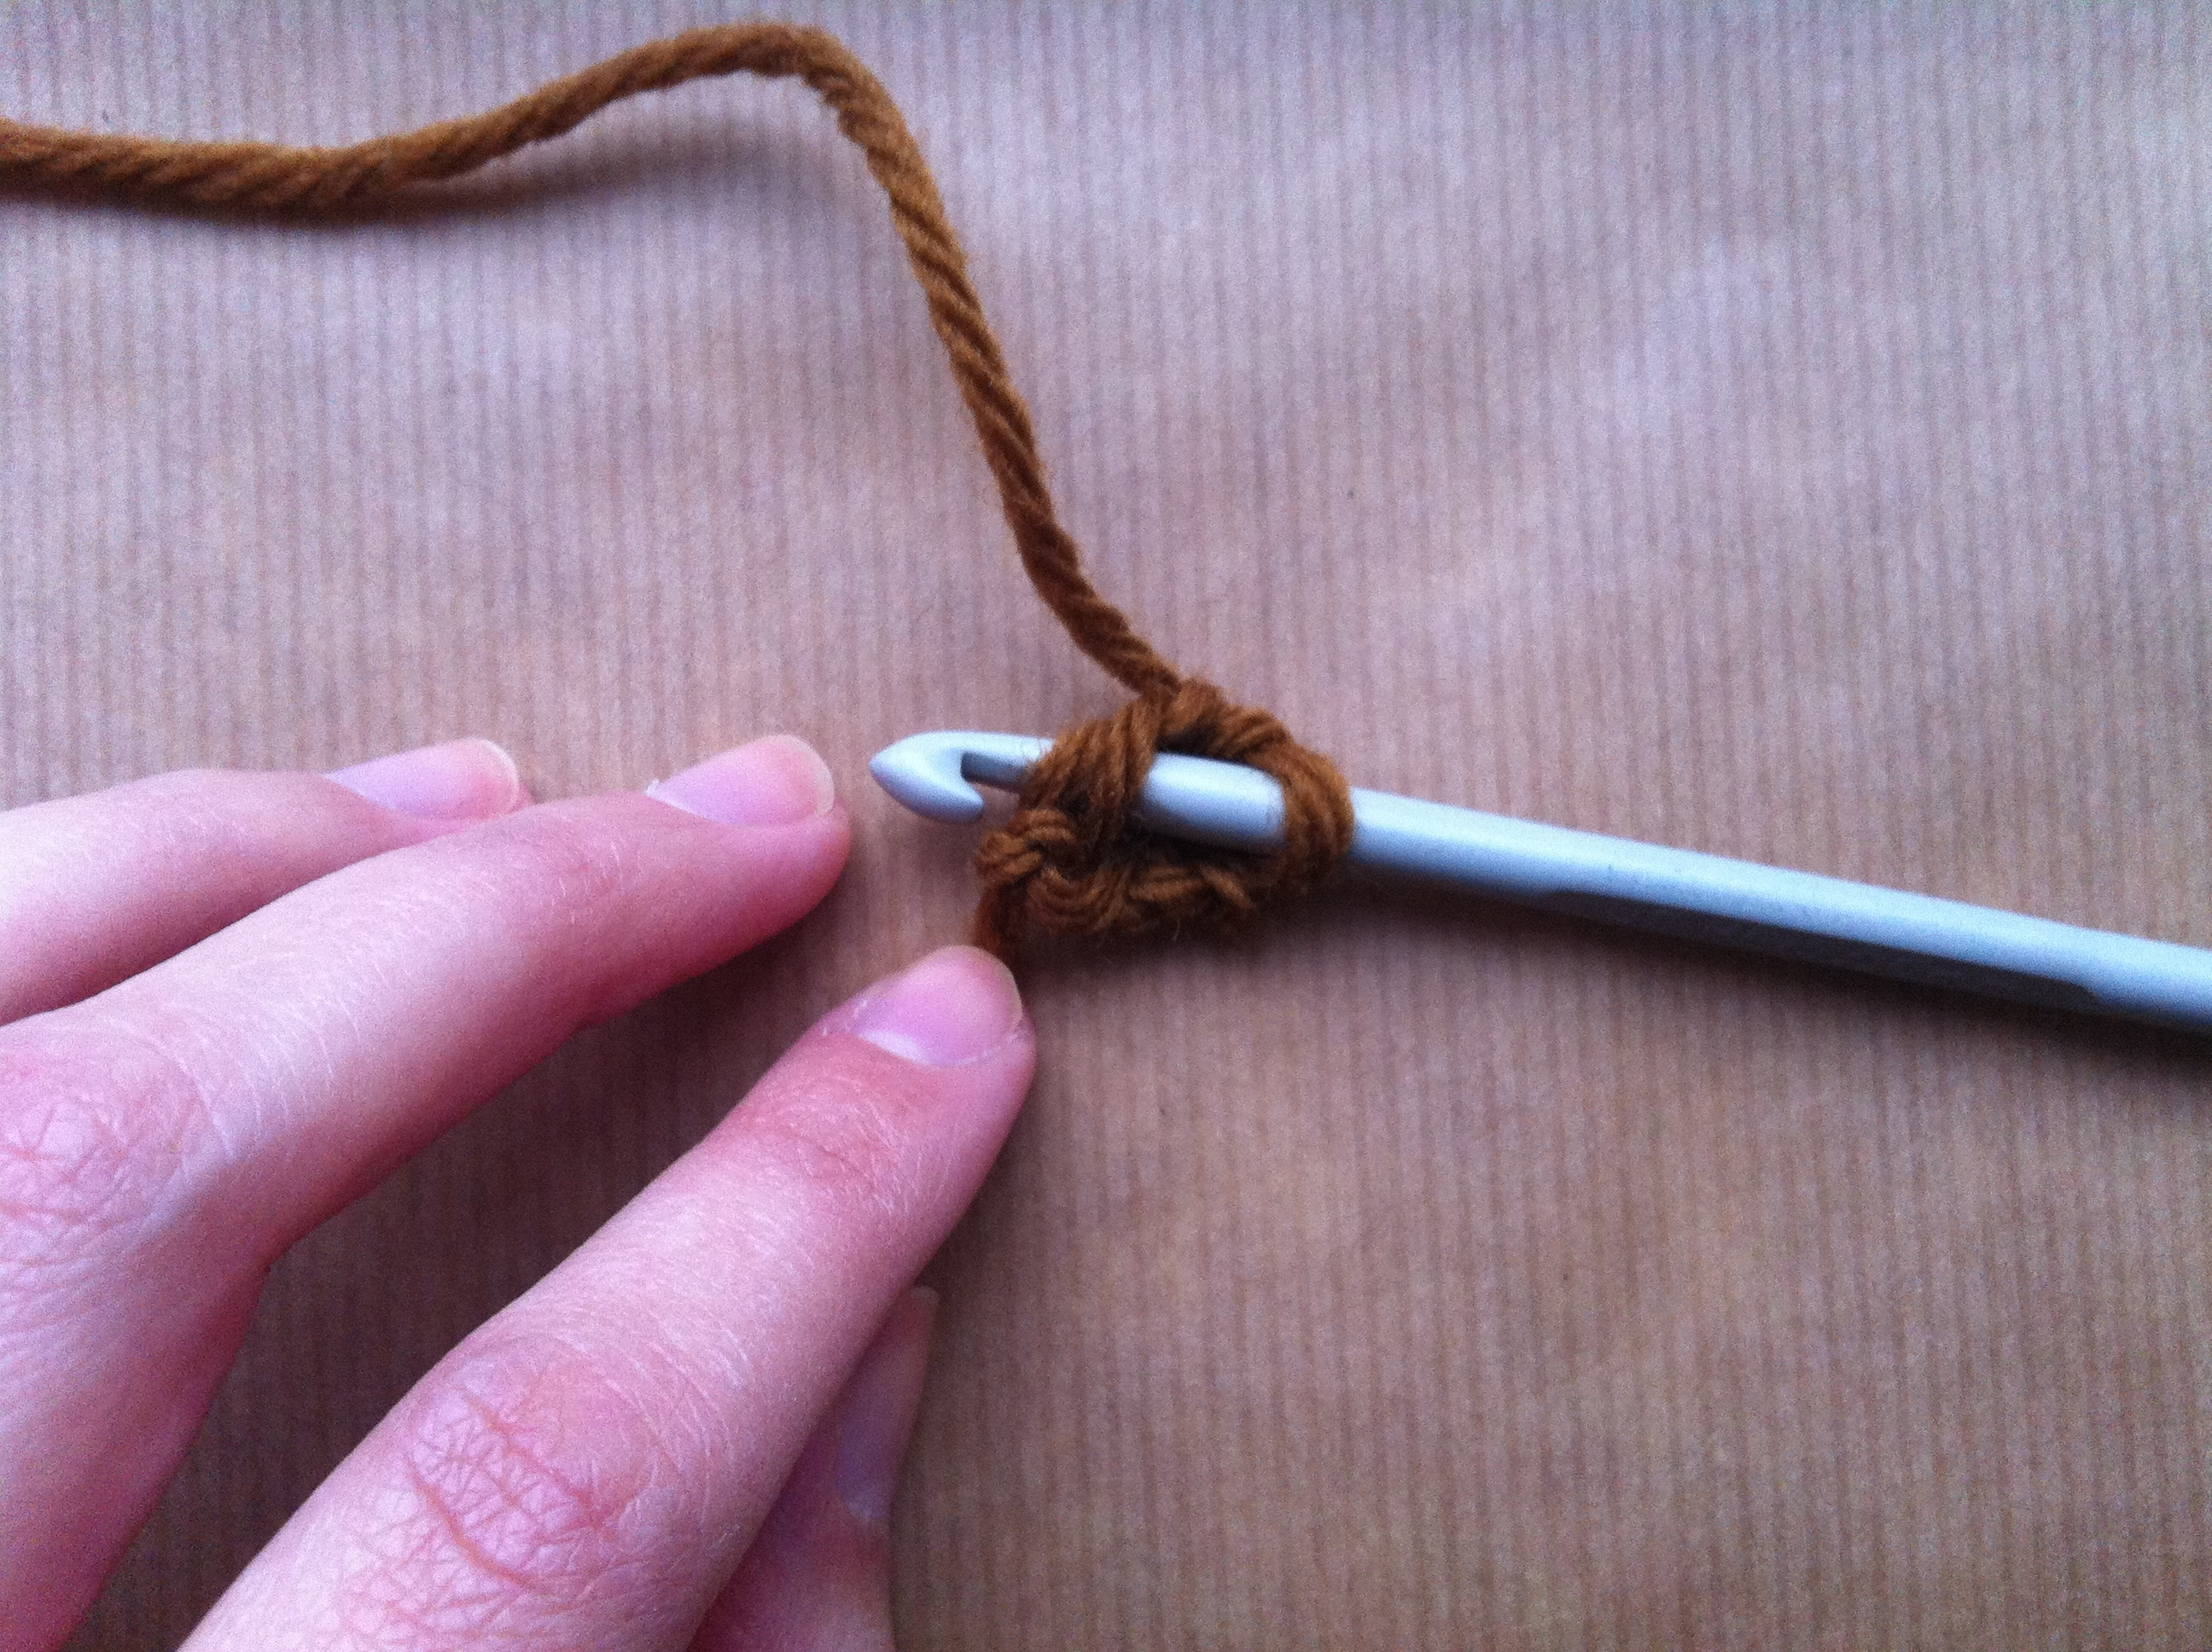
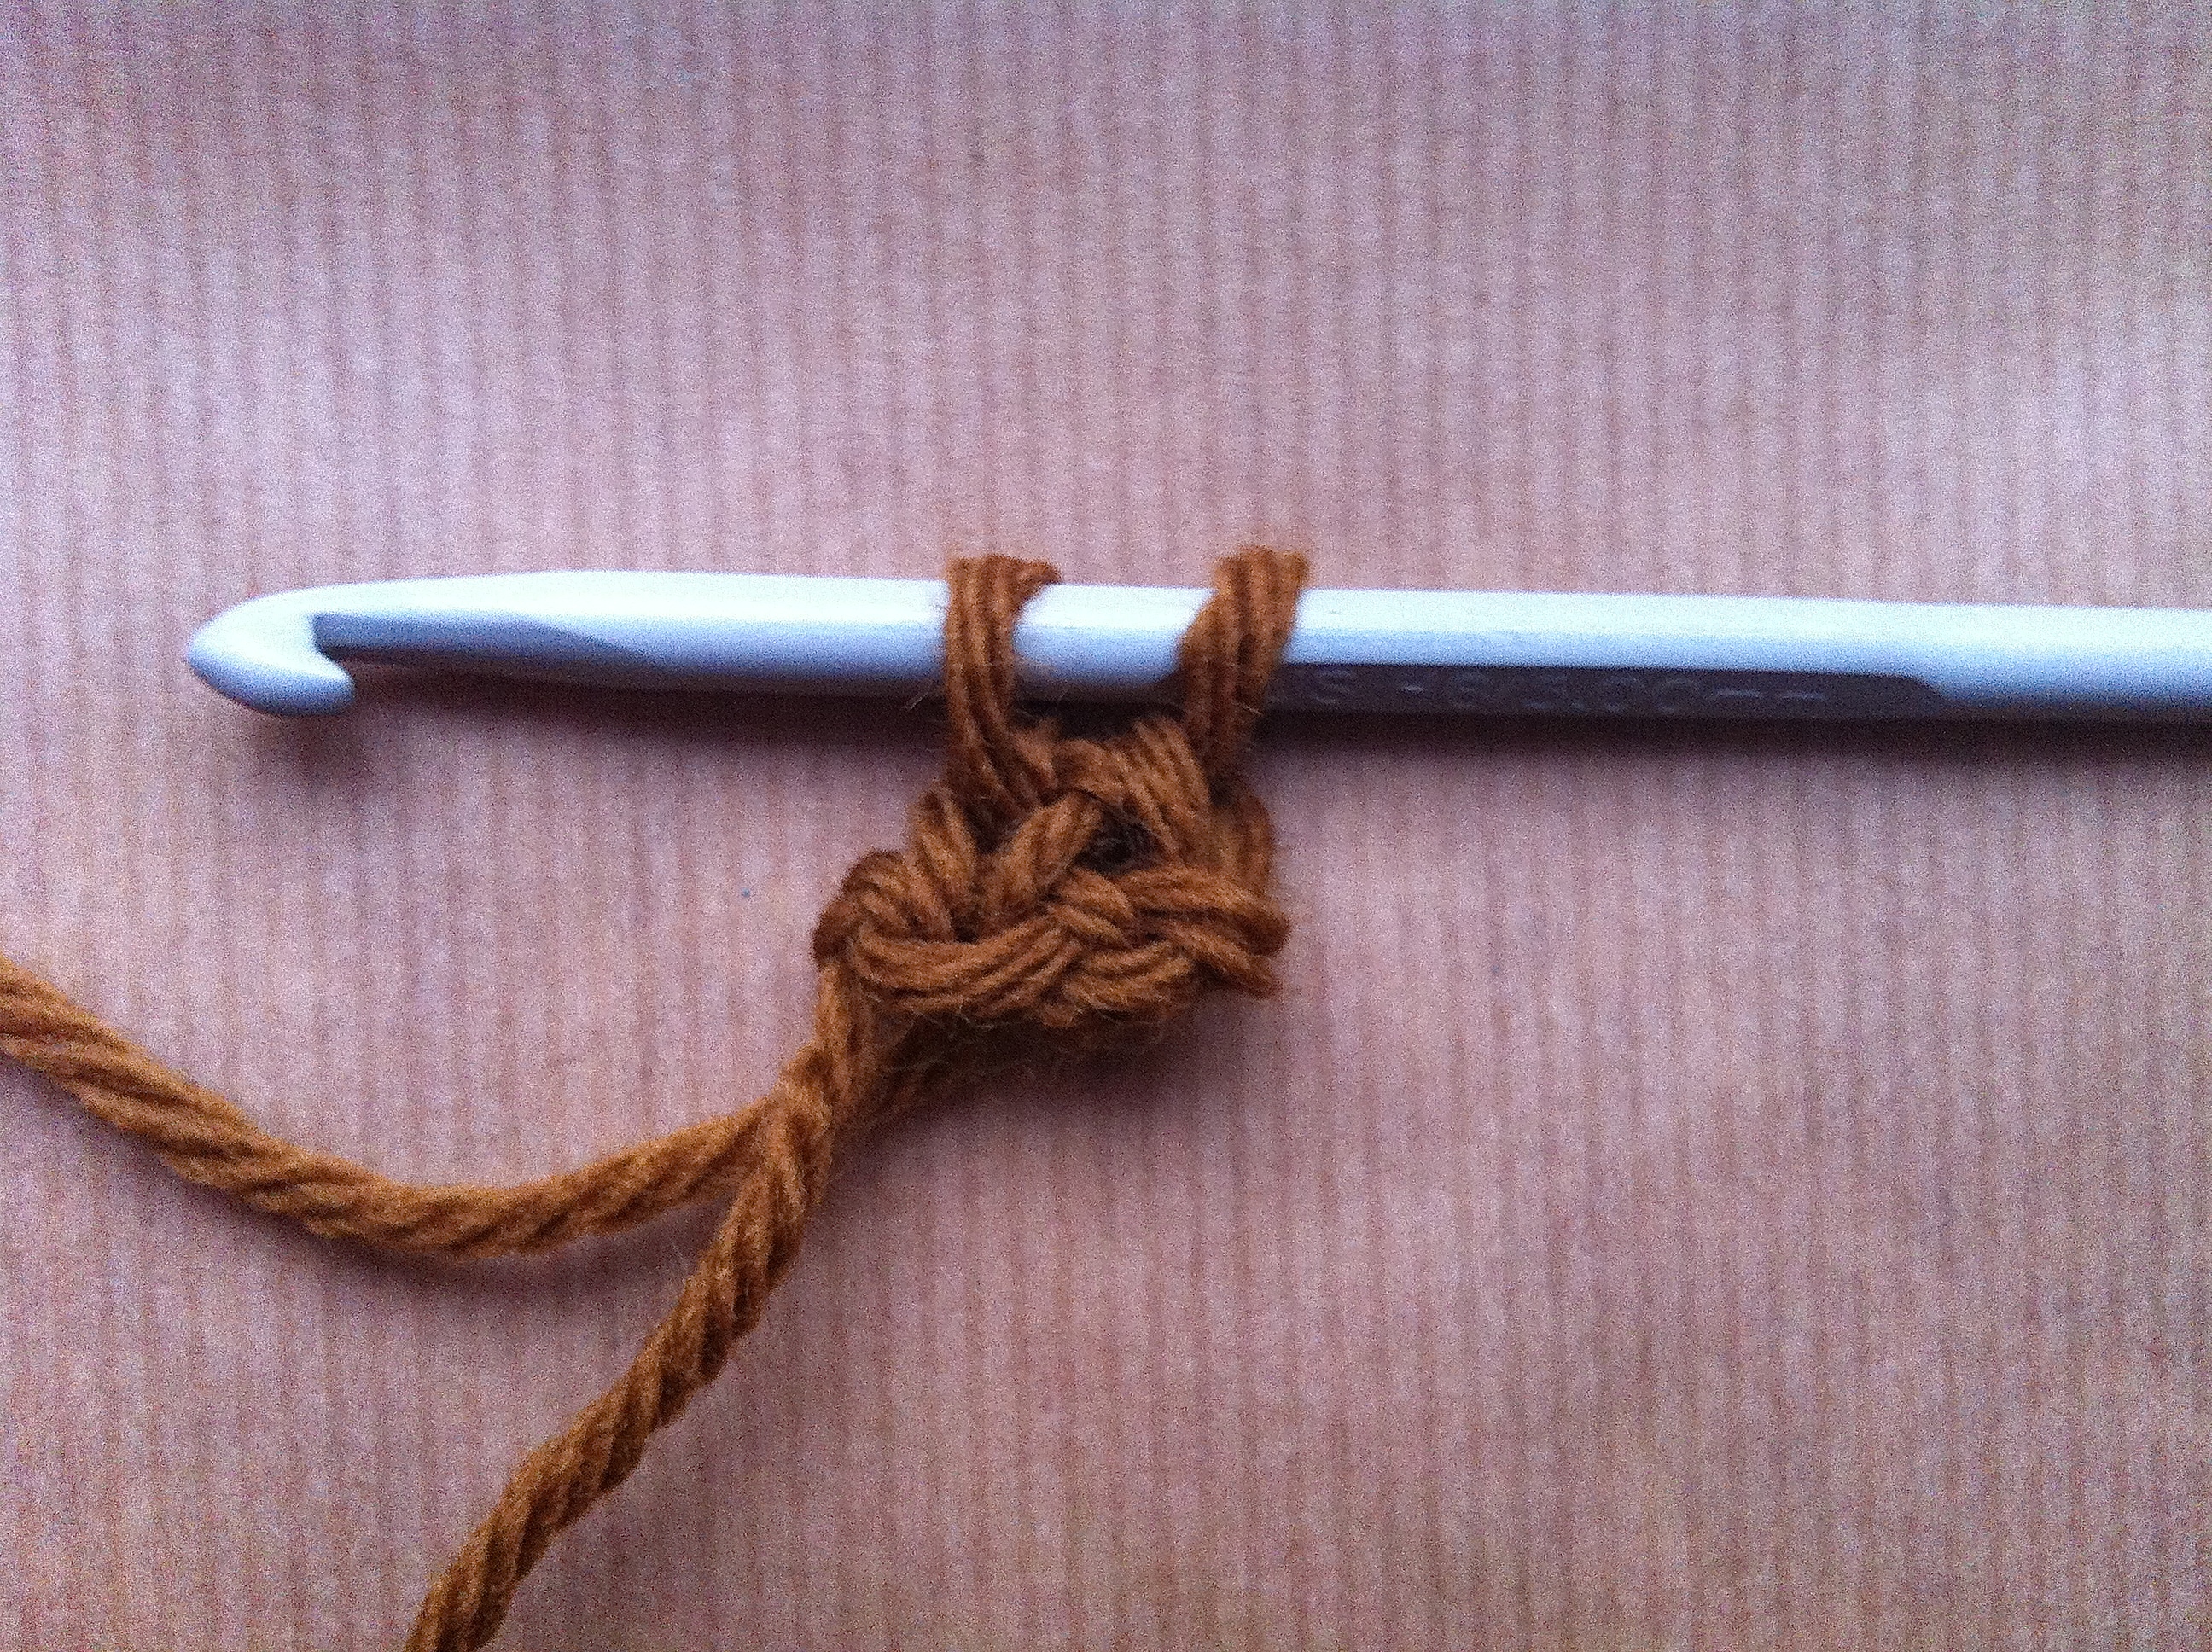
3) See the first chain you made? (bottom one in the picture above). You need to insert your hook under the two strands that make the “v” of that chain, basically the two strands you can see of that chain in the picture above.
4) Yarn over and pull through the two loops, leaving two loops on the hook.

5) Chain 1, and remember this chain because we will go back to it on the next stitch.
6) Yarn over and pull through two loops. First fdc done.

7) Now for the next fdc, you need to focus on that chain I told you to remember, the one the arrow is pointing at. You need to insert your hook under two strands, the one the arrow is pointing at (left strand of the “v”) and the one behind it. If you turn the work to the right so that the slip knot is looking at you, both strands form a chain ( “v” upside down) in that direction.
8) Yarn over and pull through two loops, leaving two loops on hook.
9) Chain 1.
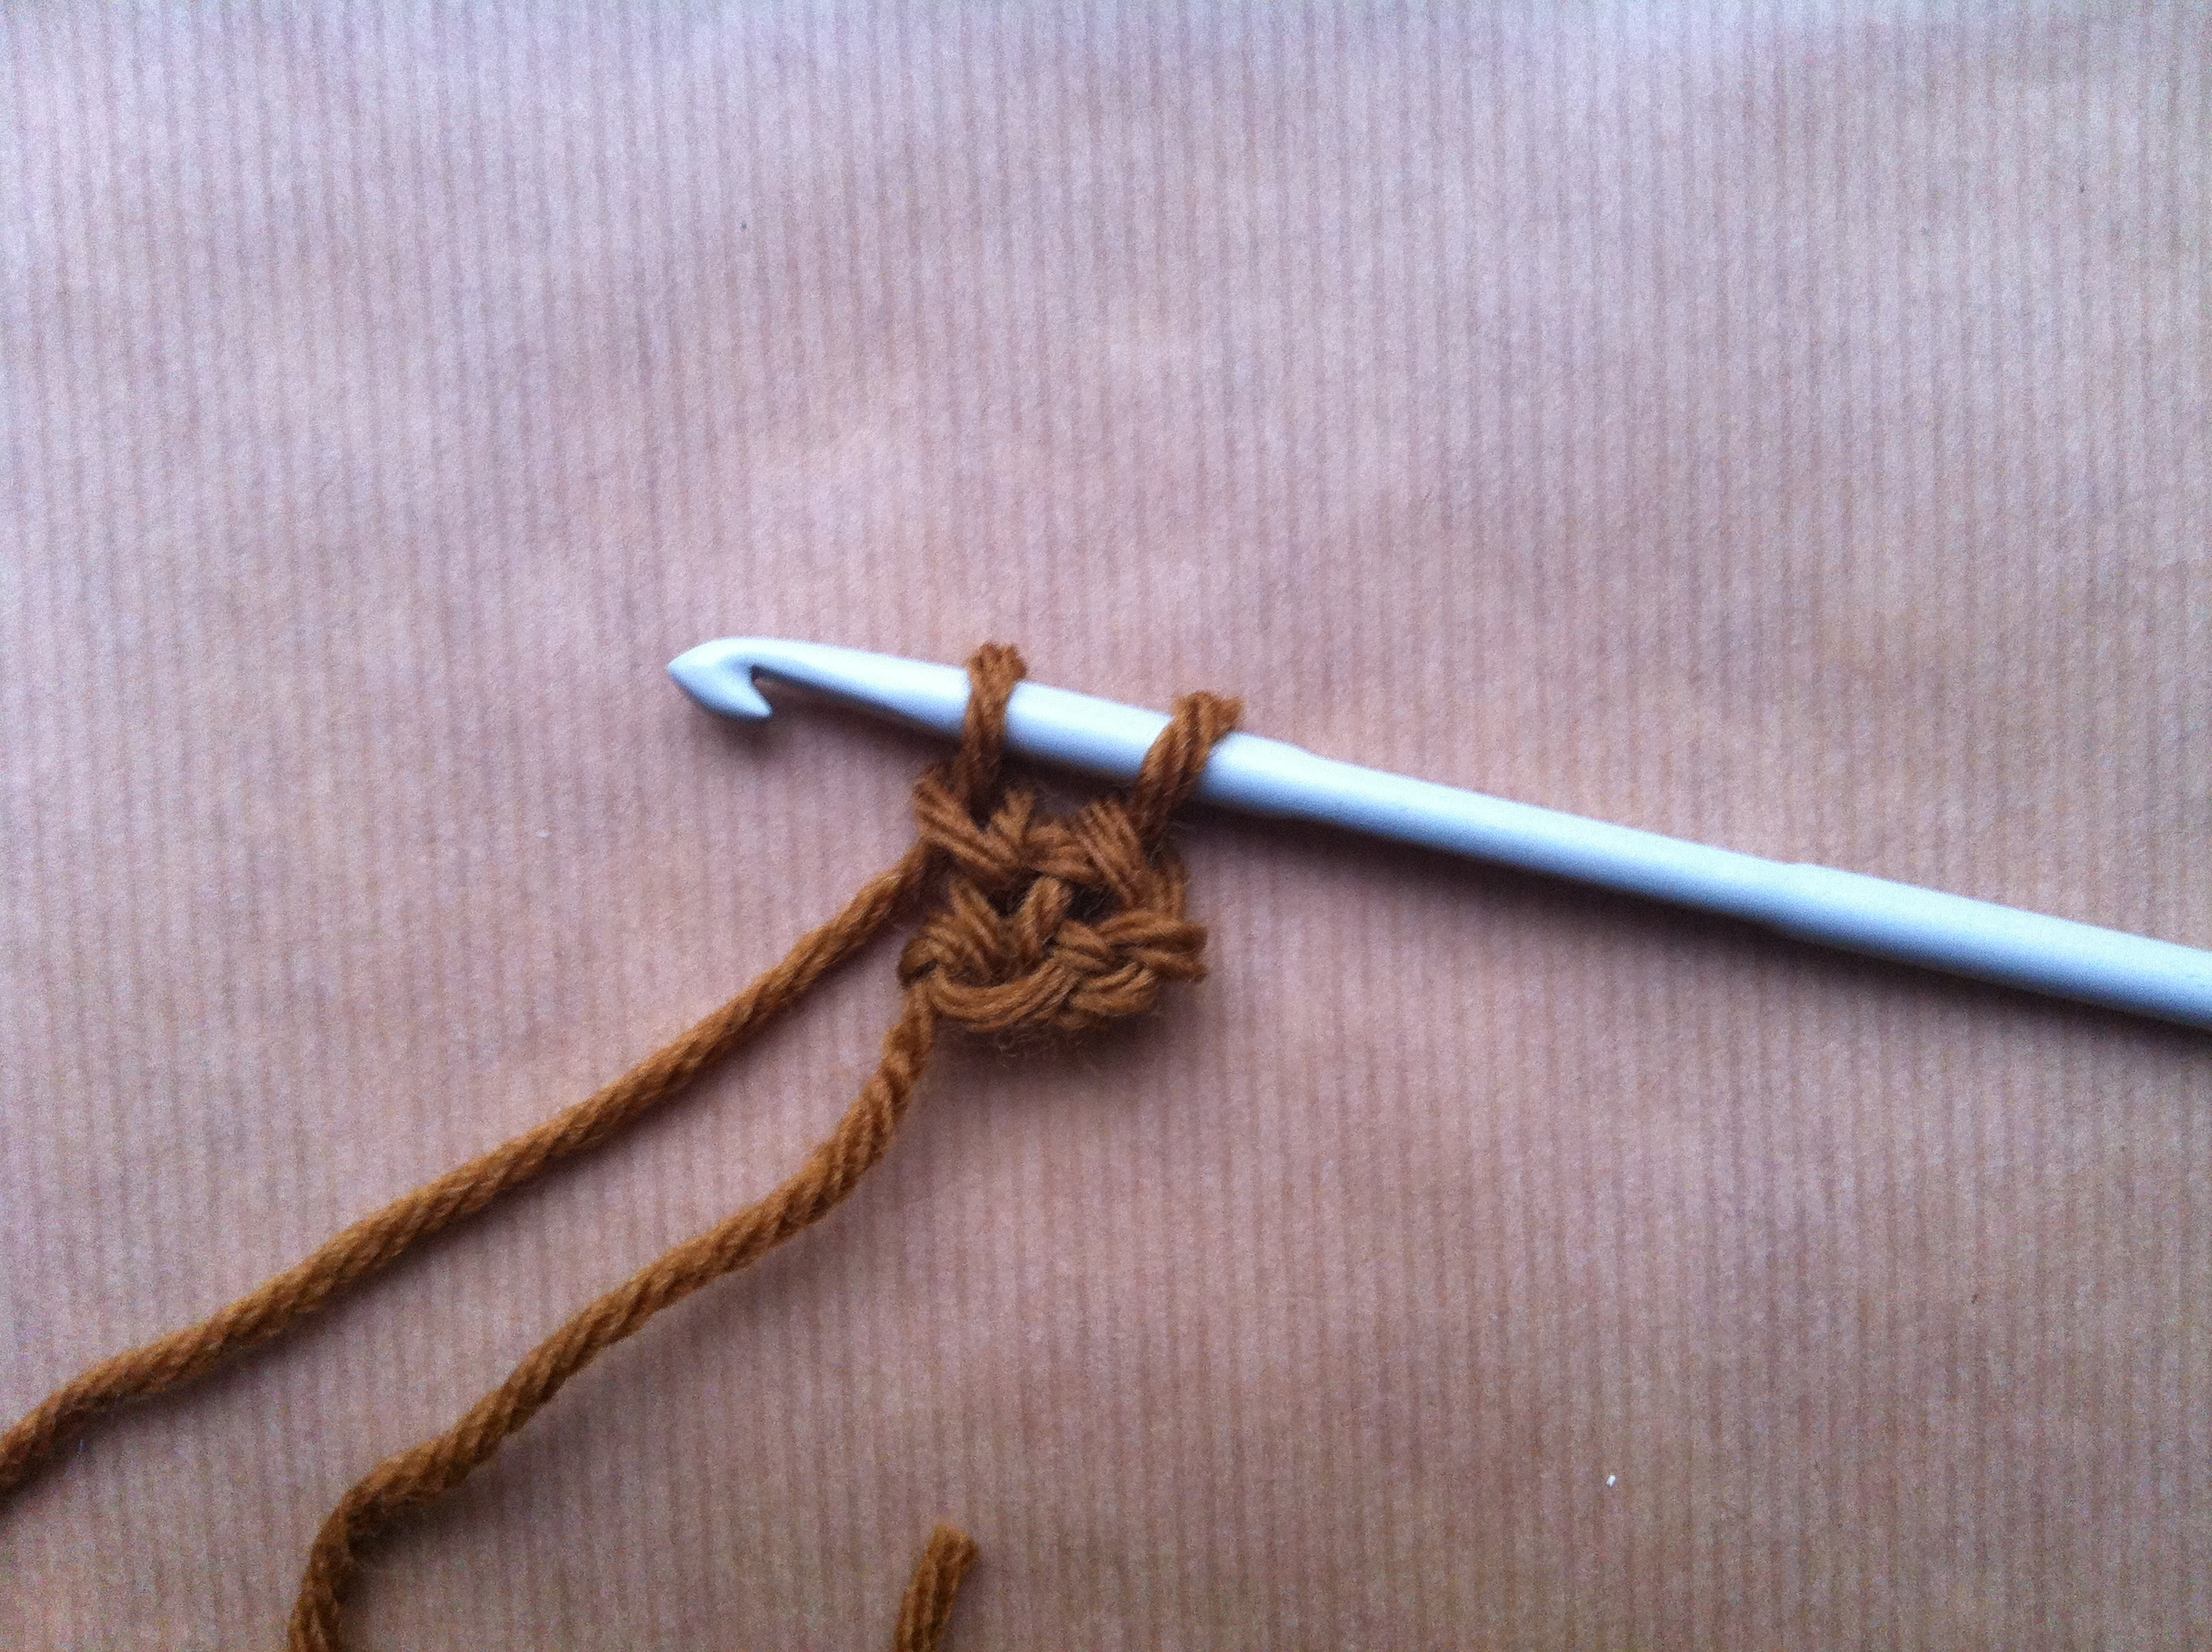
10) Yarn over, pull through two loops. Second fdc done. You can see that you are crocheting in a different direction, instead of side by side you are stacking the stitches up one on top of the other.
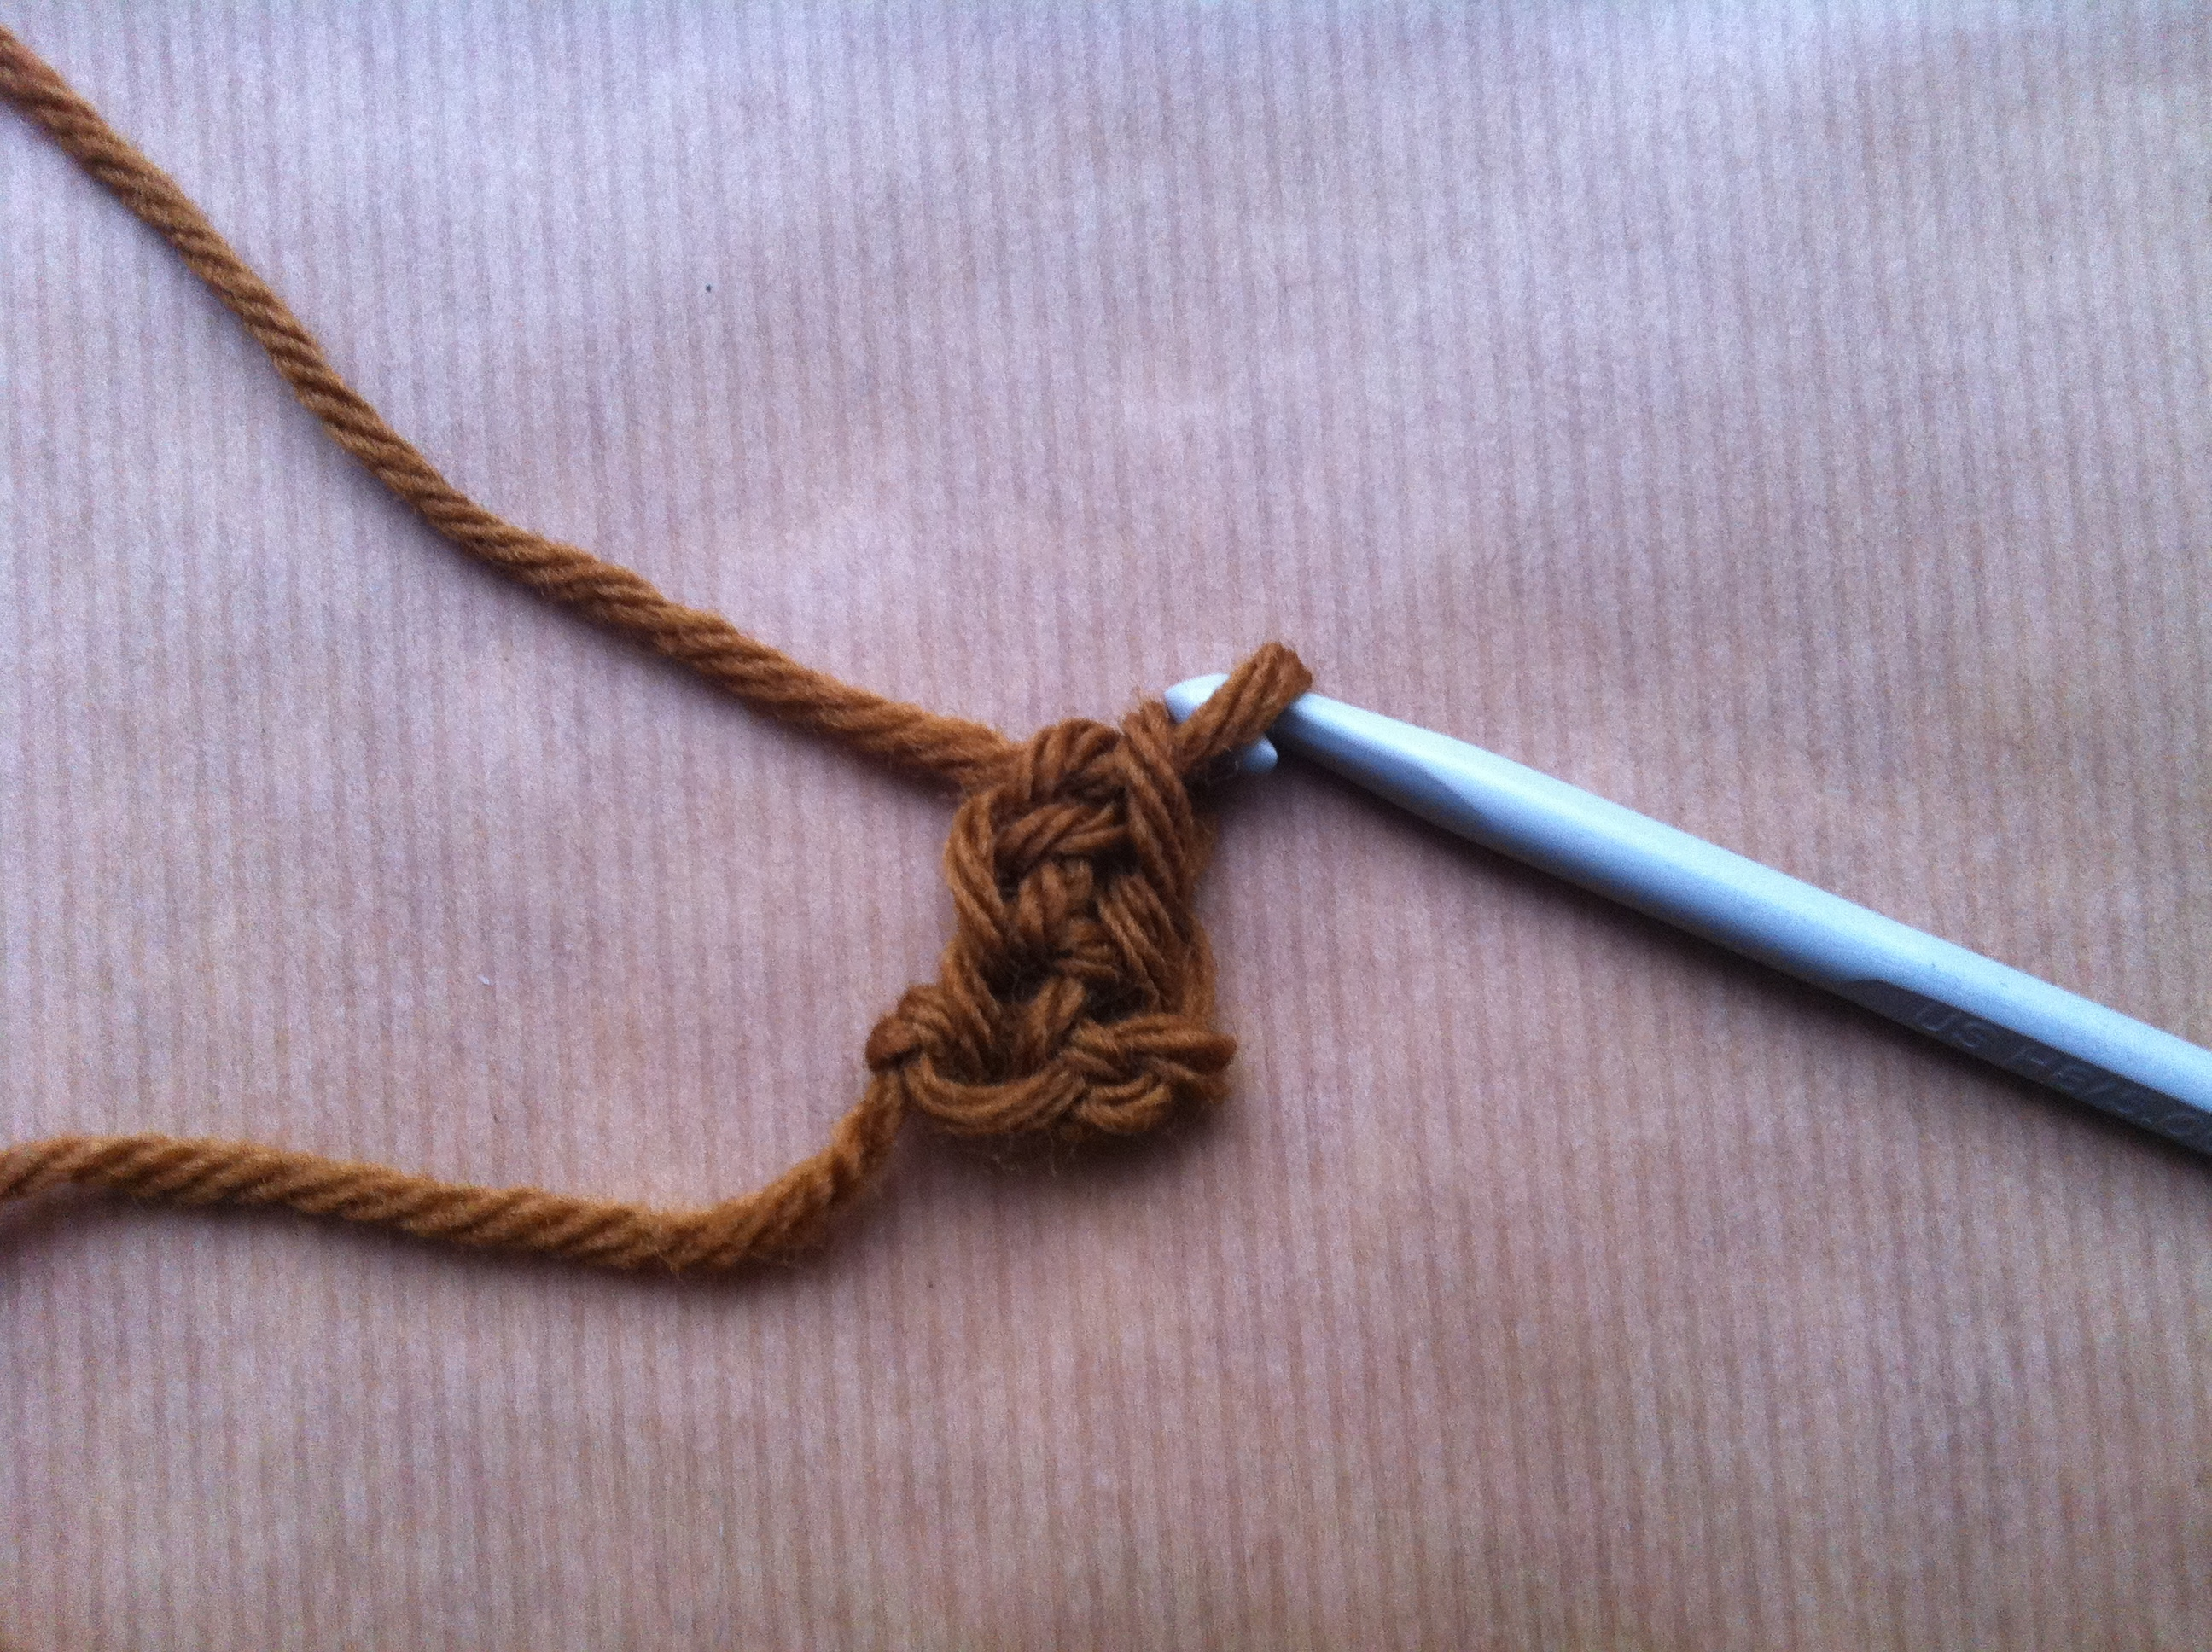
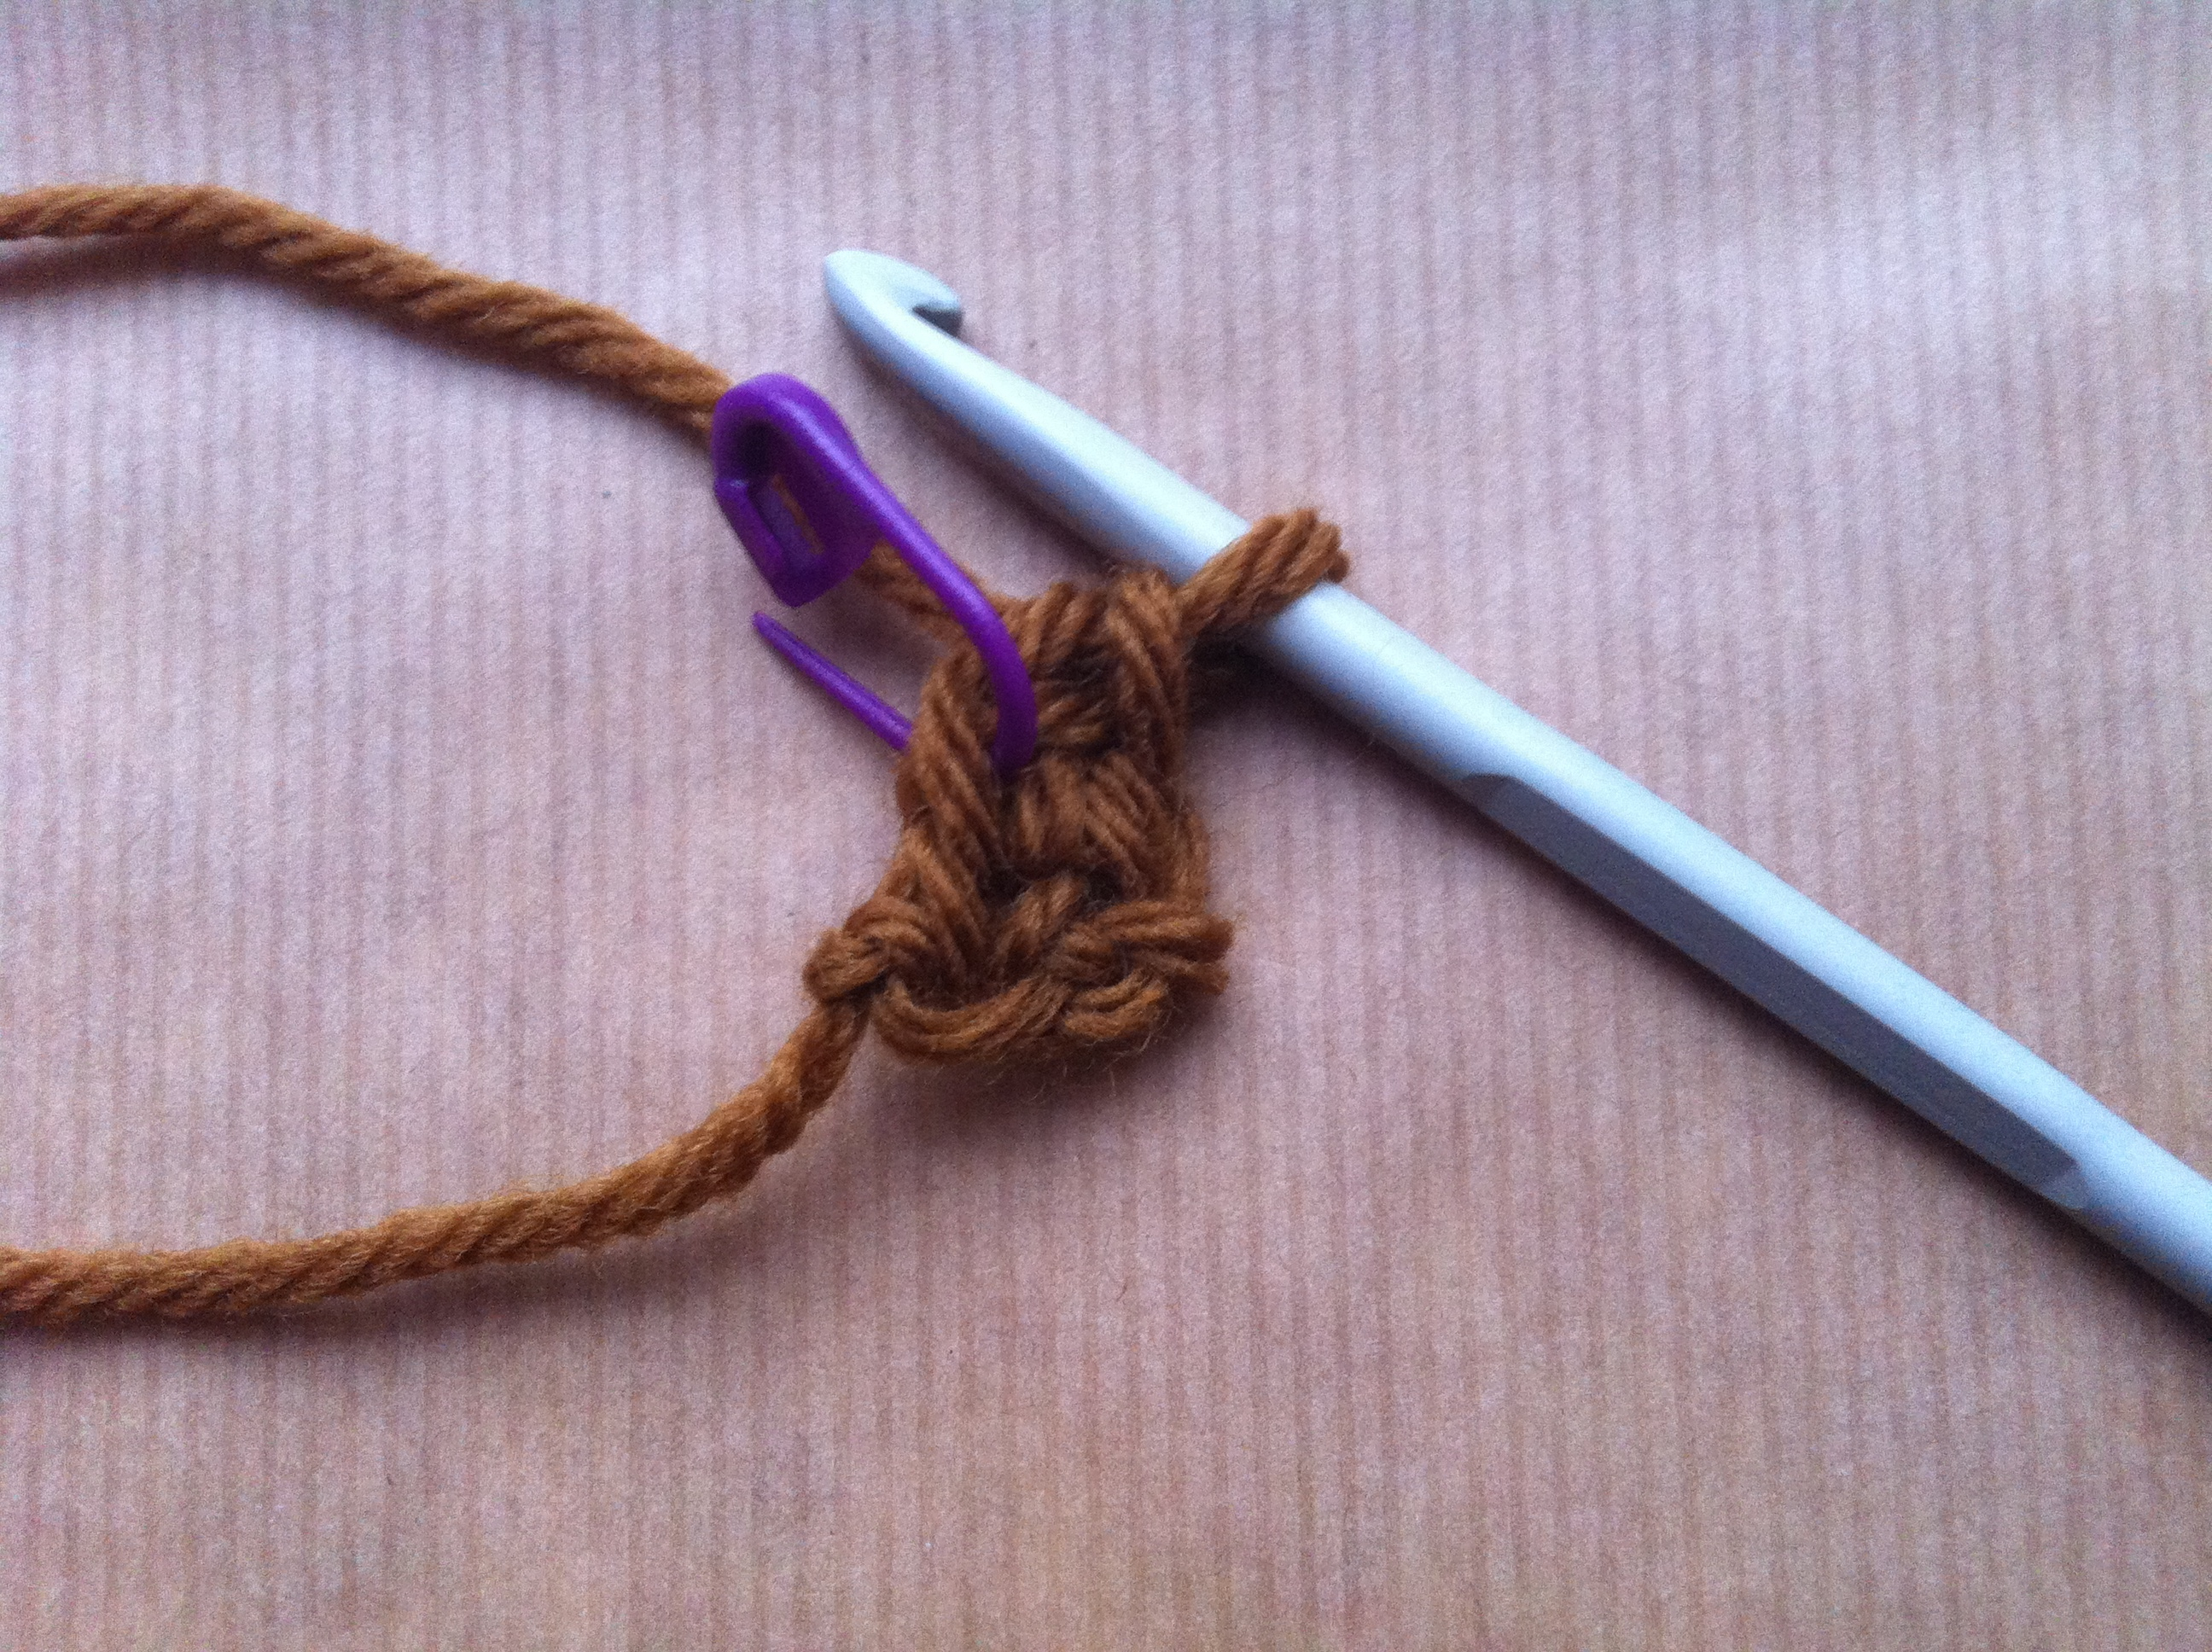
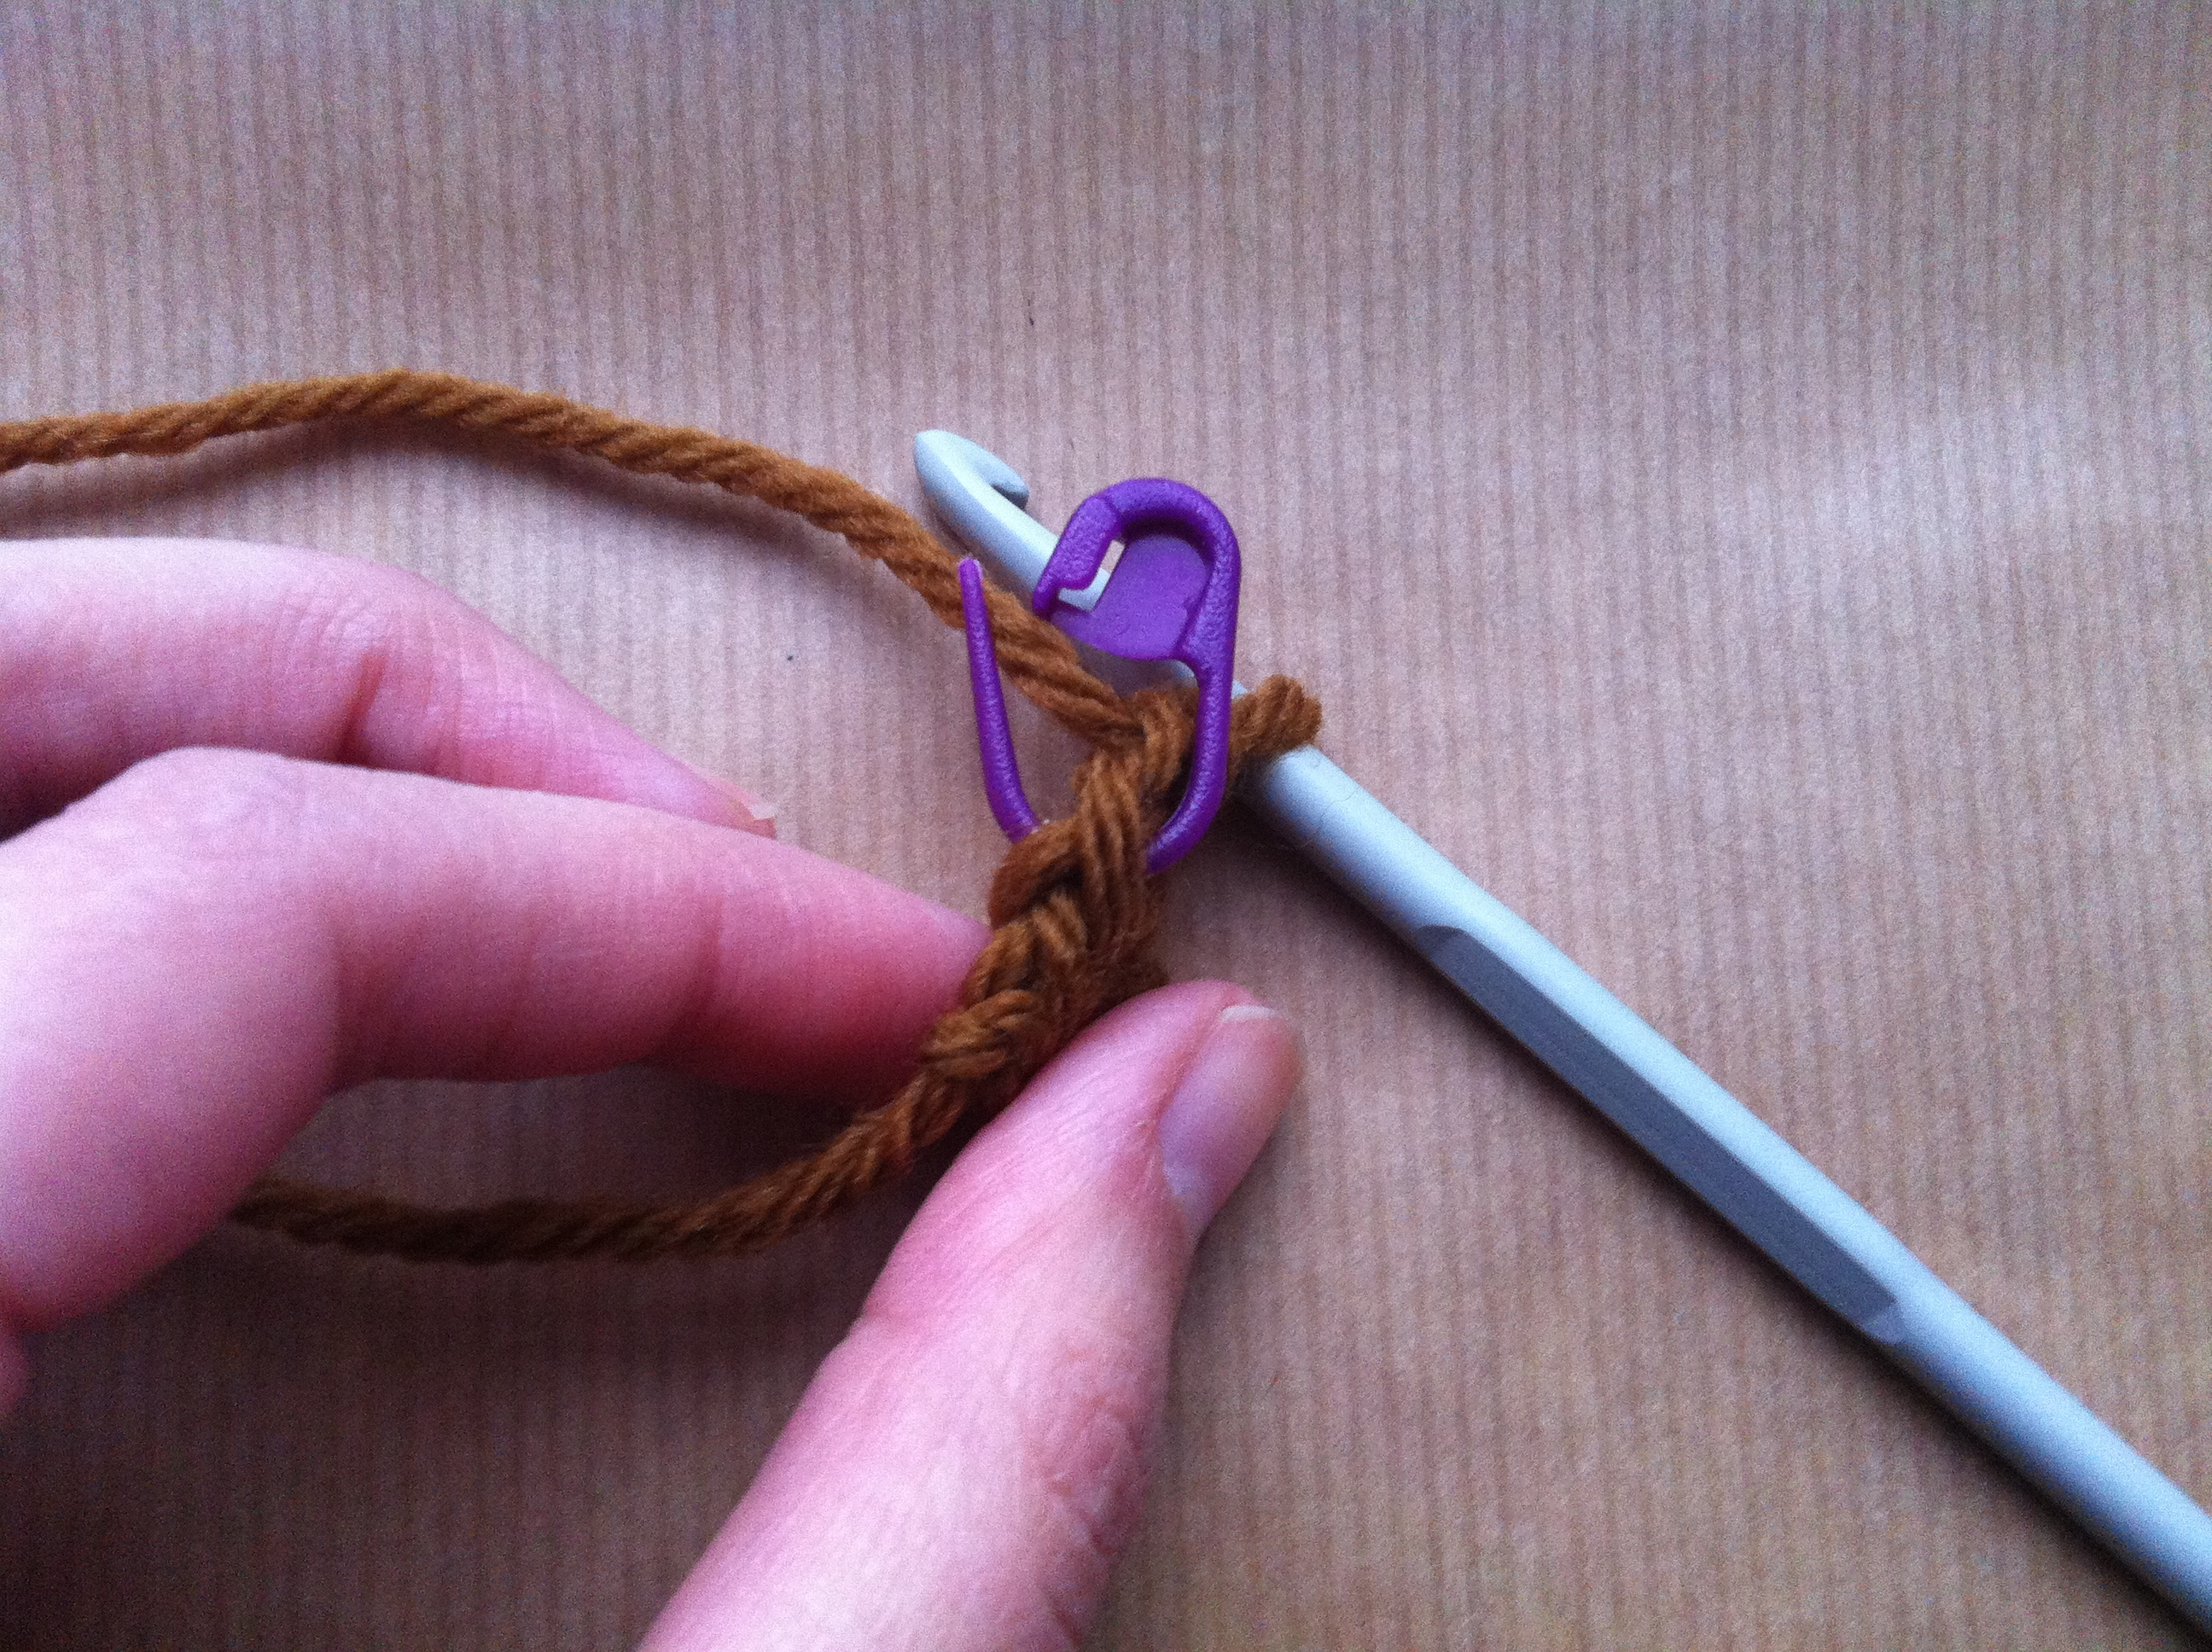
You see those two chains on the right side, where the hook is? Those are the chains where you will work your stitches normally for the next row or round. The one I am marking is the second stitch you just finished, the chain under it is the first stitch. You can put a stitch marker on the first stitch to make it easier to count how many stitches you have done.
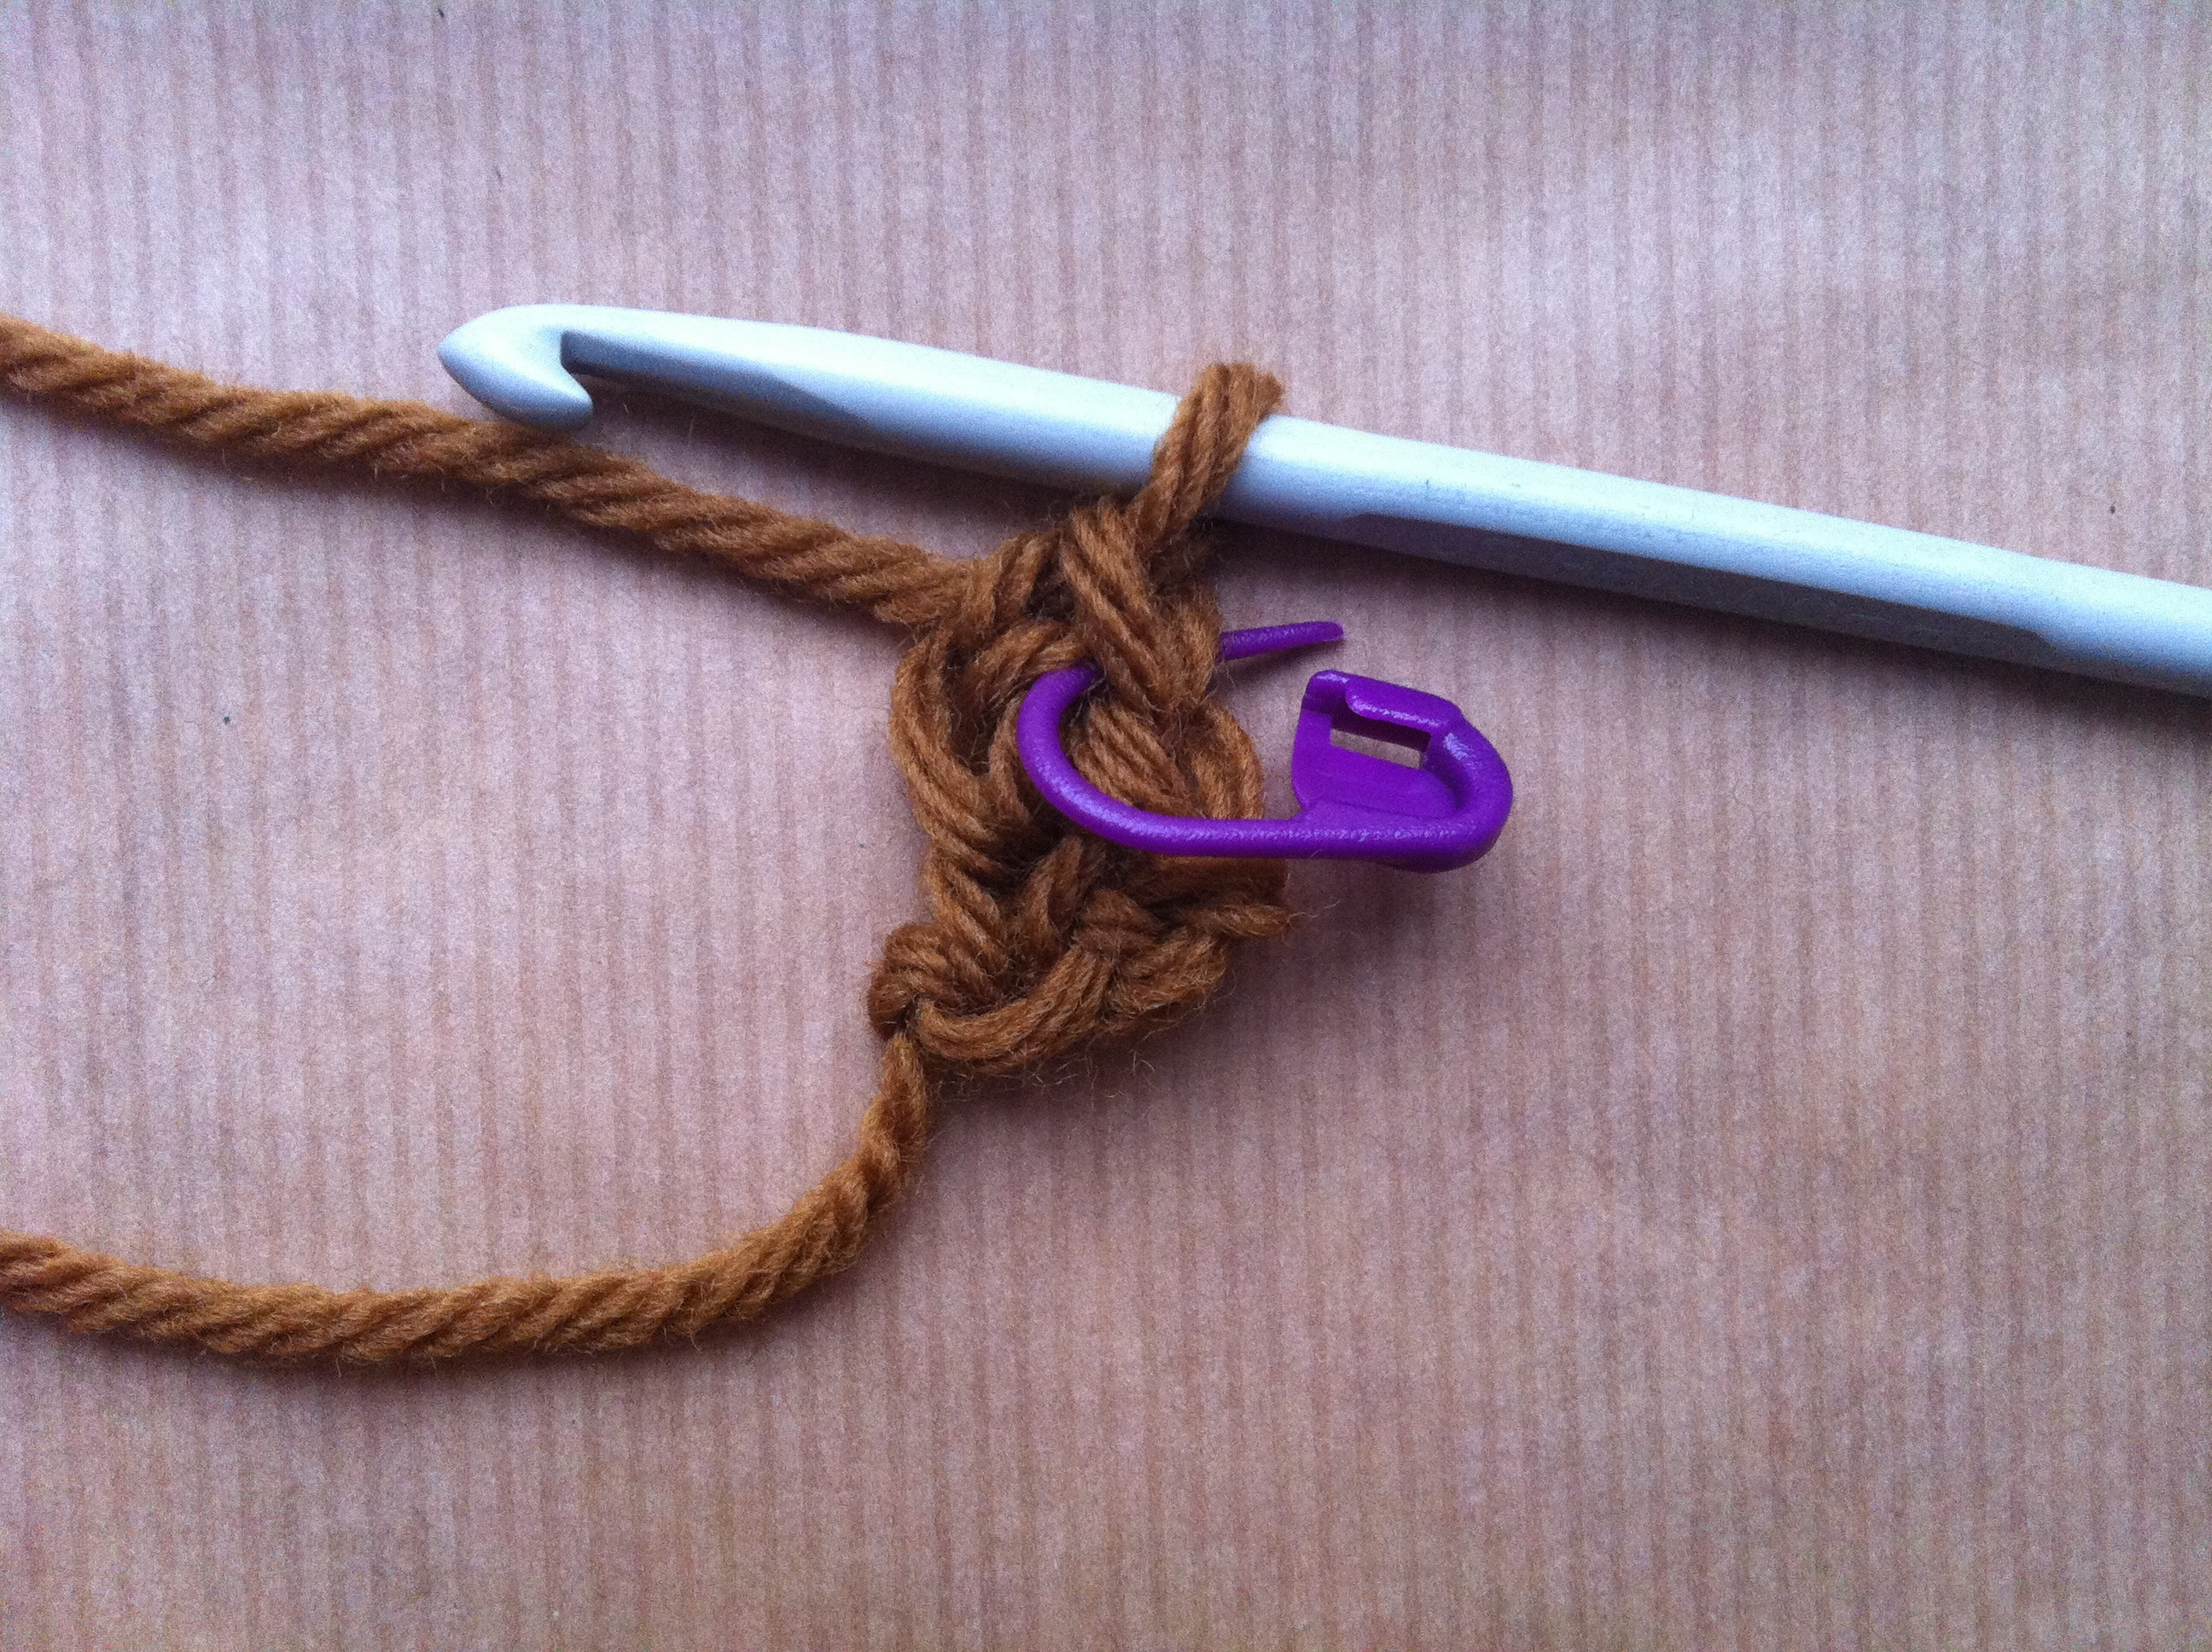
Repeat steps 7 to 10 until you have the number of stitches you need. The stitch marker in the pictures below show where you would insert your hook next if you were to do another stitch.
And that’s it! Hope that is useful 🙂

x
Sol

Thank you , this was very useful I have tried to copy people a few times but I got this ! A bit uneven at first but it’s looking better every time .
Louise
That’s great! So happy it was helpful 🙂