*Ravelry link*
Well we are definitely in holiday season: lights are starting to appear, Christmas songs can be heard in every shop and markets soon will follow in my part of the world. And what better way of getting into the Xmas spirit than crocheting this cute little fair isle ornaments!
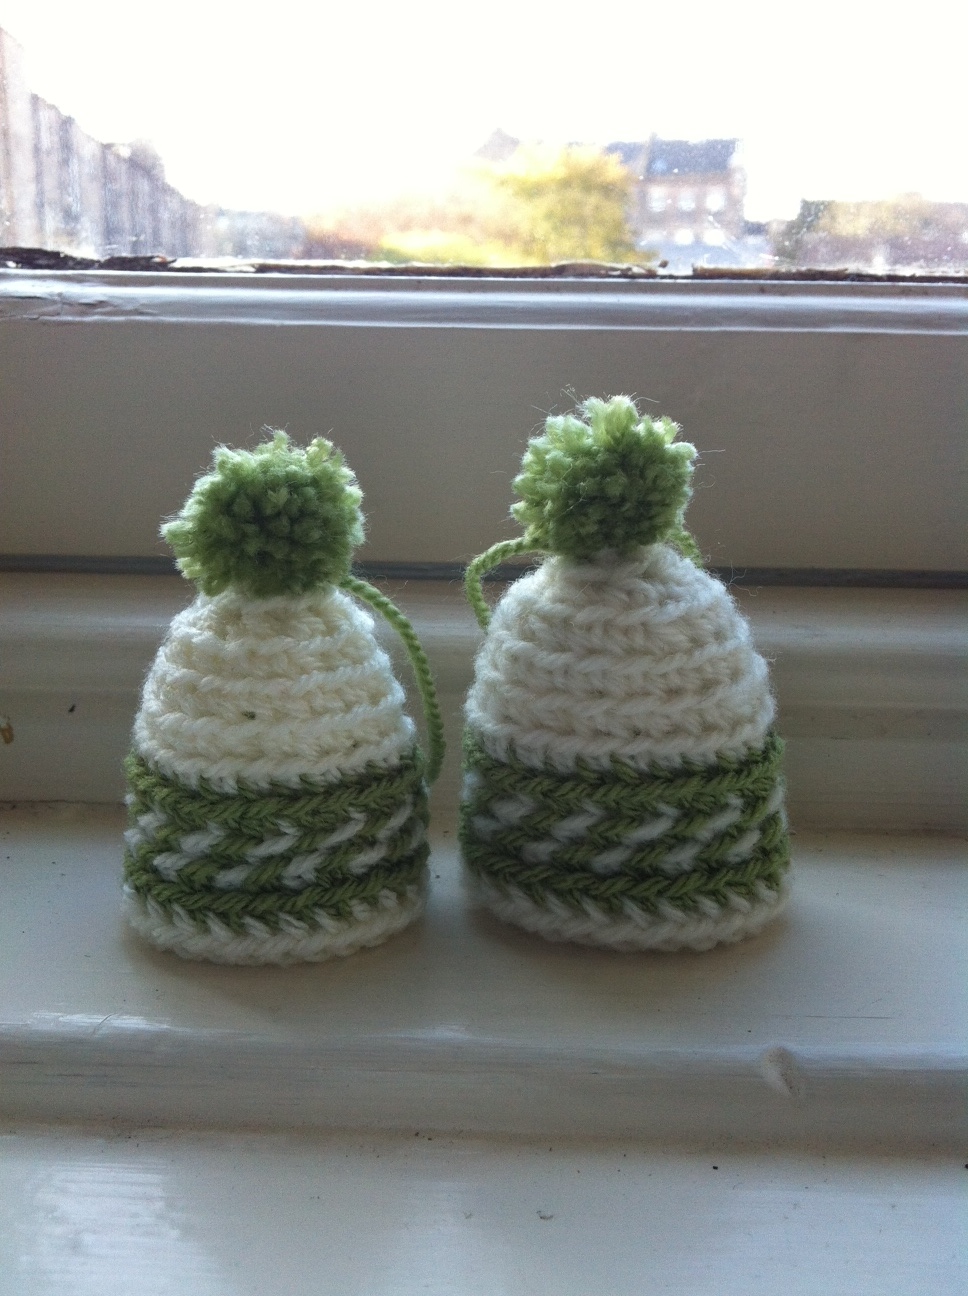
This pattern works up very quickly, it only has two rows of colorwork but I have prepared a full tutorial so that you can follow it no matter what level of crochet you are comfortable with. I used a DK yarn and 3.5mm hook, but you could also use a 4mm (see the small difference in size in picture below).

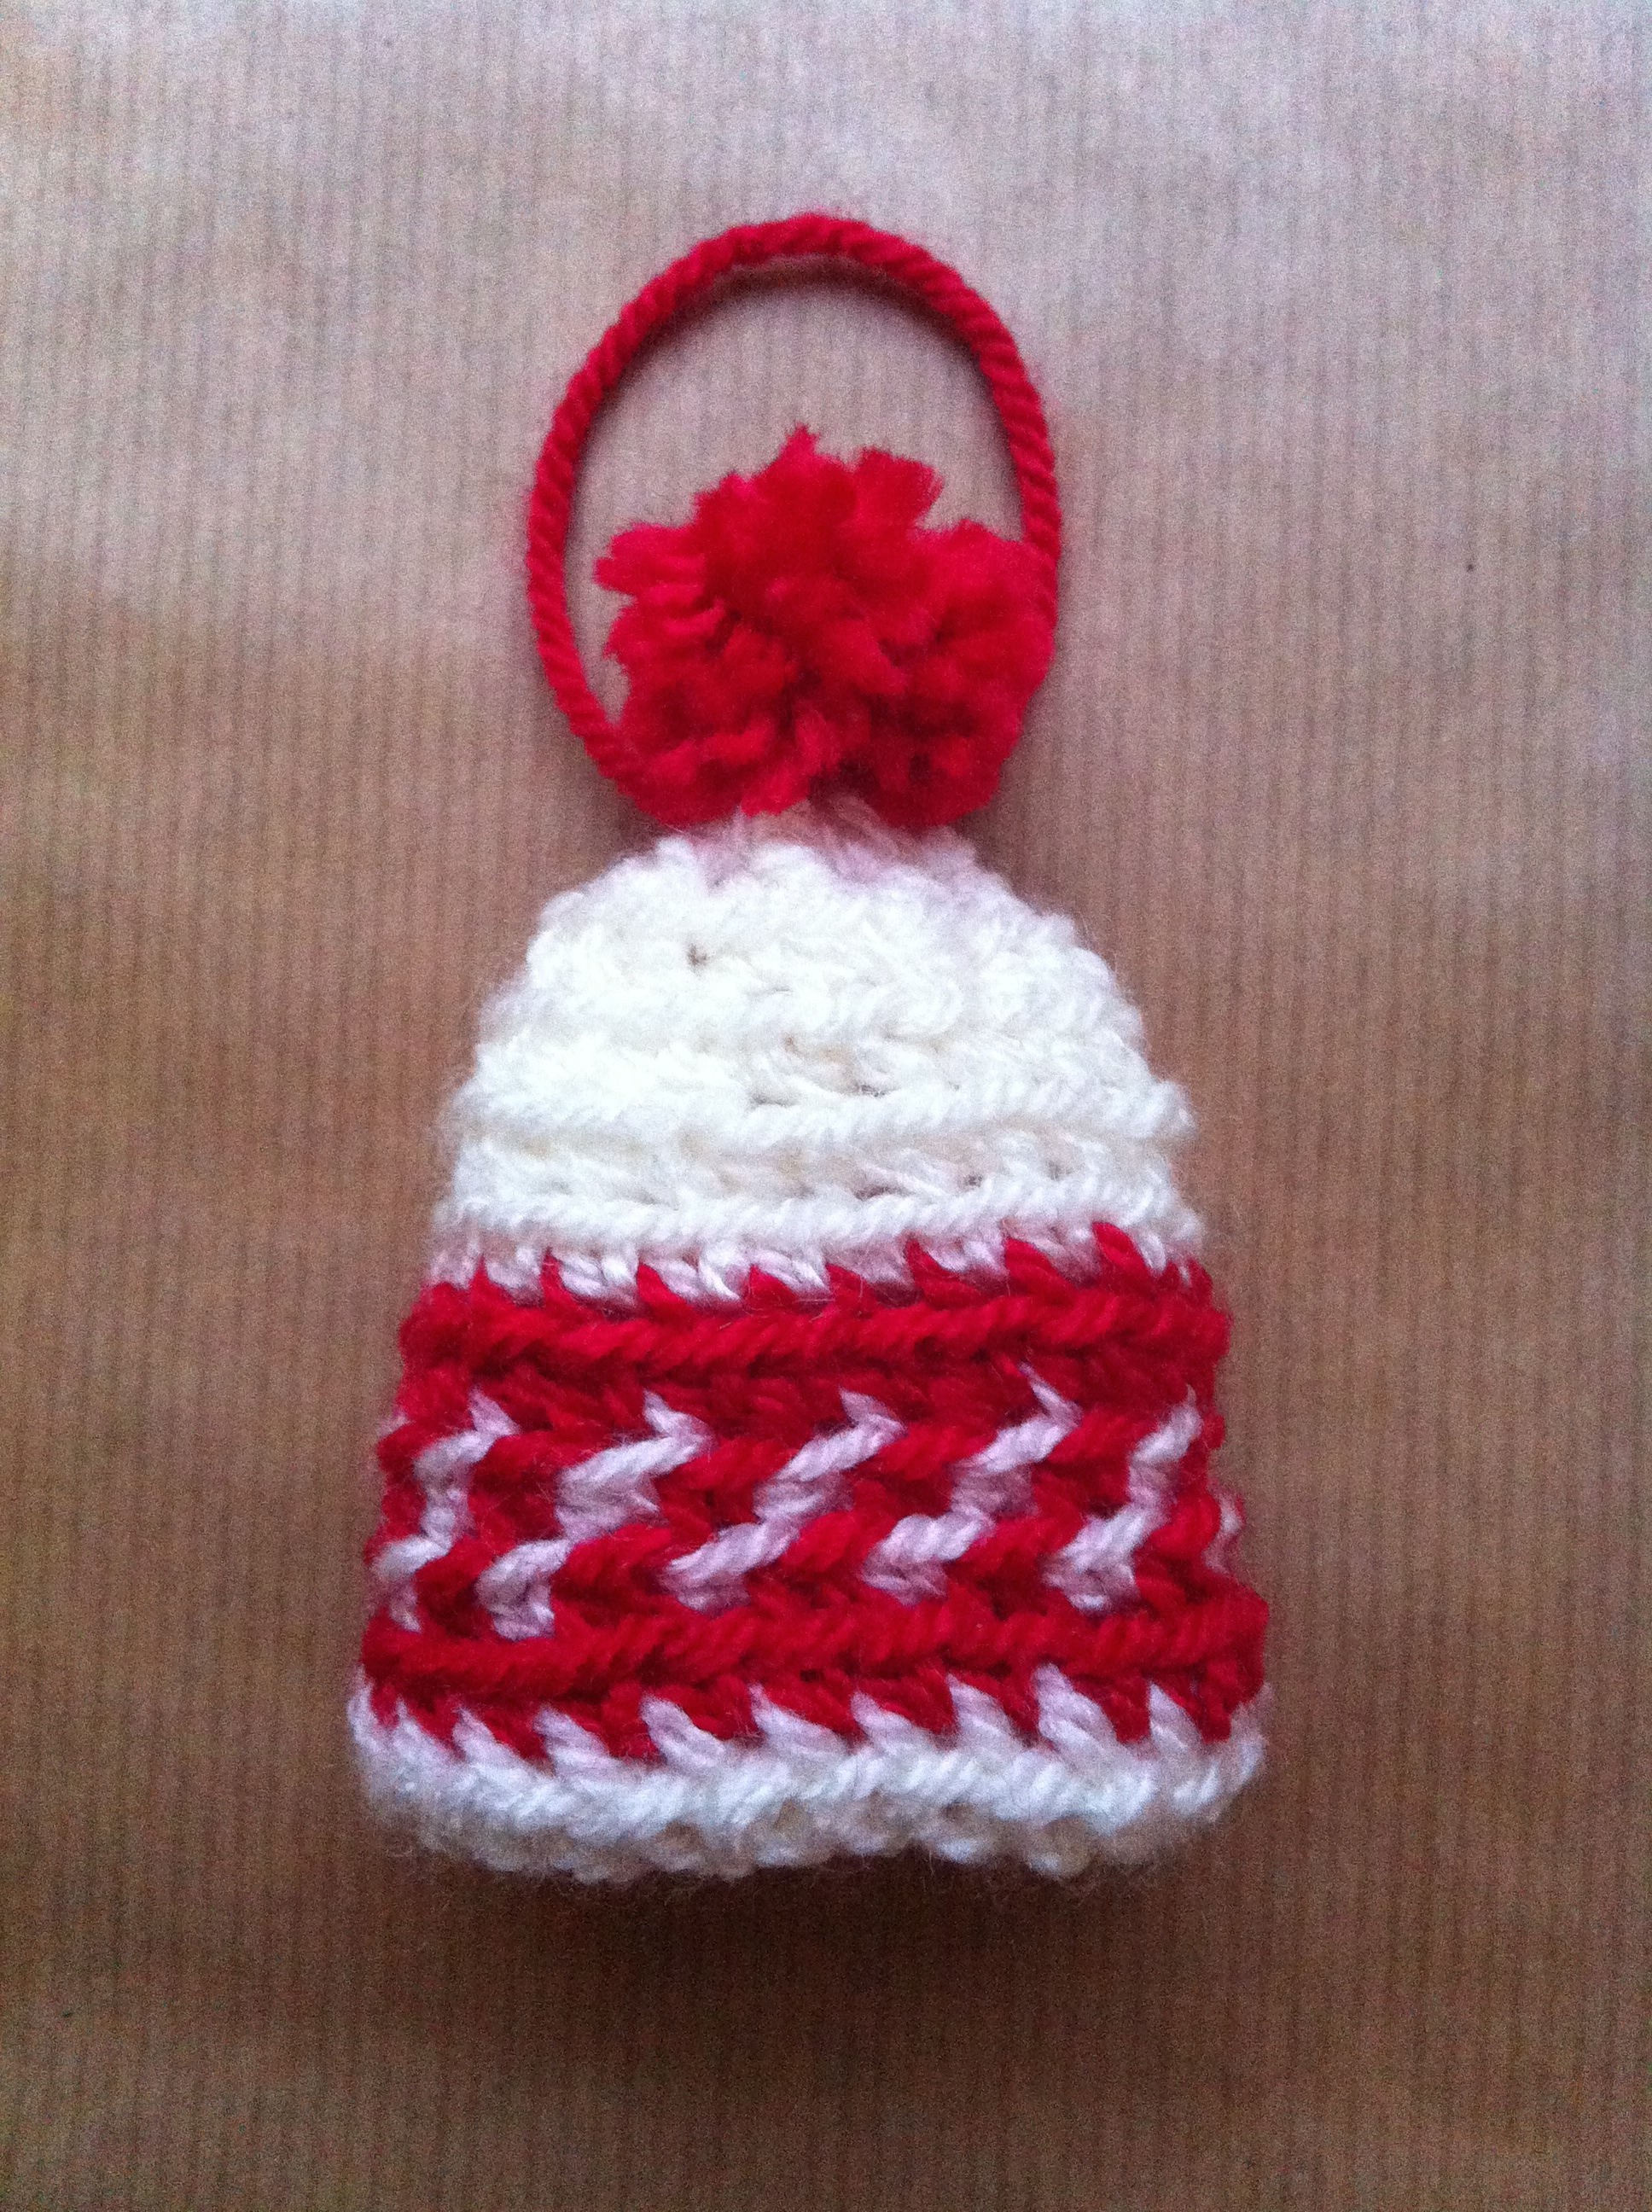
And here it is!
Mini Fair Isle Hats Tutorial
This pattern is worked in the round, starting with a row of foundation double crochet. It has two rounds of colourwork where the unused colour is carried as strands on the inside of the hat. The pompom gives the final touch for this cute little Xmas ornament.
Size
8cm (3″) tall
Materials
3.5mm hook (could be replaced for a 4mm if necessary)
DK yarn in two Xmas colours (or any of your preference), I used Stylecraft Special DK in Lipstick, Spring Green and Cream from a blanket I have in progress
Needle to weave in ends
Pompom maker 2cm diameter (bought or made by yourself)
Abbreviations
ch – chain
st – stitch
sl st – slip stitch
fdc – UK foundation double crochet
dc – UK double crochet
dc2tog – UK double crochet decrease
BL – back loop of chain
Stitch guide
fdc: Follow this link for a tutorial.
dc2tog: insert hook in stitch, yarn over and pull up a loop, insert hook in next stitch, yarn over and pull up a loop, yarn over and pull through 3 loops on hook.
Notes:
- When joining each round, slip stitch to first dc (not turning chain), pull very tight to make that stitch as small as possible, then chain one, and pull tight again to make that chain very small. This technique by Crochet Ever After helps keep a straight and less noticeable seam.
- The first st of each round is done in the same st where you joined with a sl st.
- I have written the instructions for the cream/red hat so those will be the colours I will reference to, just keep your own colours in mind when following the pattern.
- Number of stitches in parenthesis shows how many stitches you should have at the end of the round.
Instructions:
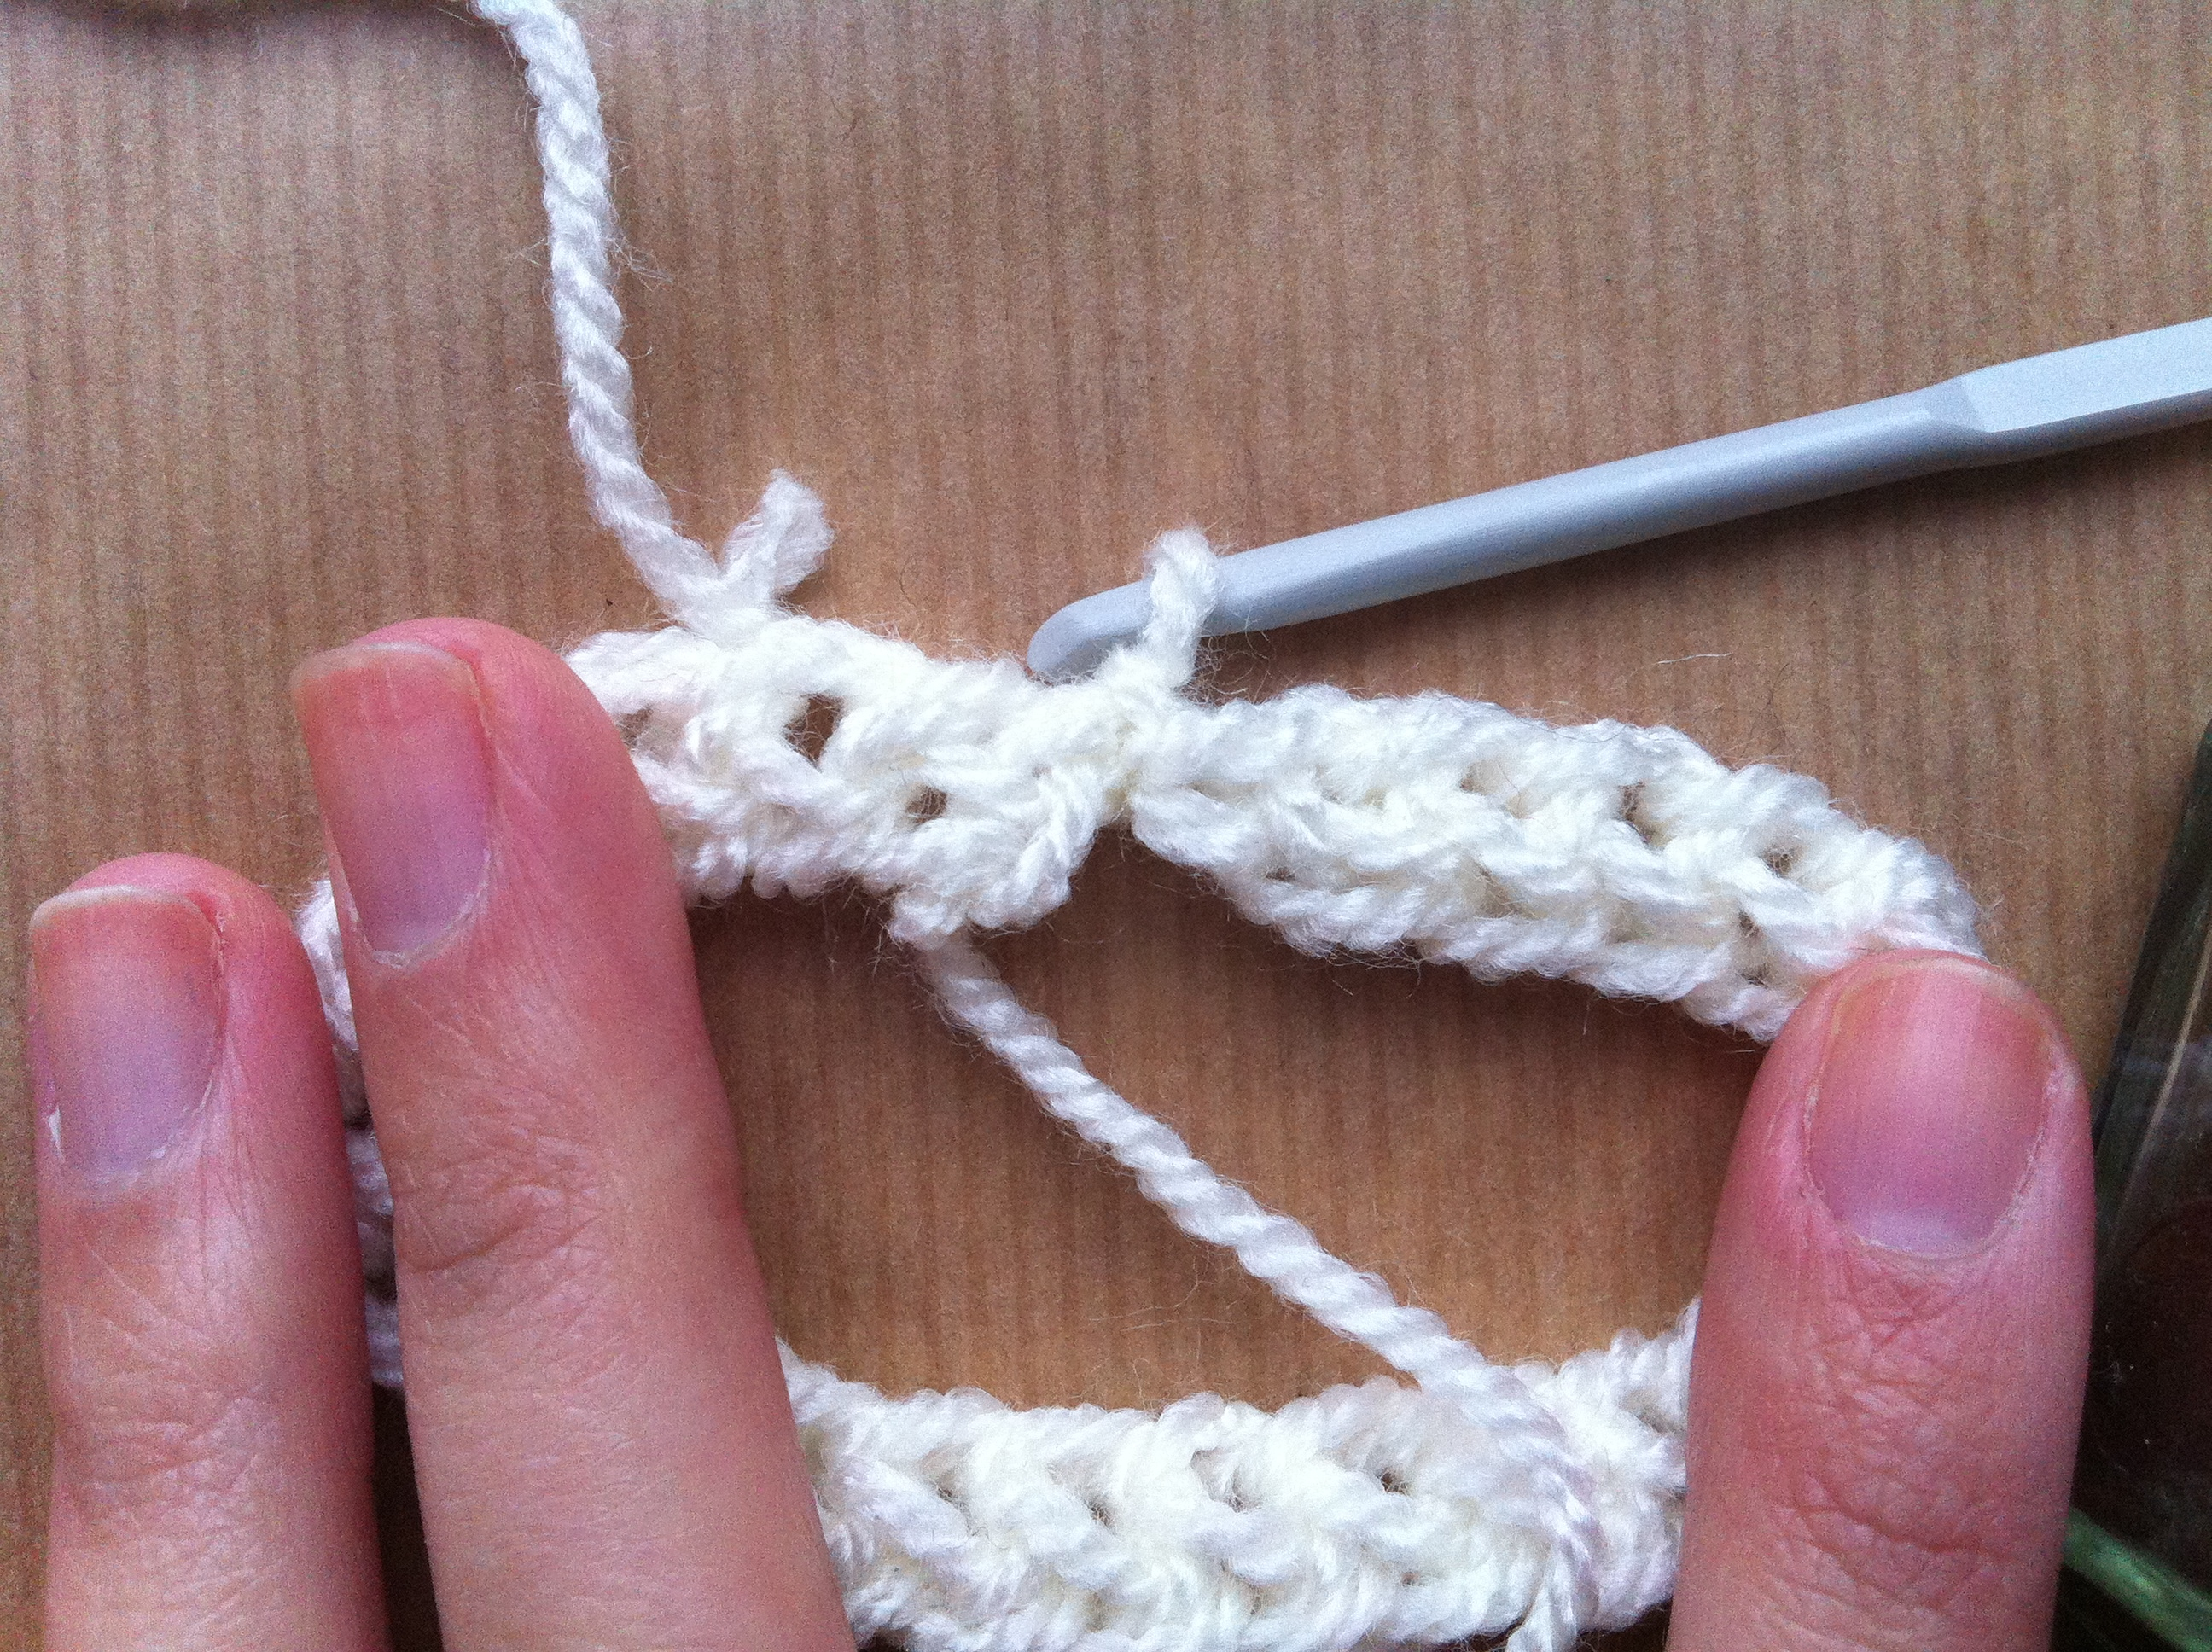
1. With the cream colour make 24 fdc (here is a tutorial for this stitch). Make sure your tail is not too short, since you will be using it to close a little gap once finished.

2. Form a circle making sure you are not twisting the stitches.

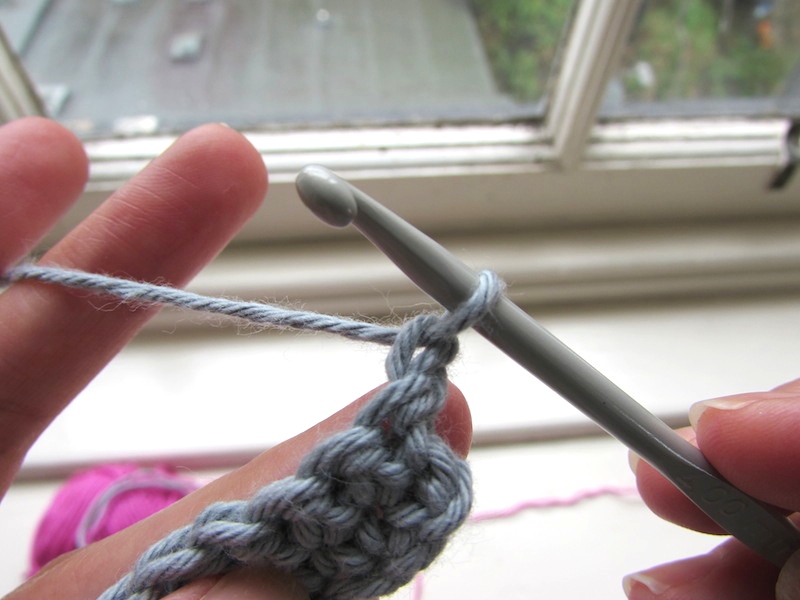
3. Join to first st with sl st. Pull tight to make it as small as possible. As you can see there is a small gap, we will sew both sides together at the end.

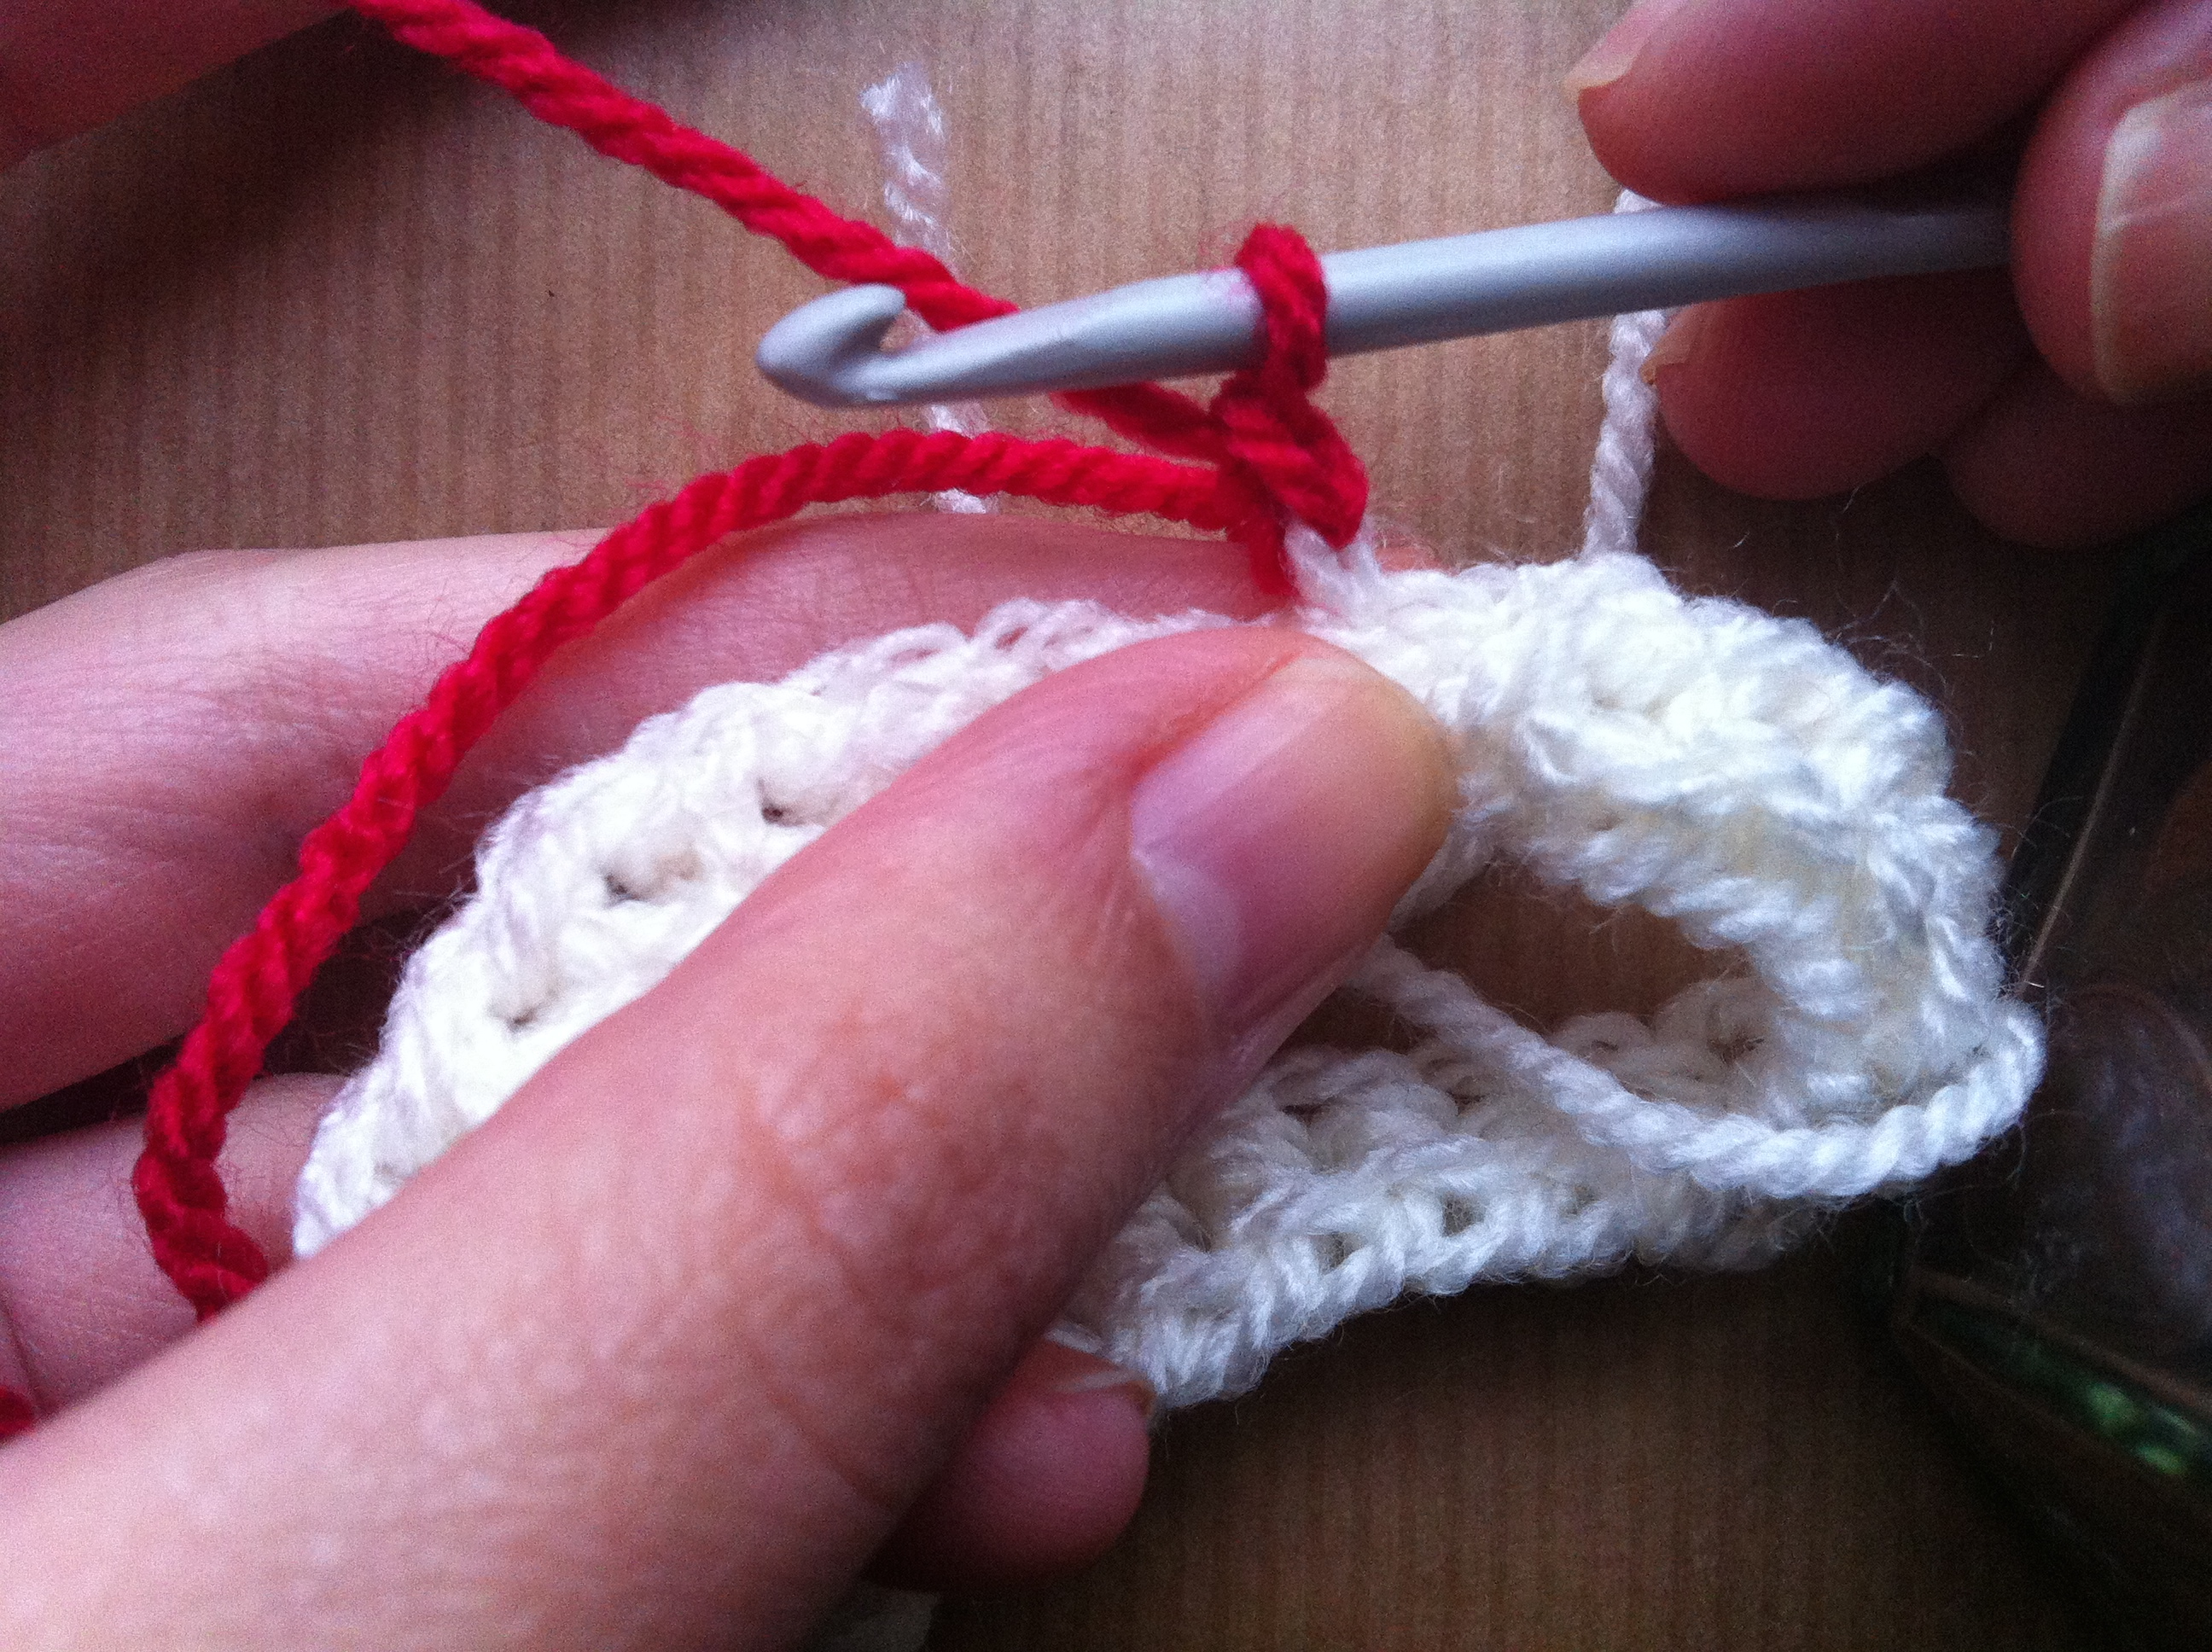
4. Keeping your hook where it is, make a slip knot with the other colour.

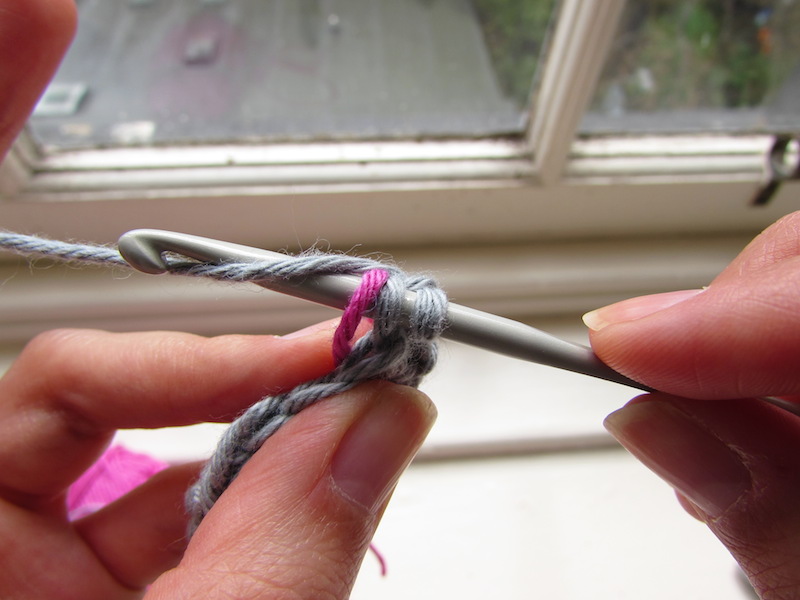
5. Pull the red loop through the white one and pull tight (pull the white yarn tight as well).

6. Ch 1, pull tight. You will continue working with the red yarn, leave the white in the back and don’t cut it since you will pick it up again soon.


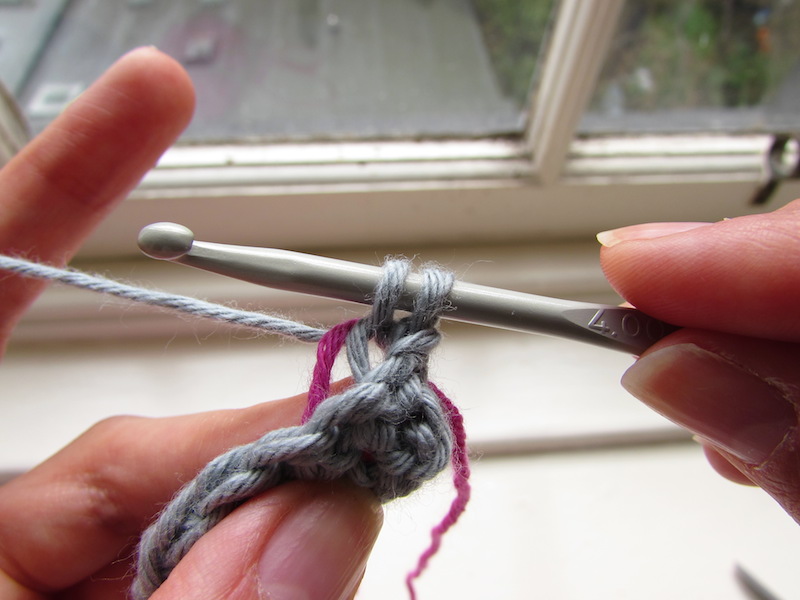
7. Dc in the back loop (BL) of the same stitch where you did the sl st. From here onwards all dc should be in the back loop only. Dc in next st and every st across (24st).

8. Join to first st of the round with sl st, pull tight.


9. Ch 1, pull tight (You should pull tight after the sl st and ch 1 when closing every round from here onwards, but won’t keep repeating it :P)


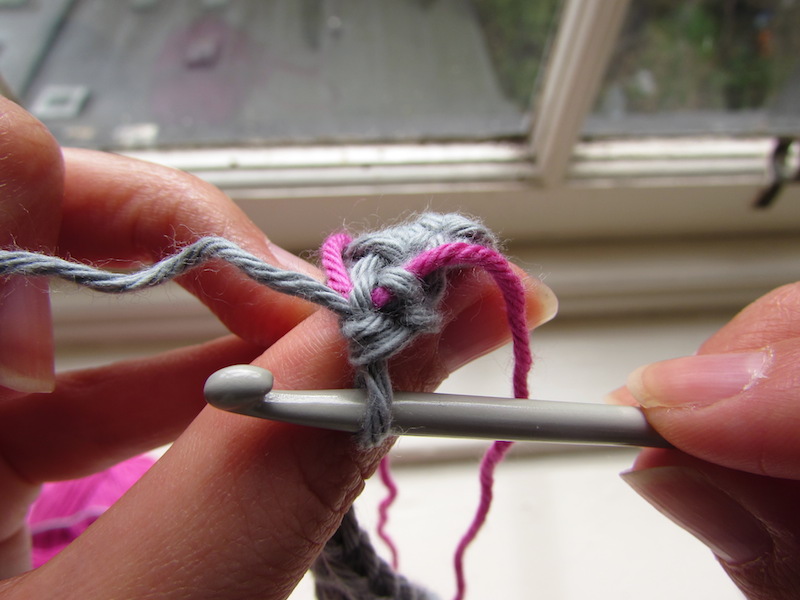
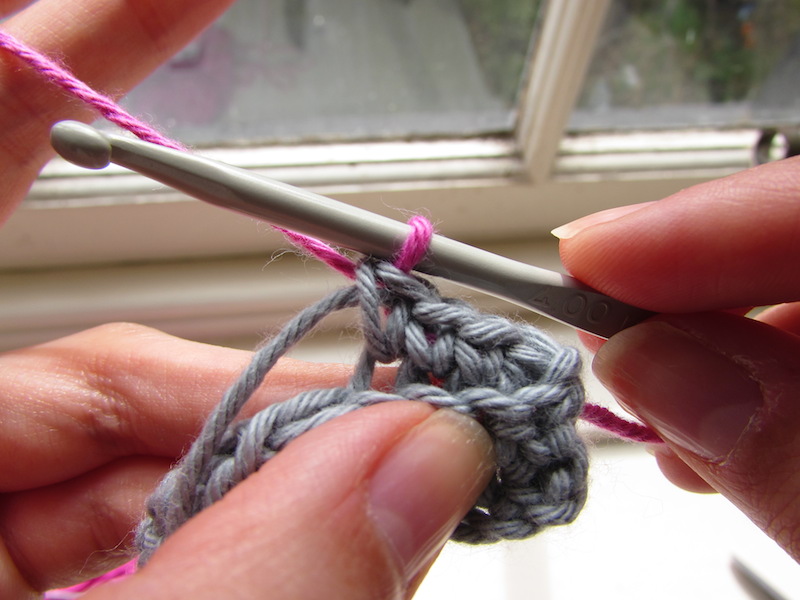
10. Insert your hook in the BL of the first st (where you did the sl st) yarn over and pull up a loop. Drop the red yarn, yarn over with the white and pull through both loops on hook.


11. Insert your hook in the BL of next st, yarn over and pull up a loop.

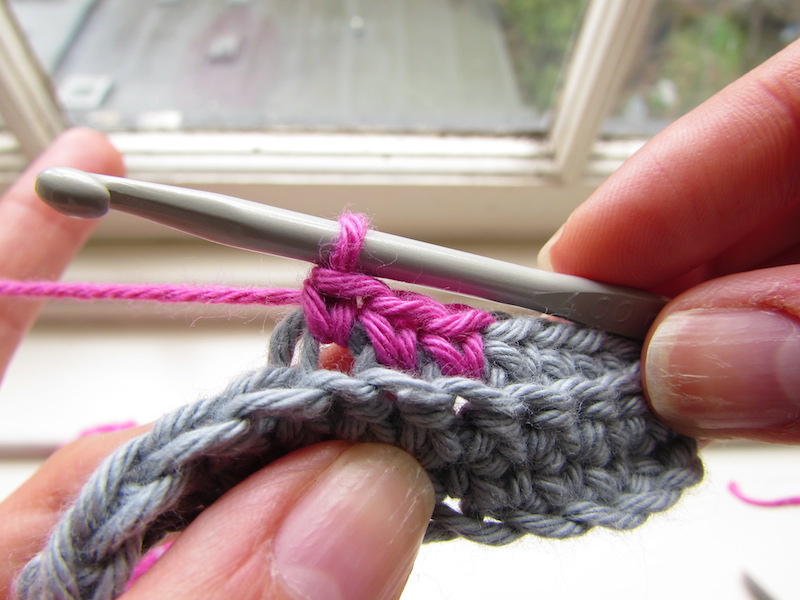
12. Drop white yarn, yarn over with red yarn and pull through two loops on hook.


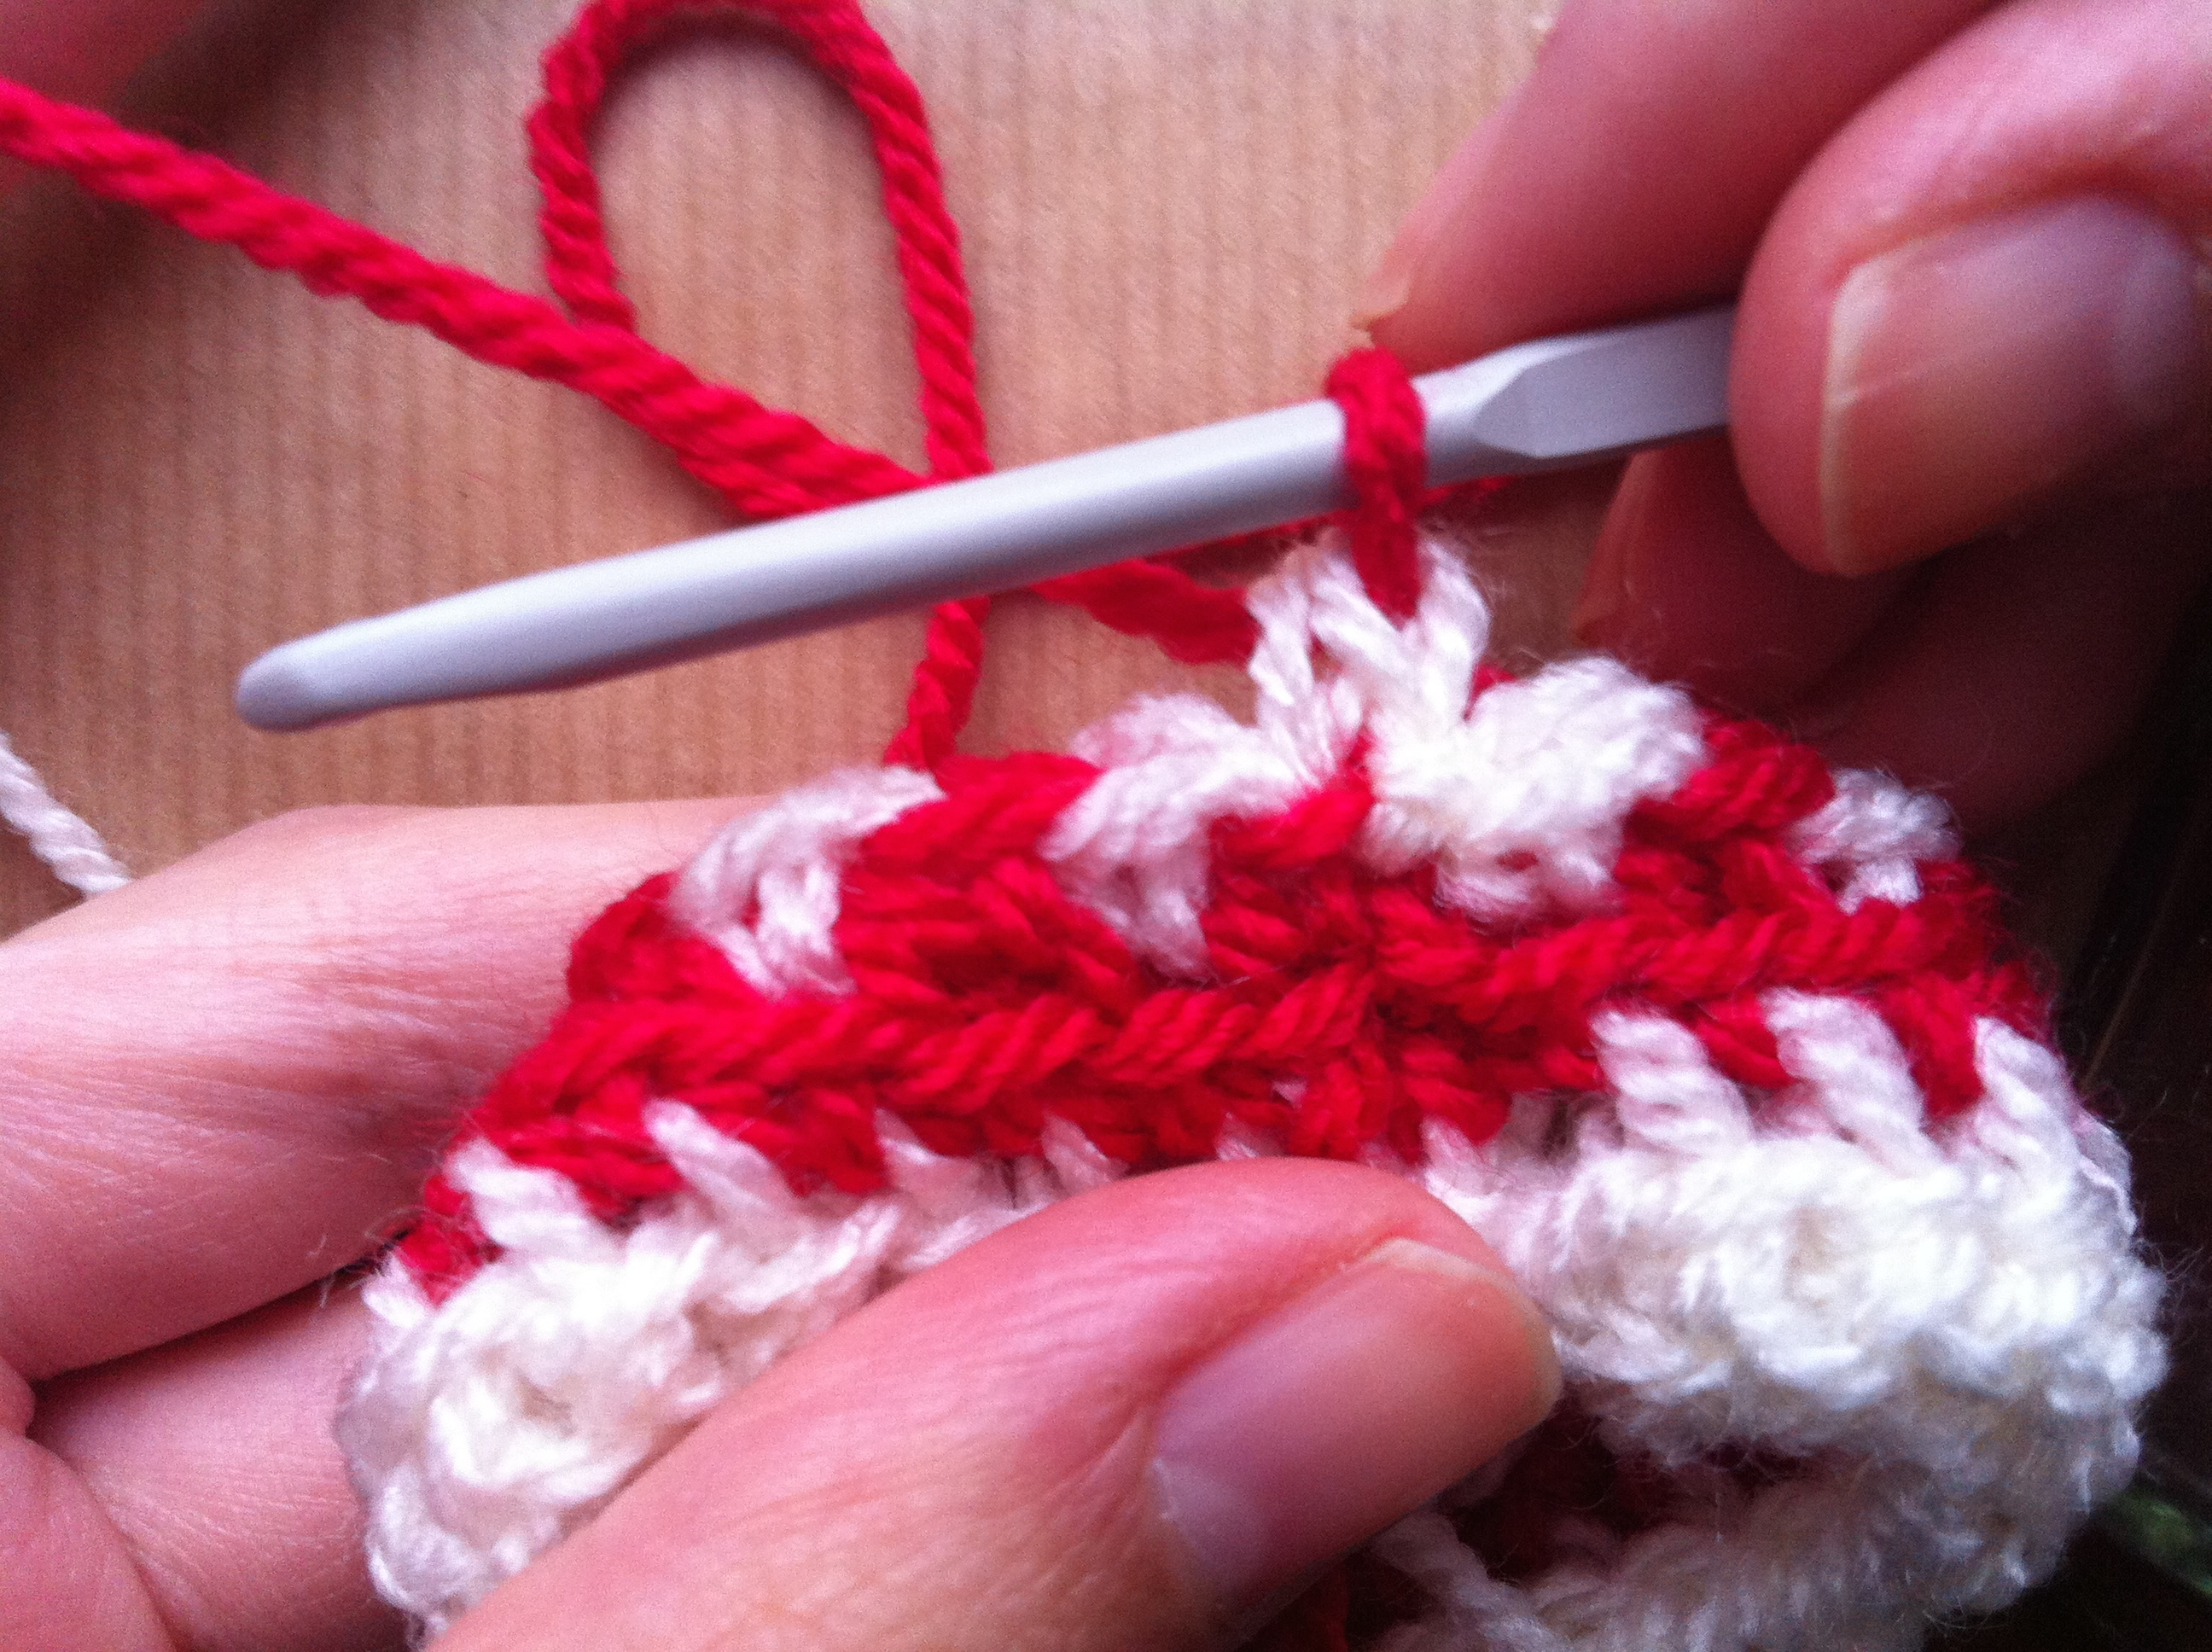
13. You will repeat steps 10 to 12 until the end of the round (one red st, one white, one red, one white…), but first I will show you how to keep your yarns from tangling. Like on step 10, insert your hook in the BL of next st, yarn over and pull up a loop.

14. If your yarns are tangled already, untangle them and put the white yarn on your left, the red one in front of you. Now you need to pick up the white yarn, so drop the red in front of you and pick up the white from your left. You will notice that the white goes under the red when doing this. Yarn over and pull through 2 loops.


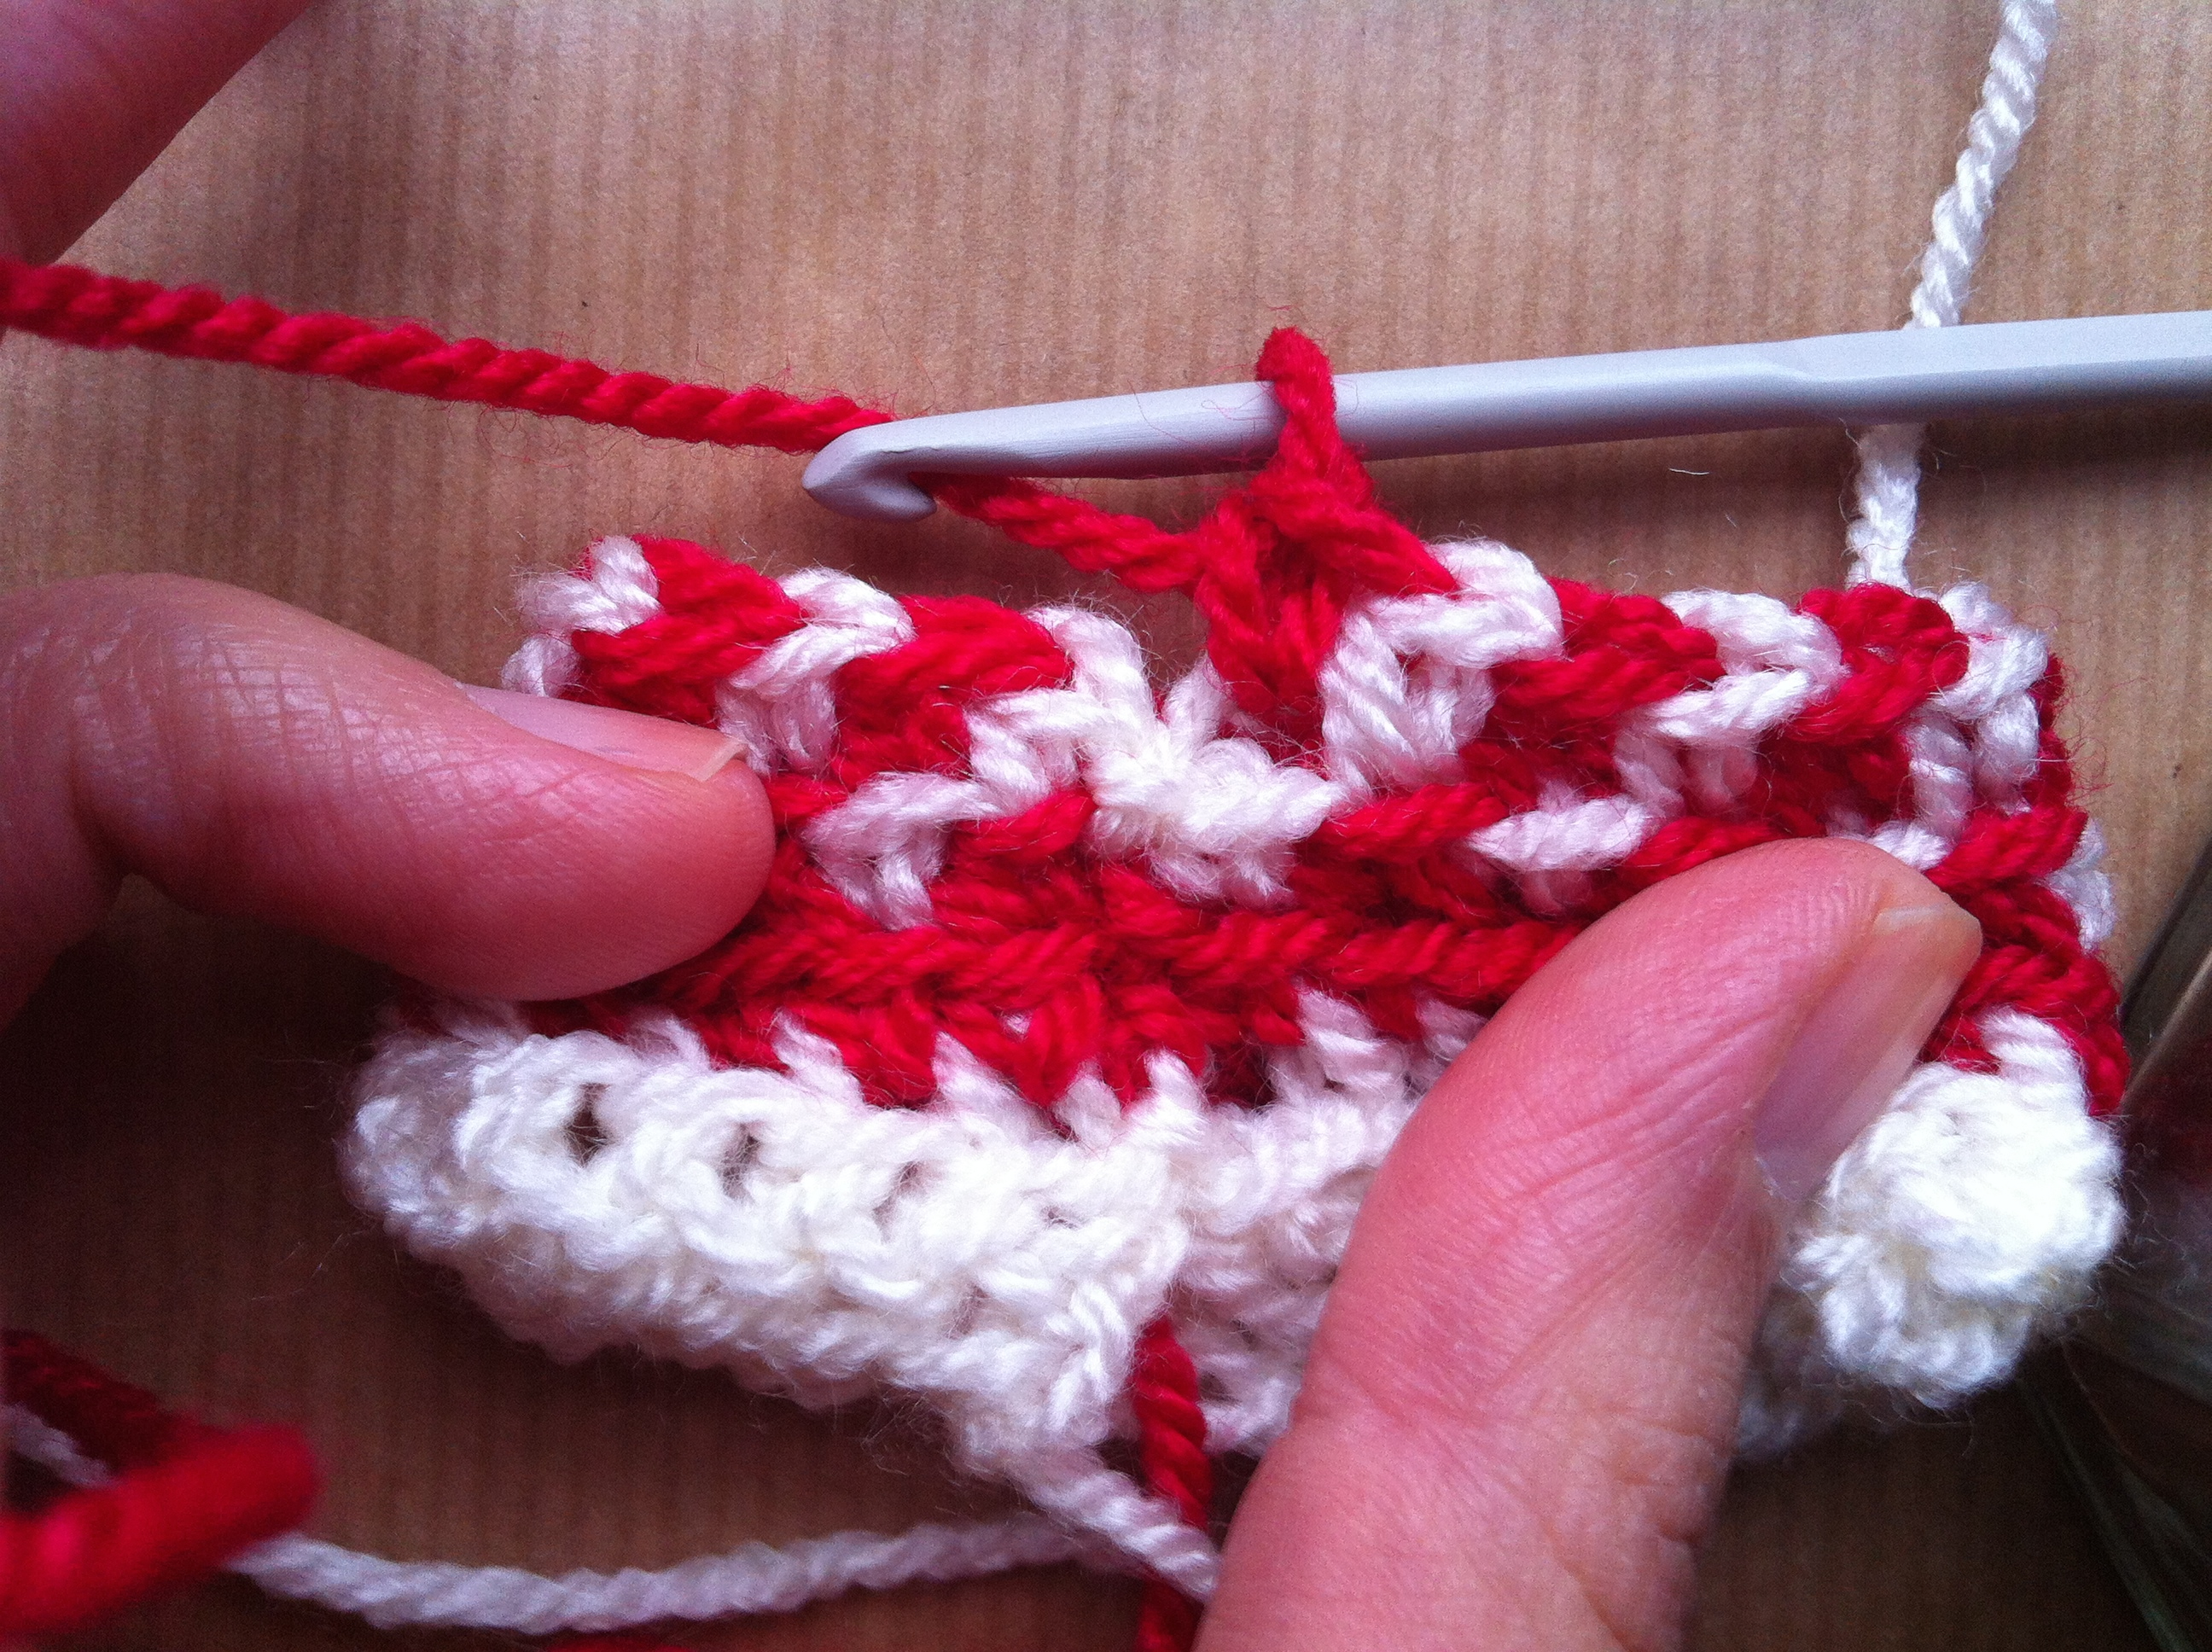
15. Let’s do one more so that it is clear. Insert your hook in BL of next st, yarn over and pull up a loop.

16. Now drop your white yarn to your left, and pick up the red from the front.


17. Yarn over with the red and pull through both loops.


18. If you continue dropping the white to the left and the red to the from your yarns won’t get tangled. Continue this way until the last st, which should be a white one.

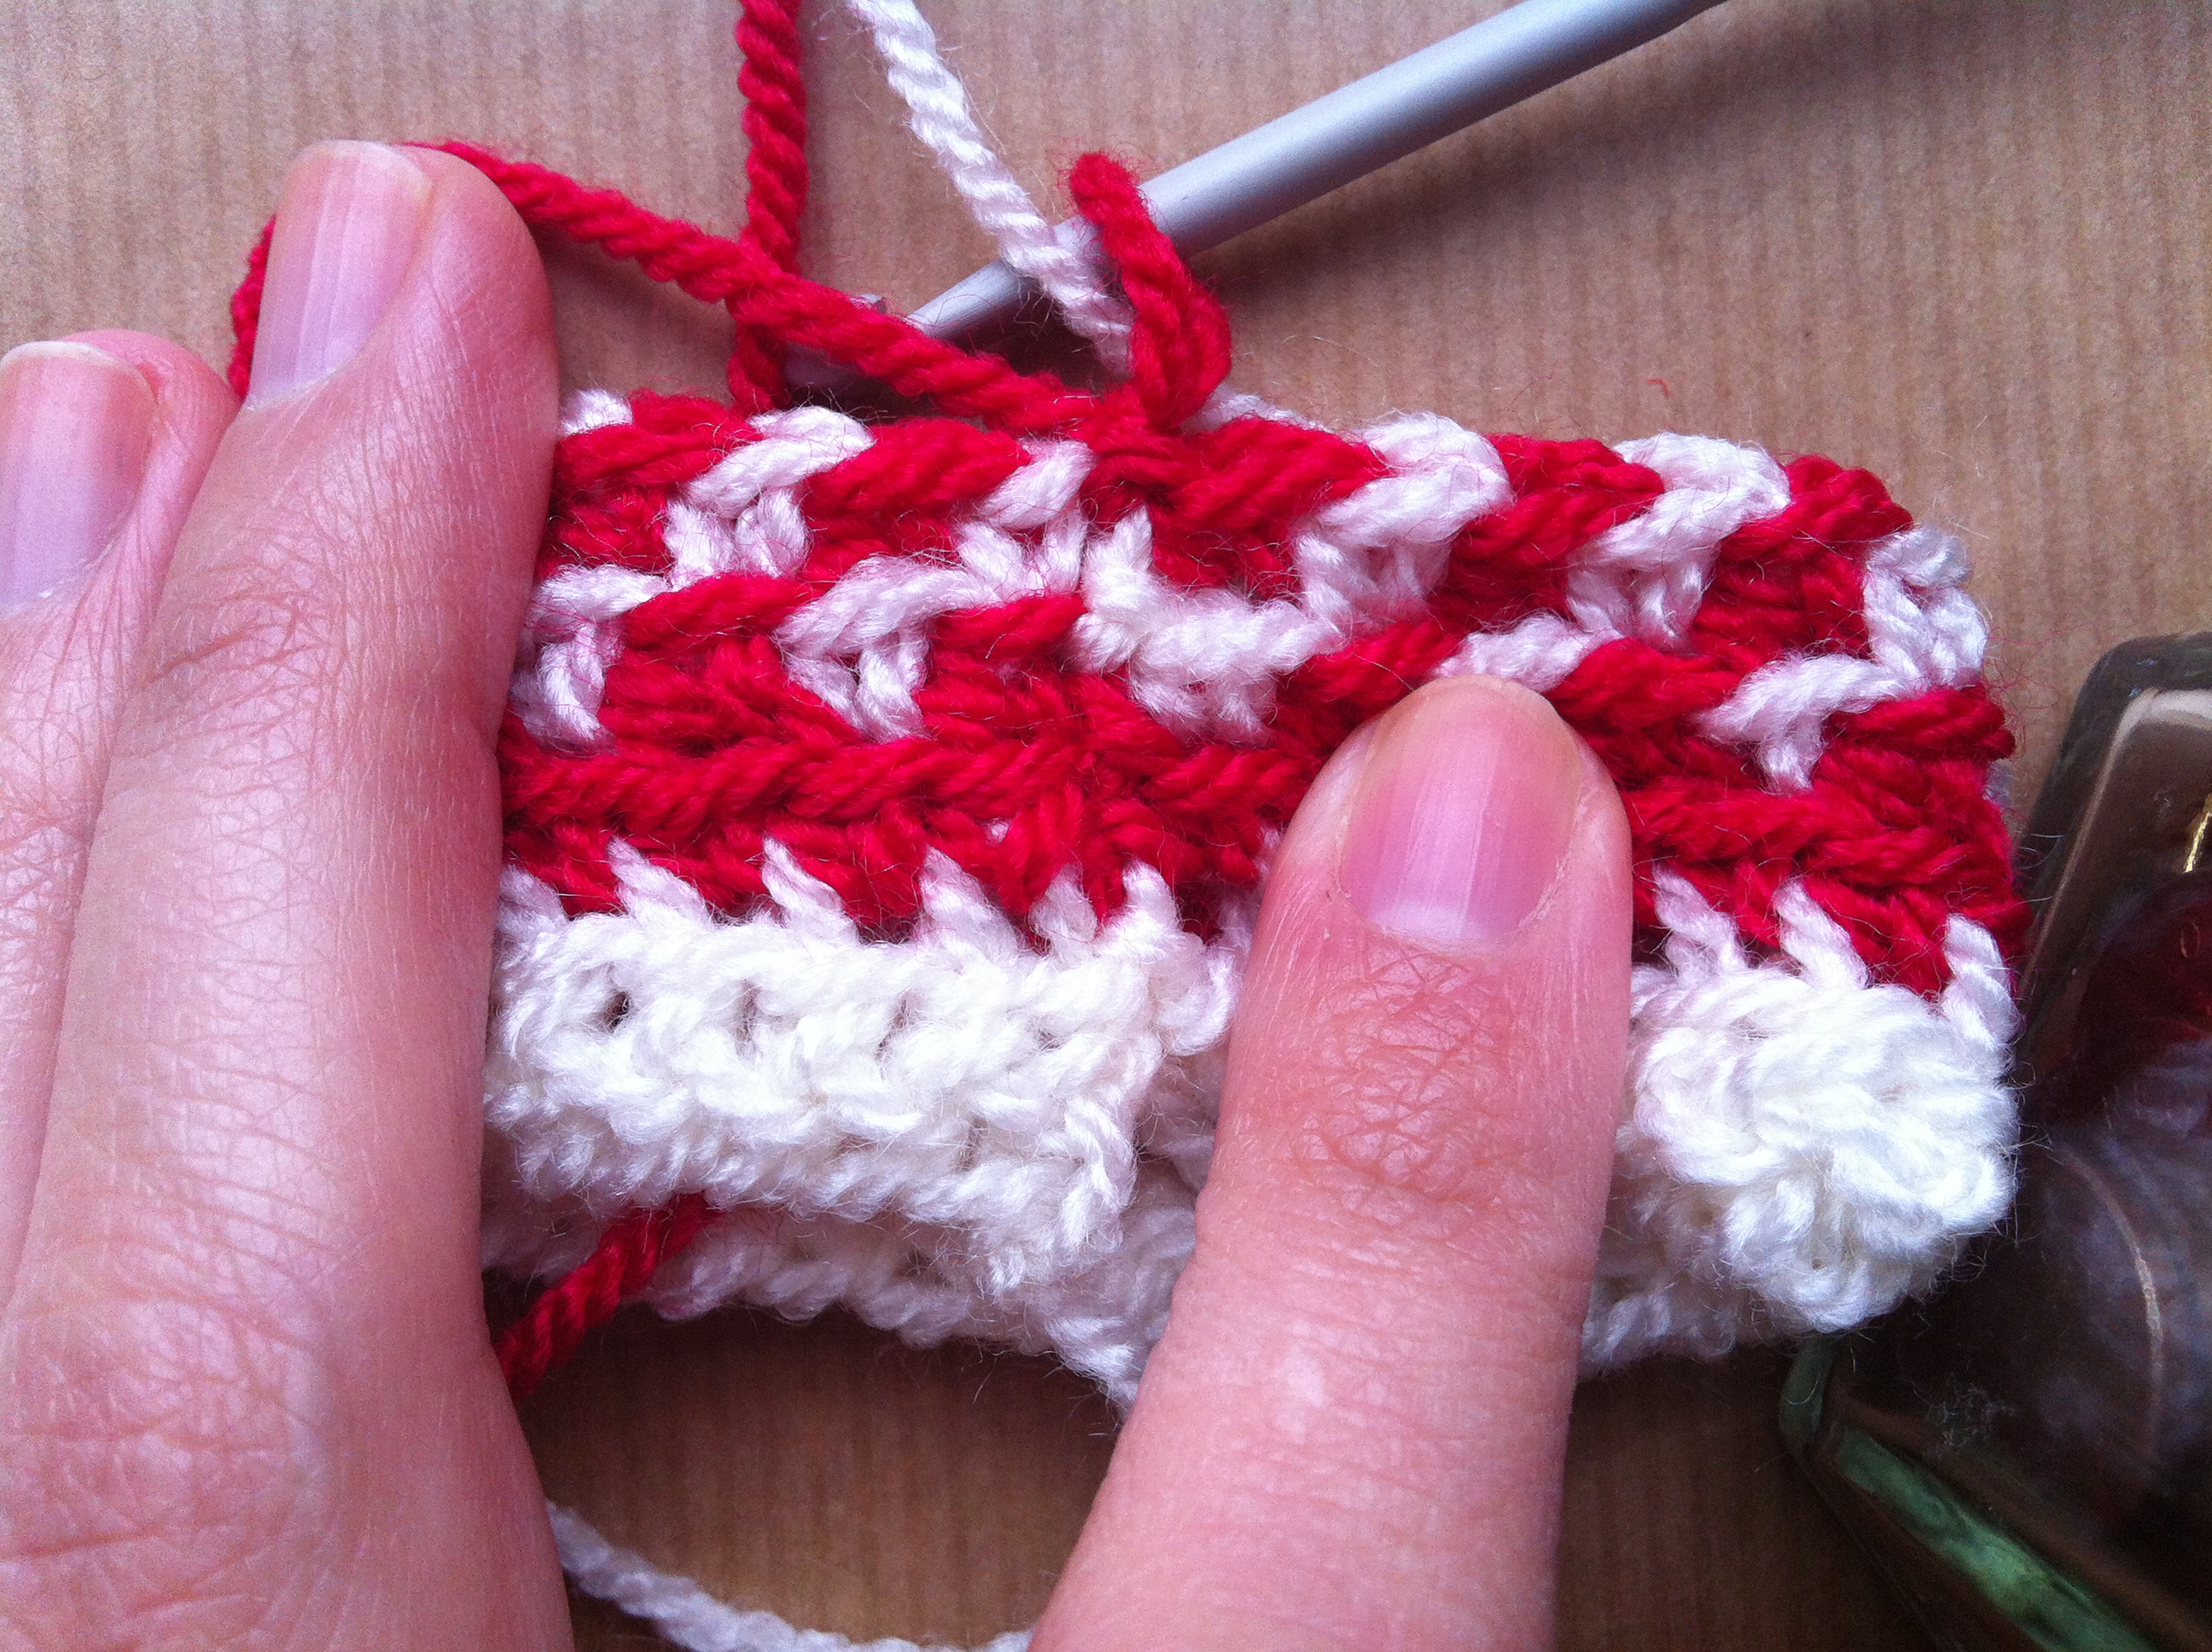
19. Dc in last st without changing colour.


20. Still with the white yarn, sl st to first st and ch 1 (pull tight!)

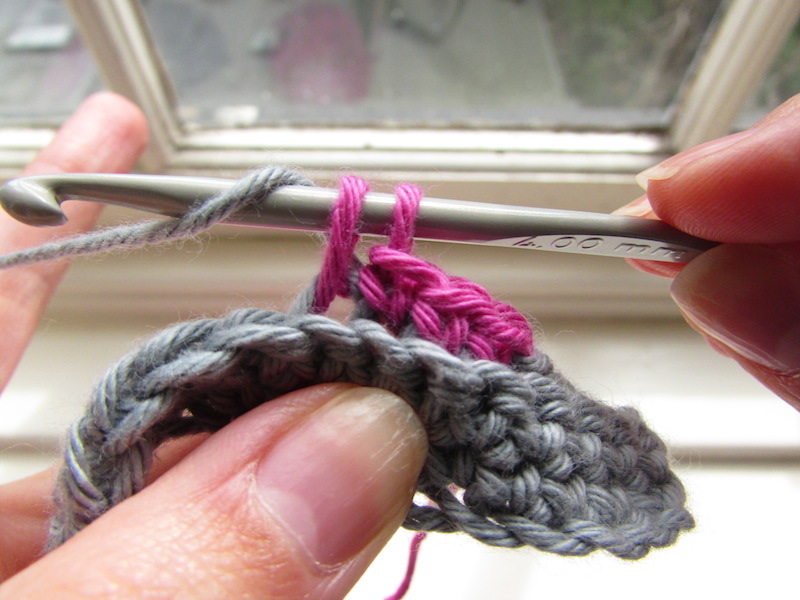
21. We will do the exact same steps for this round as for the last one, except we will do opposite colours, so if the st was red in the last round, in this round you will do a white one and so on. So the first st of the previous round is red (the one where you did the sl st), since we are working with a white yarn already we don’t need to change colours. Insert your hook in the BL of the first st, yarn over and pull up a loop.

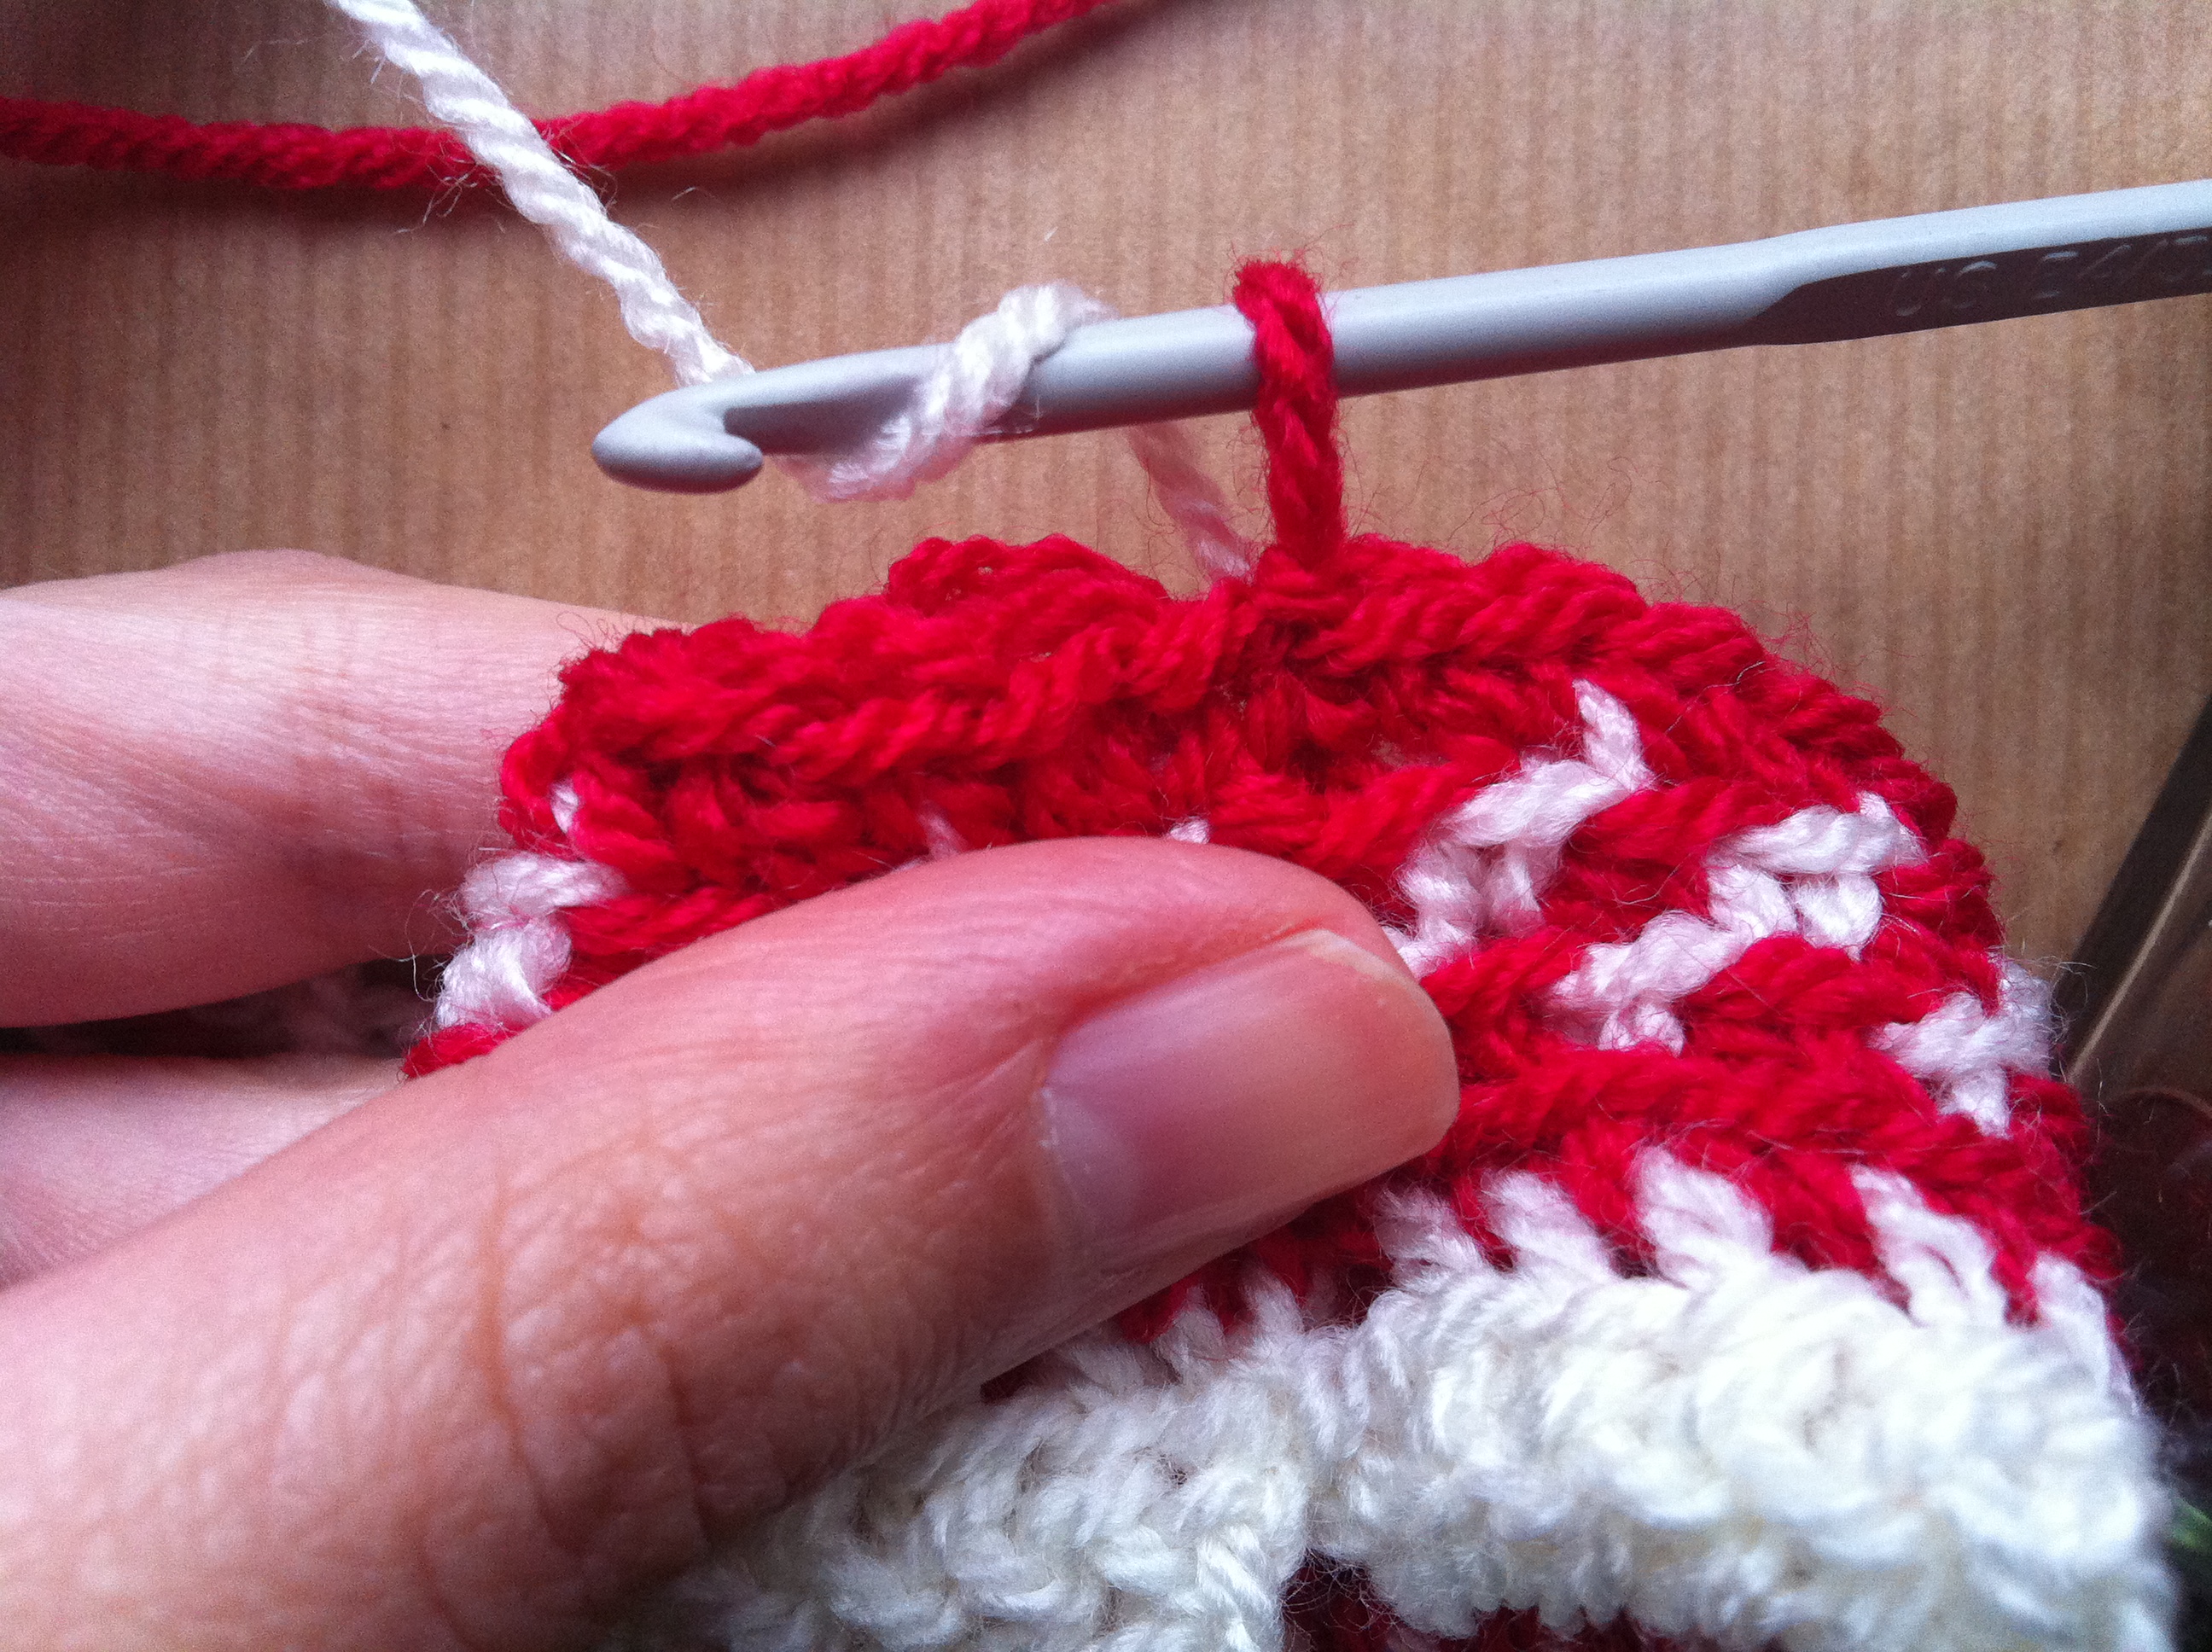
22. Drop your white yarn to the left and pick up the red in from of you. Yarn over and pull through both loops.

23. Repeat steps 10 to 12 until last st of round, which should be a red st.

24. Dc in last st without changing colours.

25. Sl st to first st, ch 1.

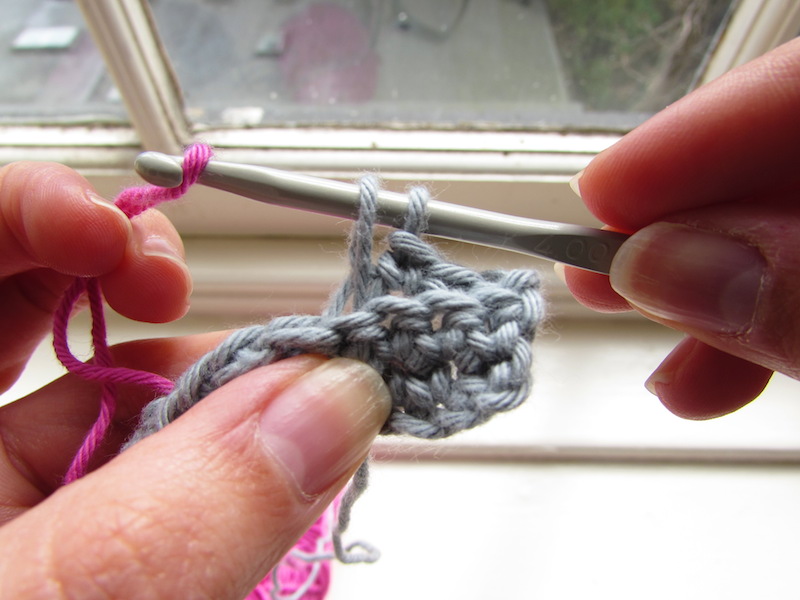
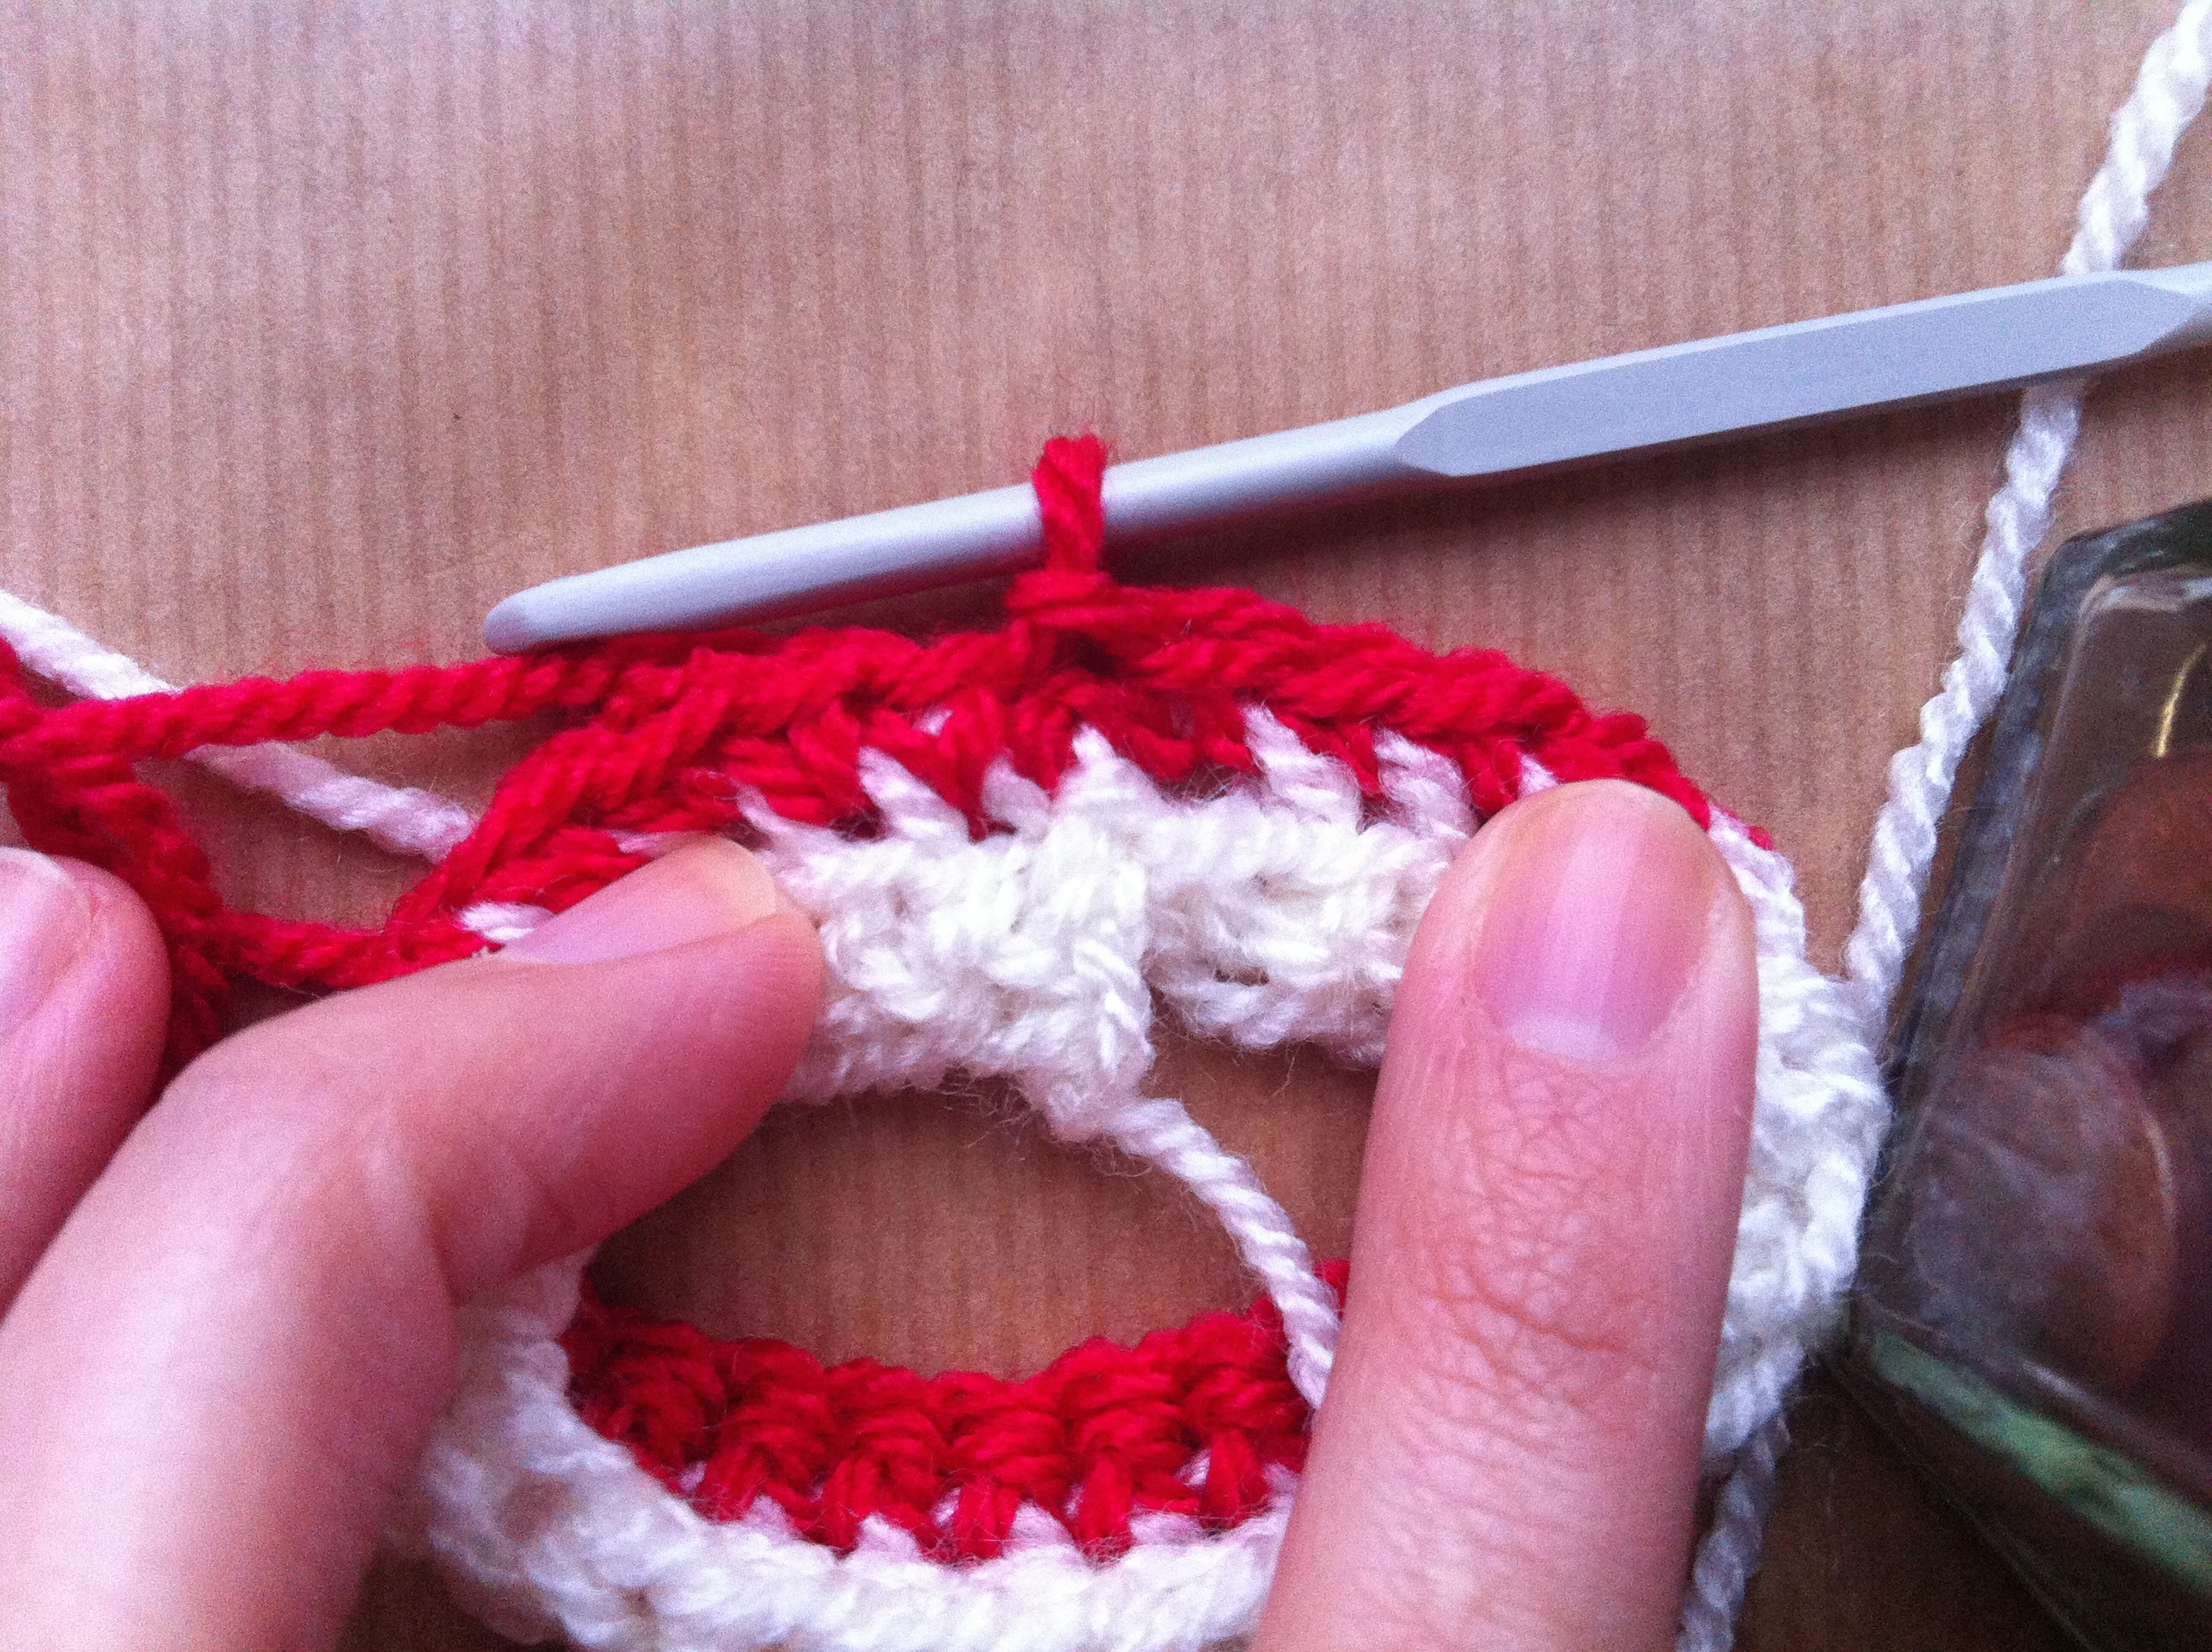
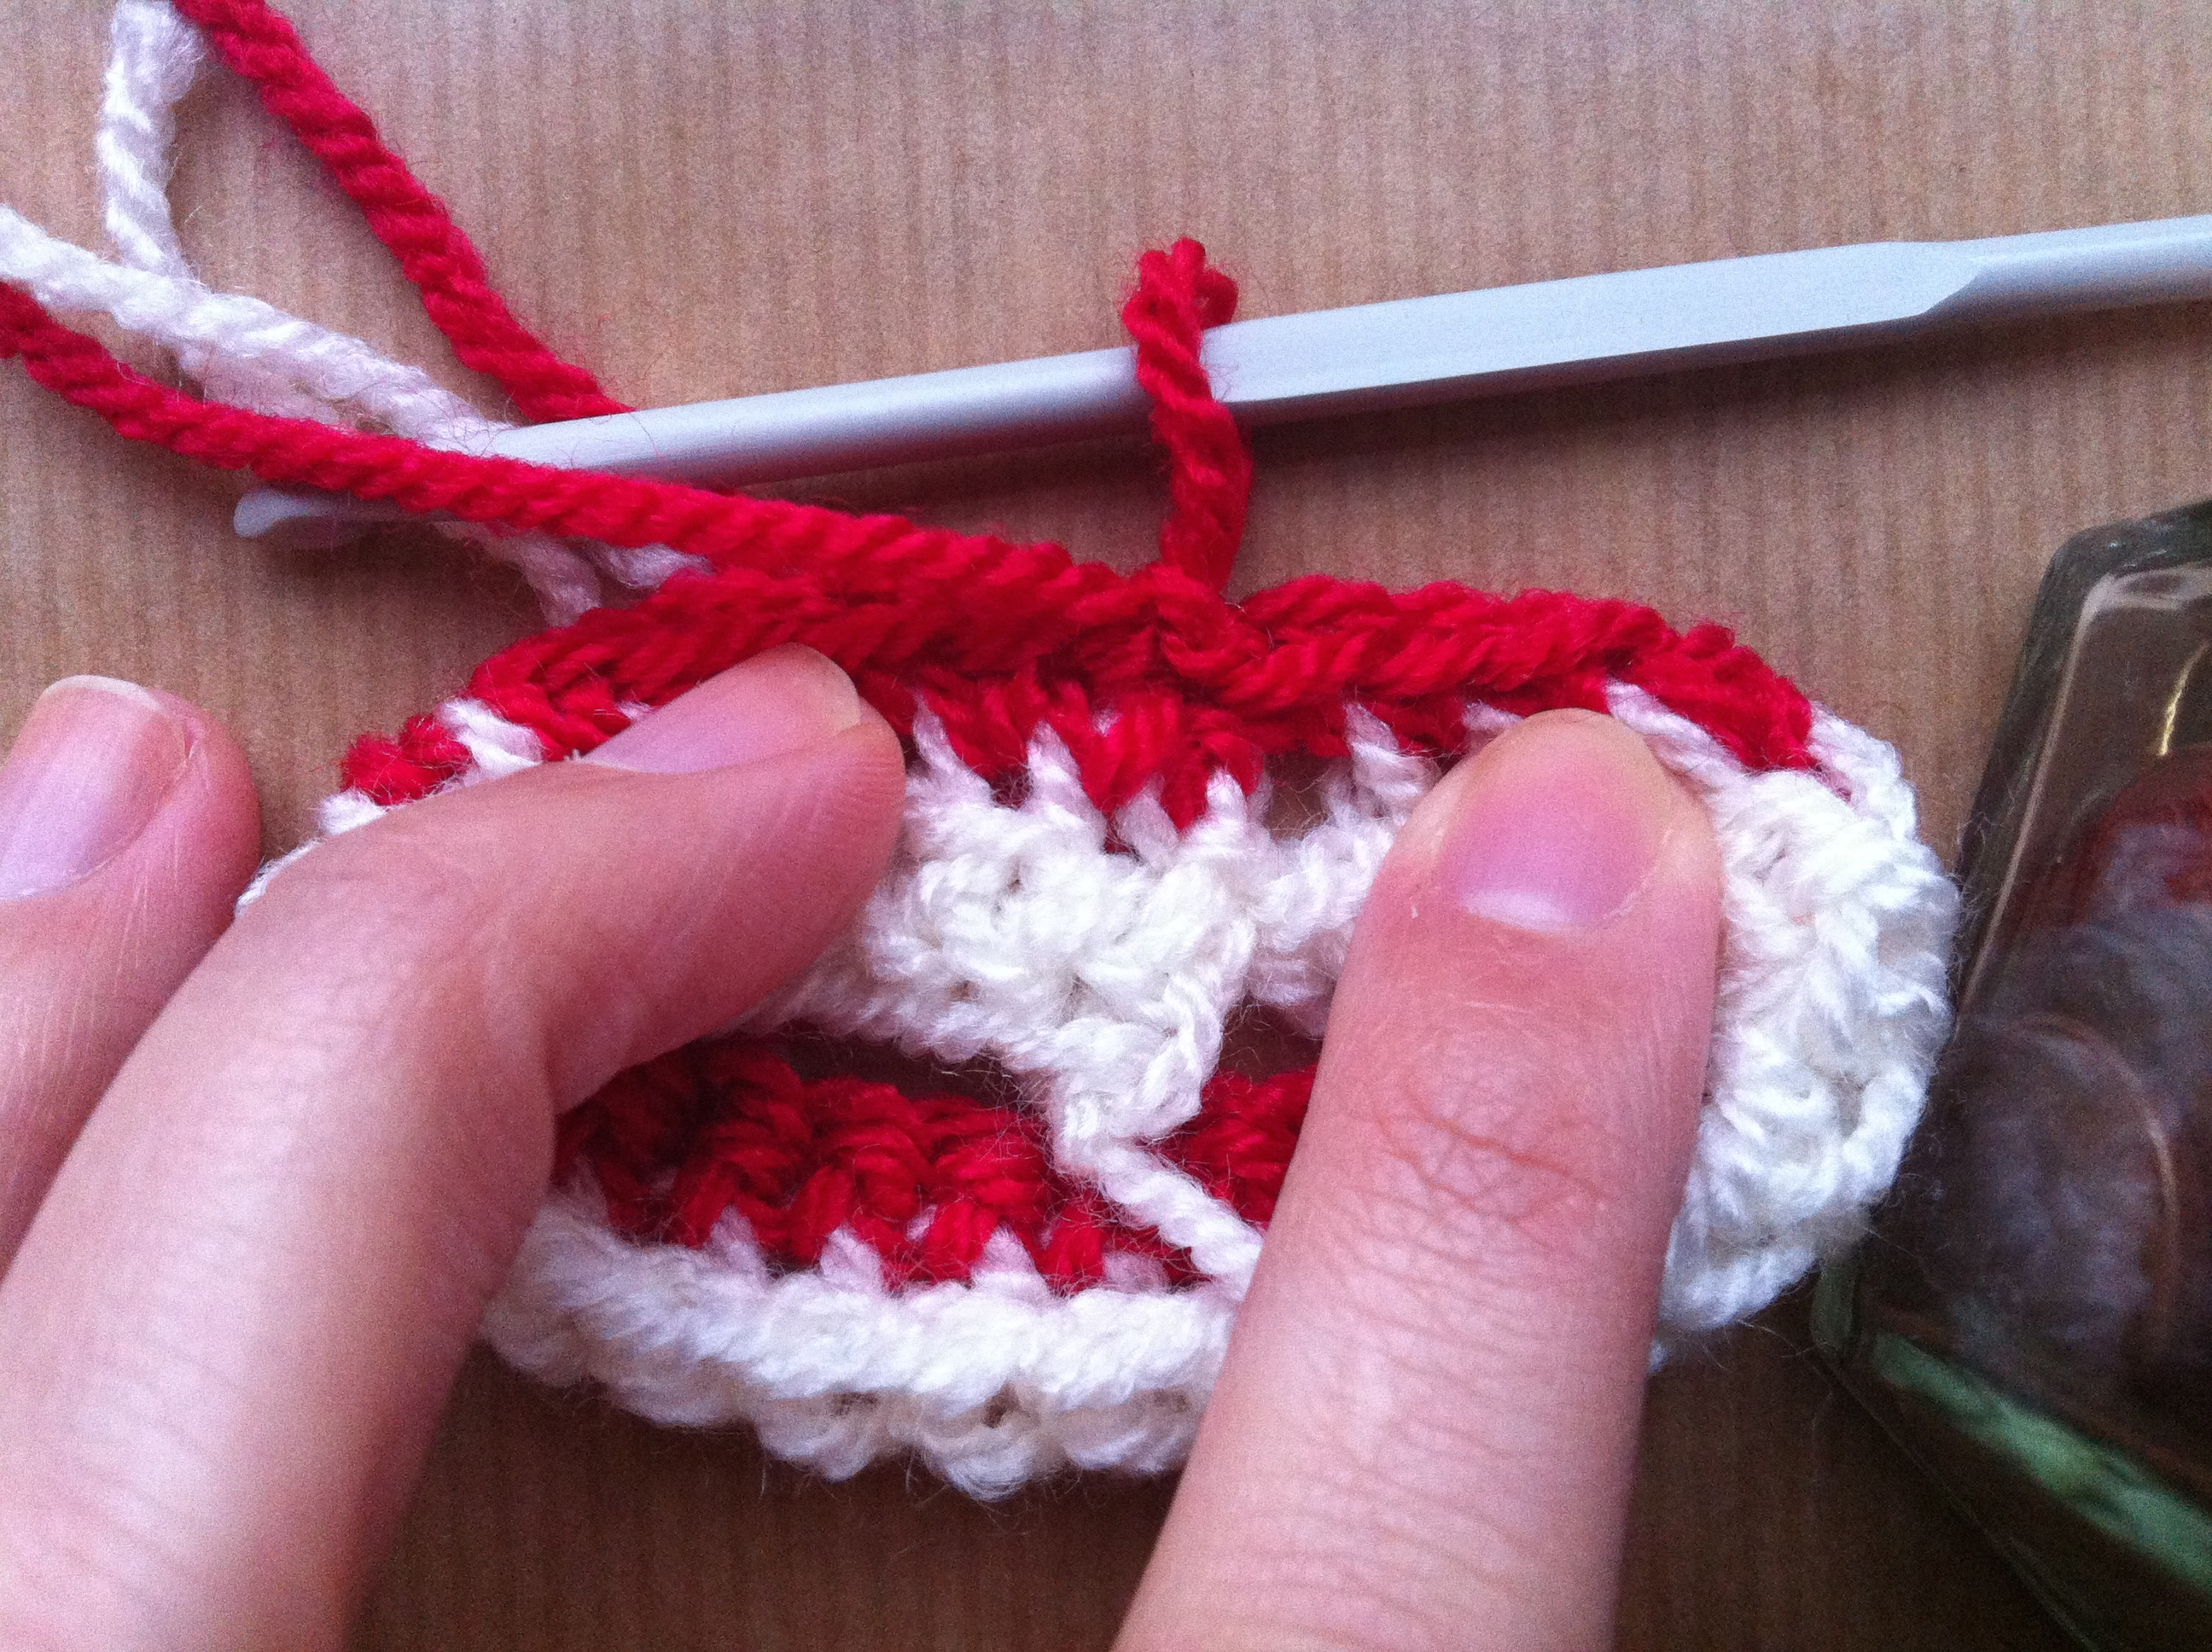
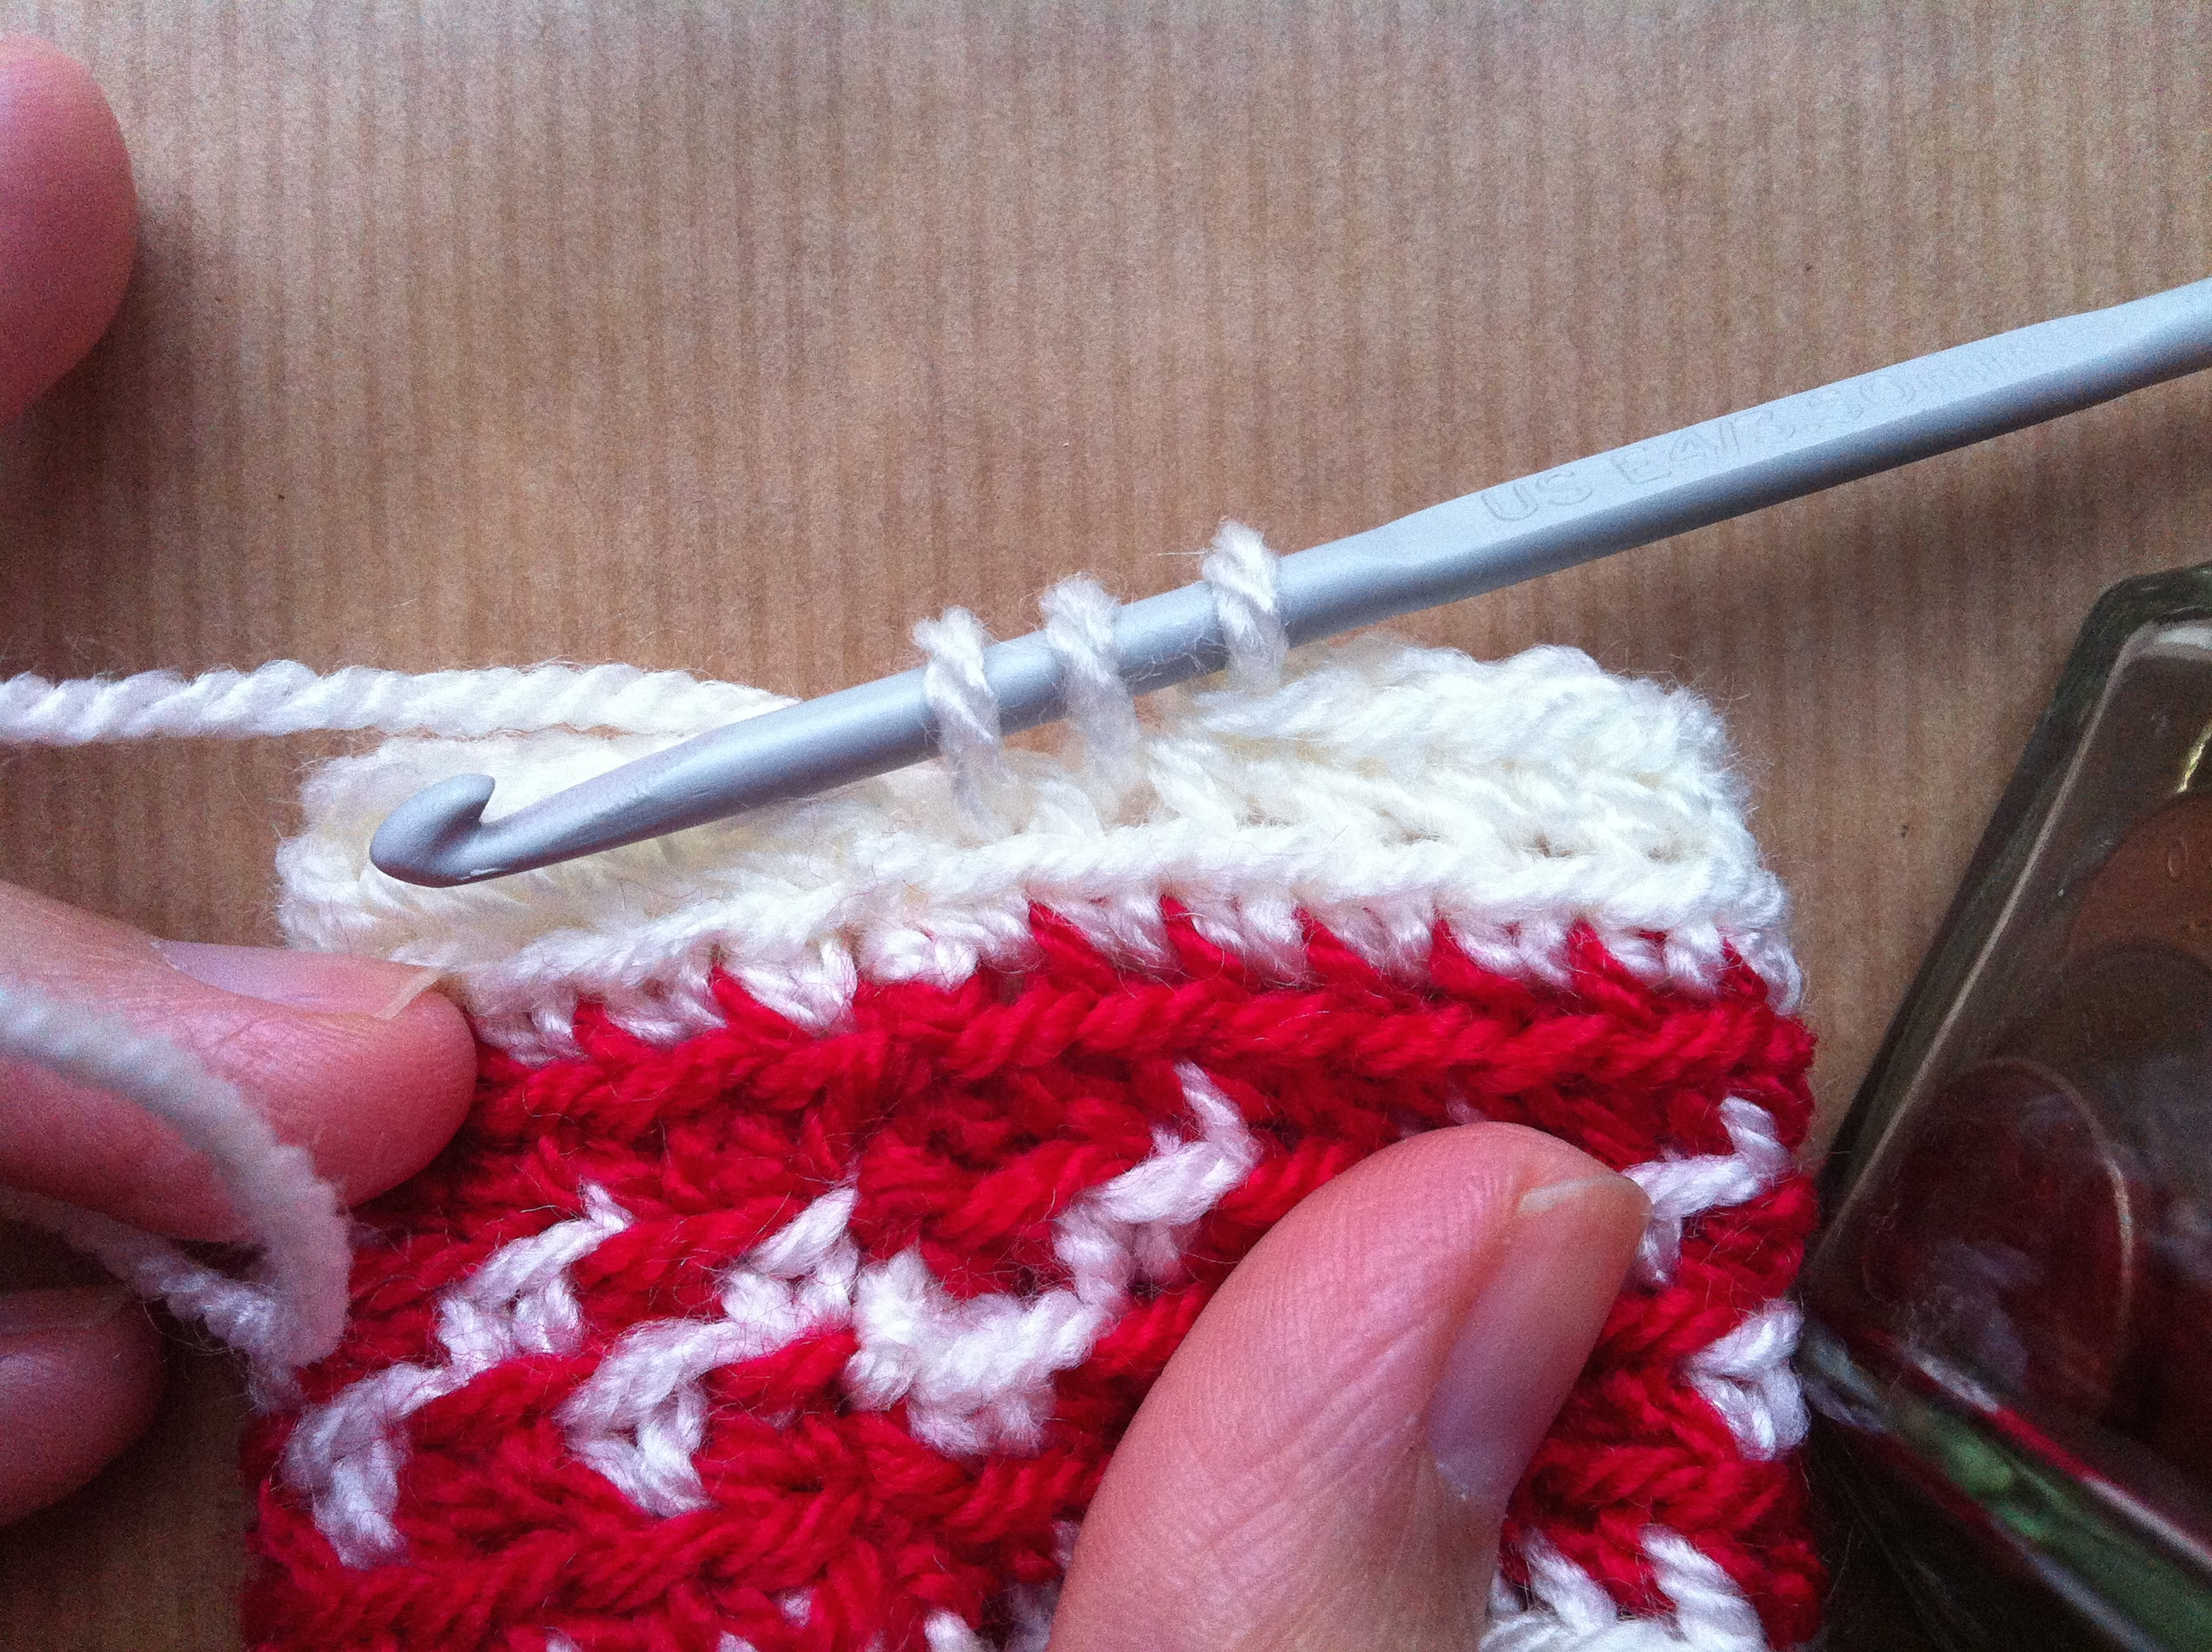
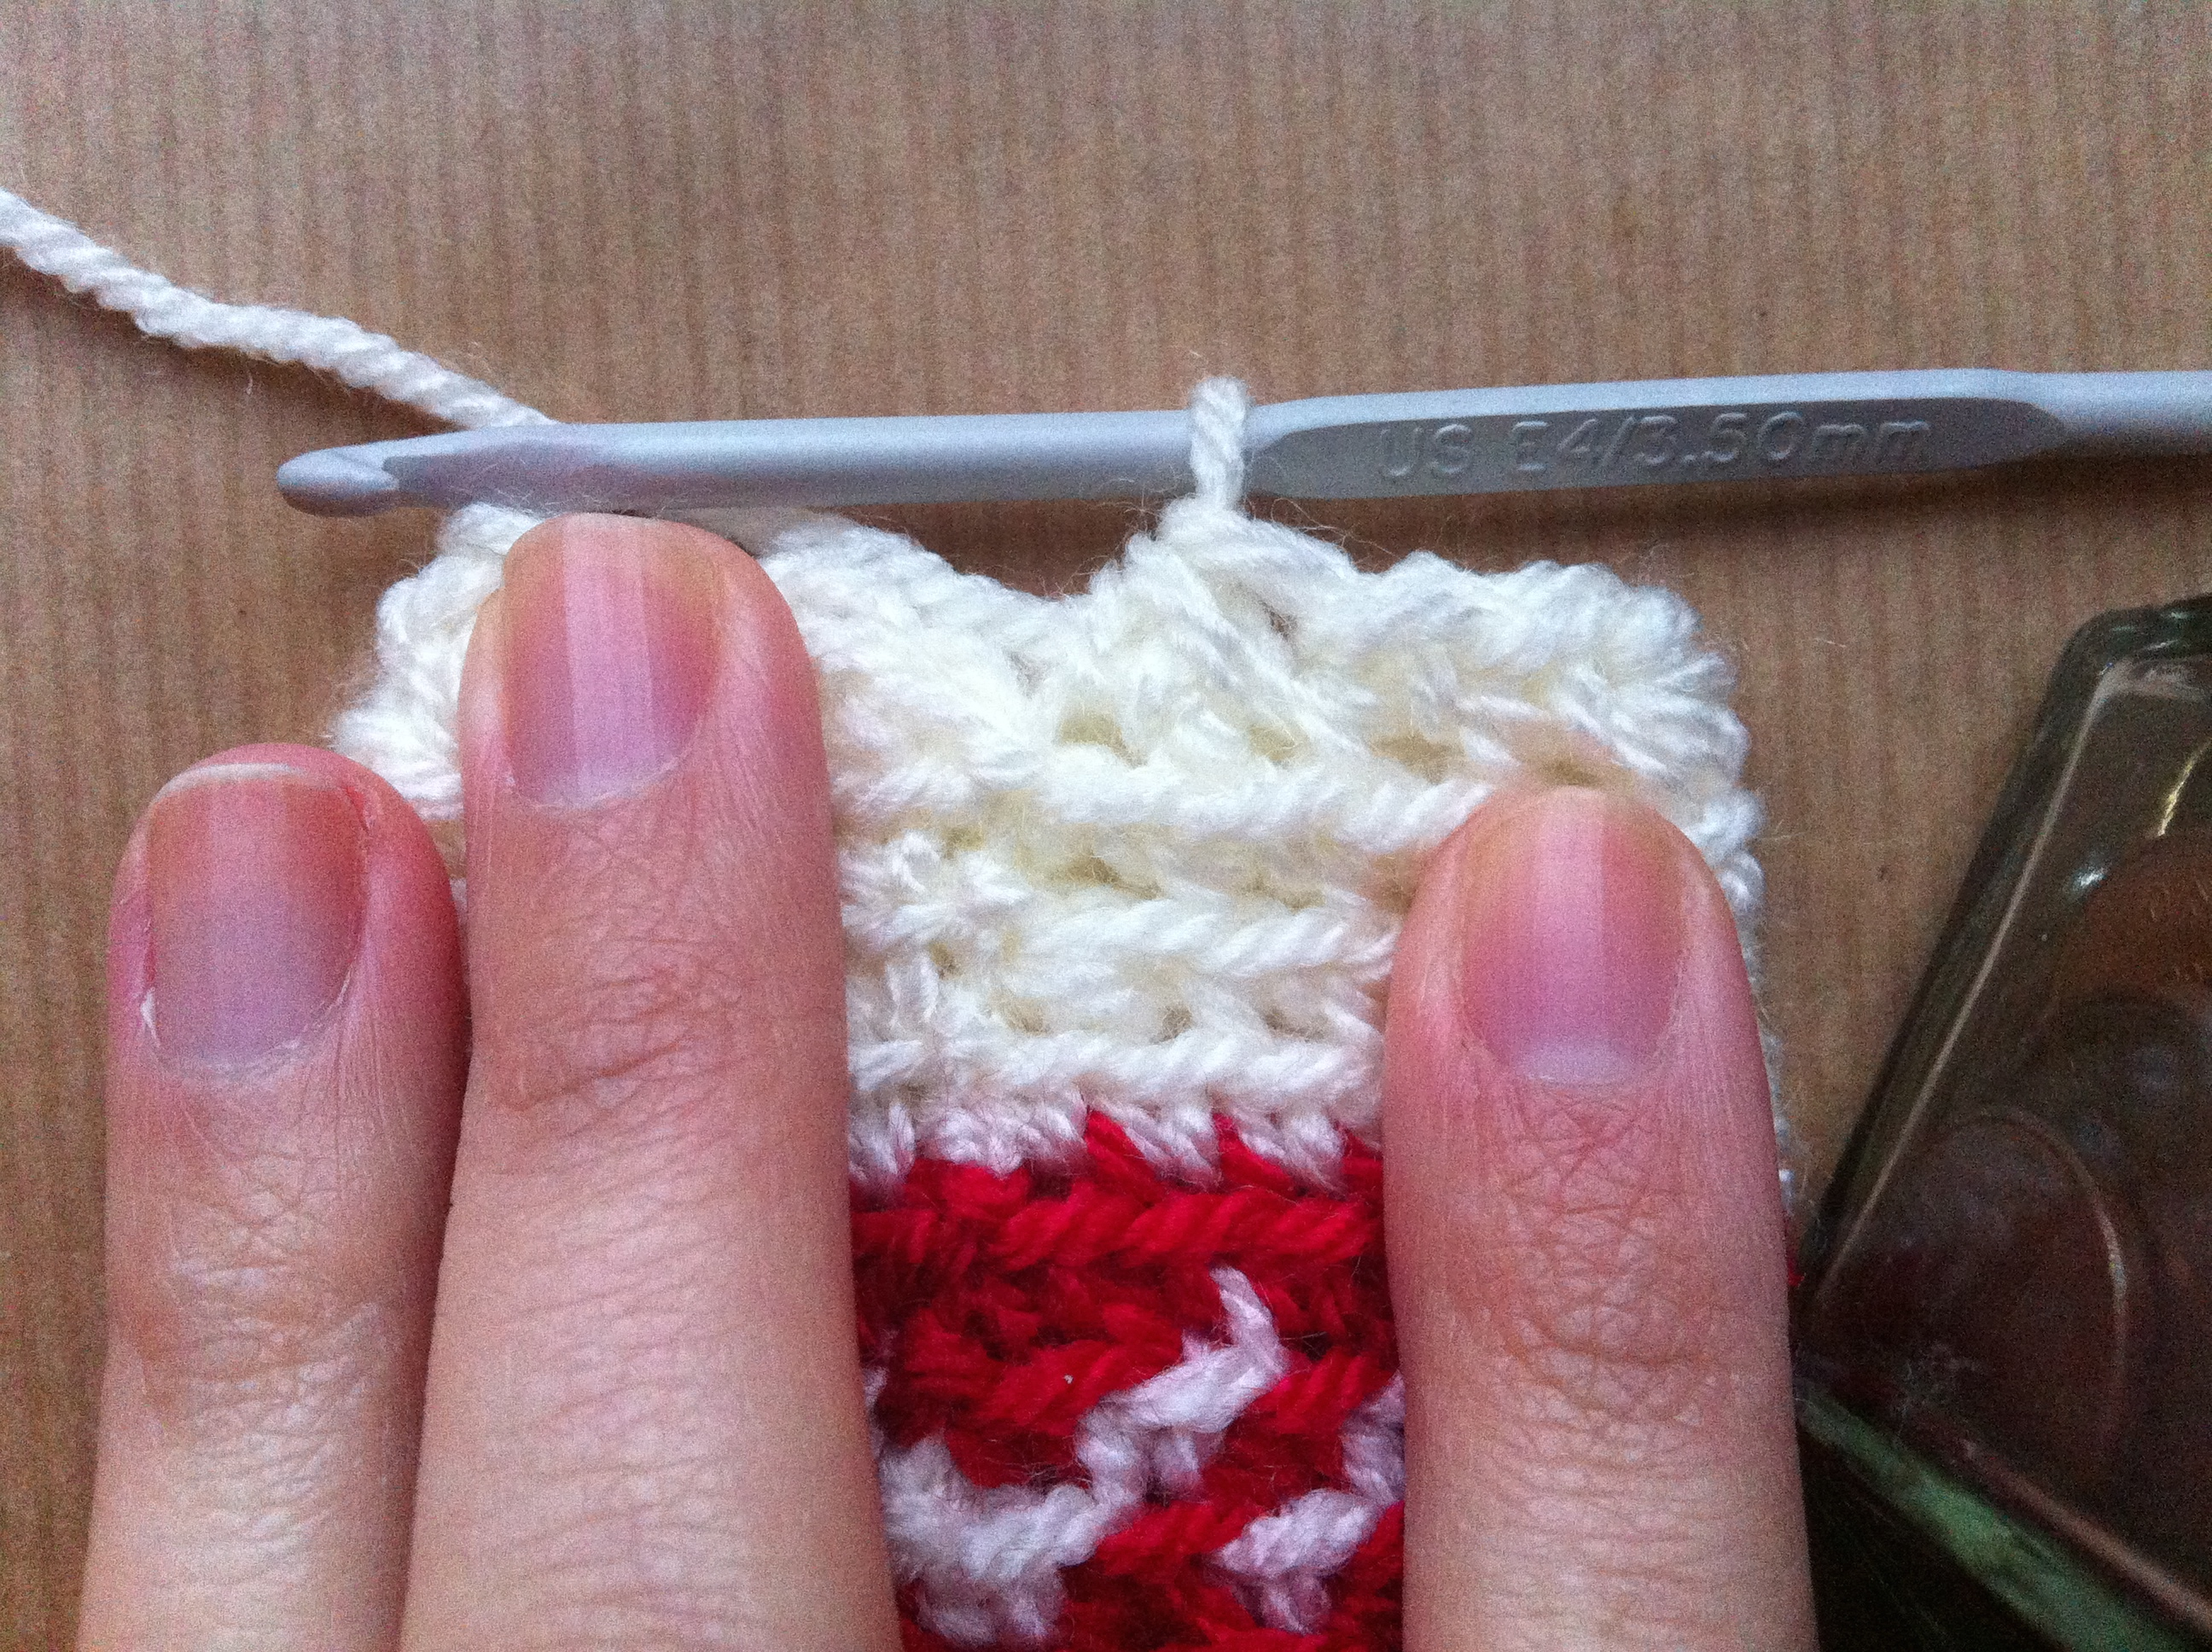
26. And you are done with the two rounds of colourwork! It is quite easy from here. Still with the red colour, dc in first st and each st across. Remember we haven’t increased or decreased so you should still have 24 st.

27. Sl st to first st.

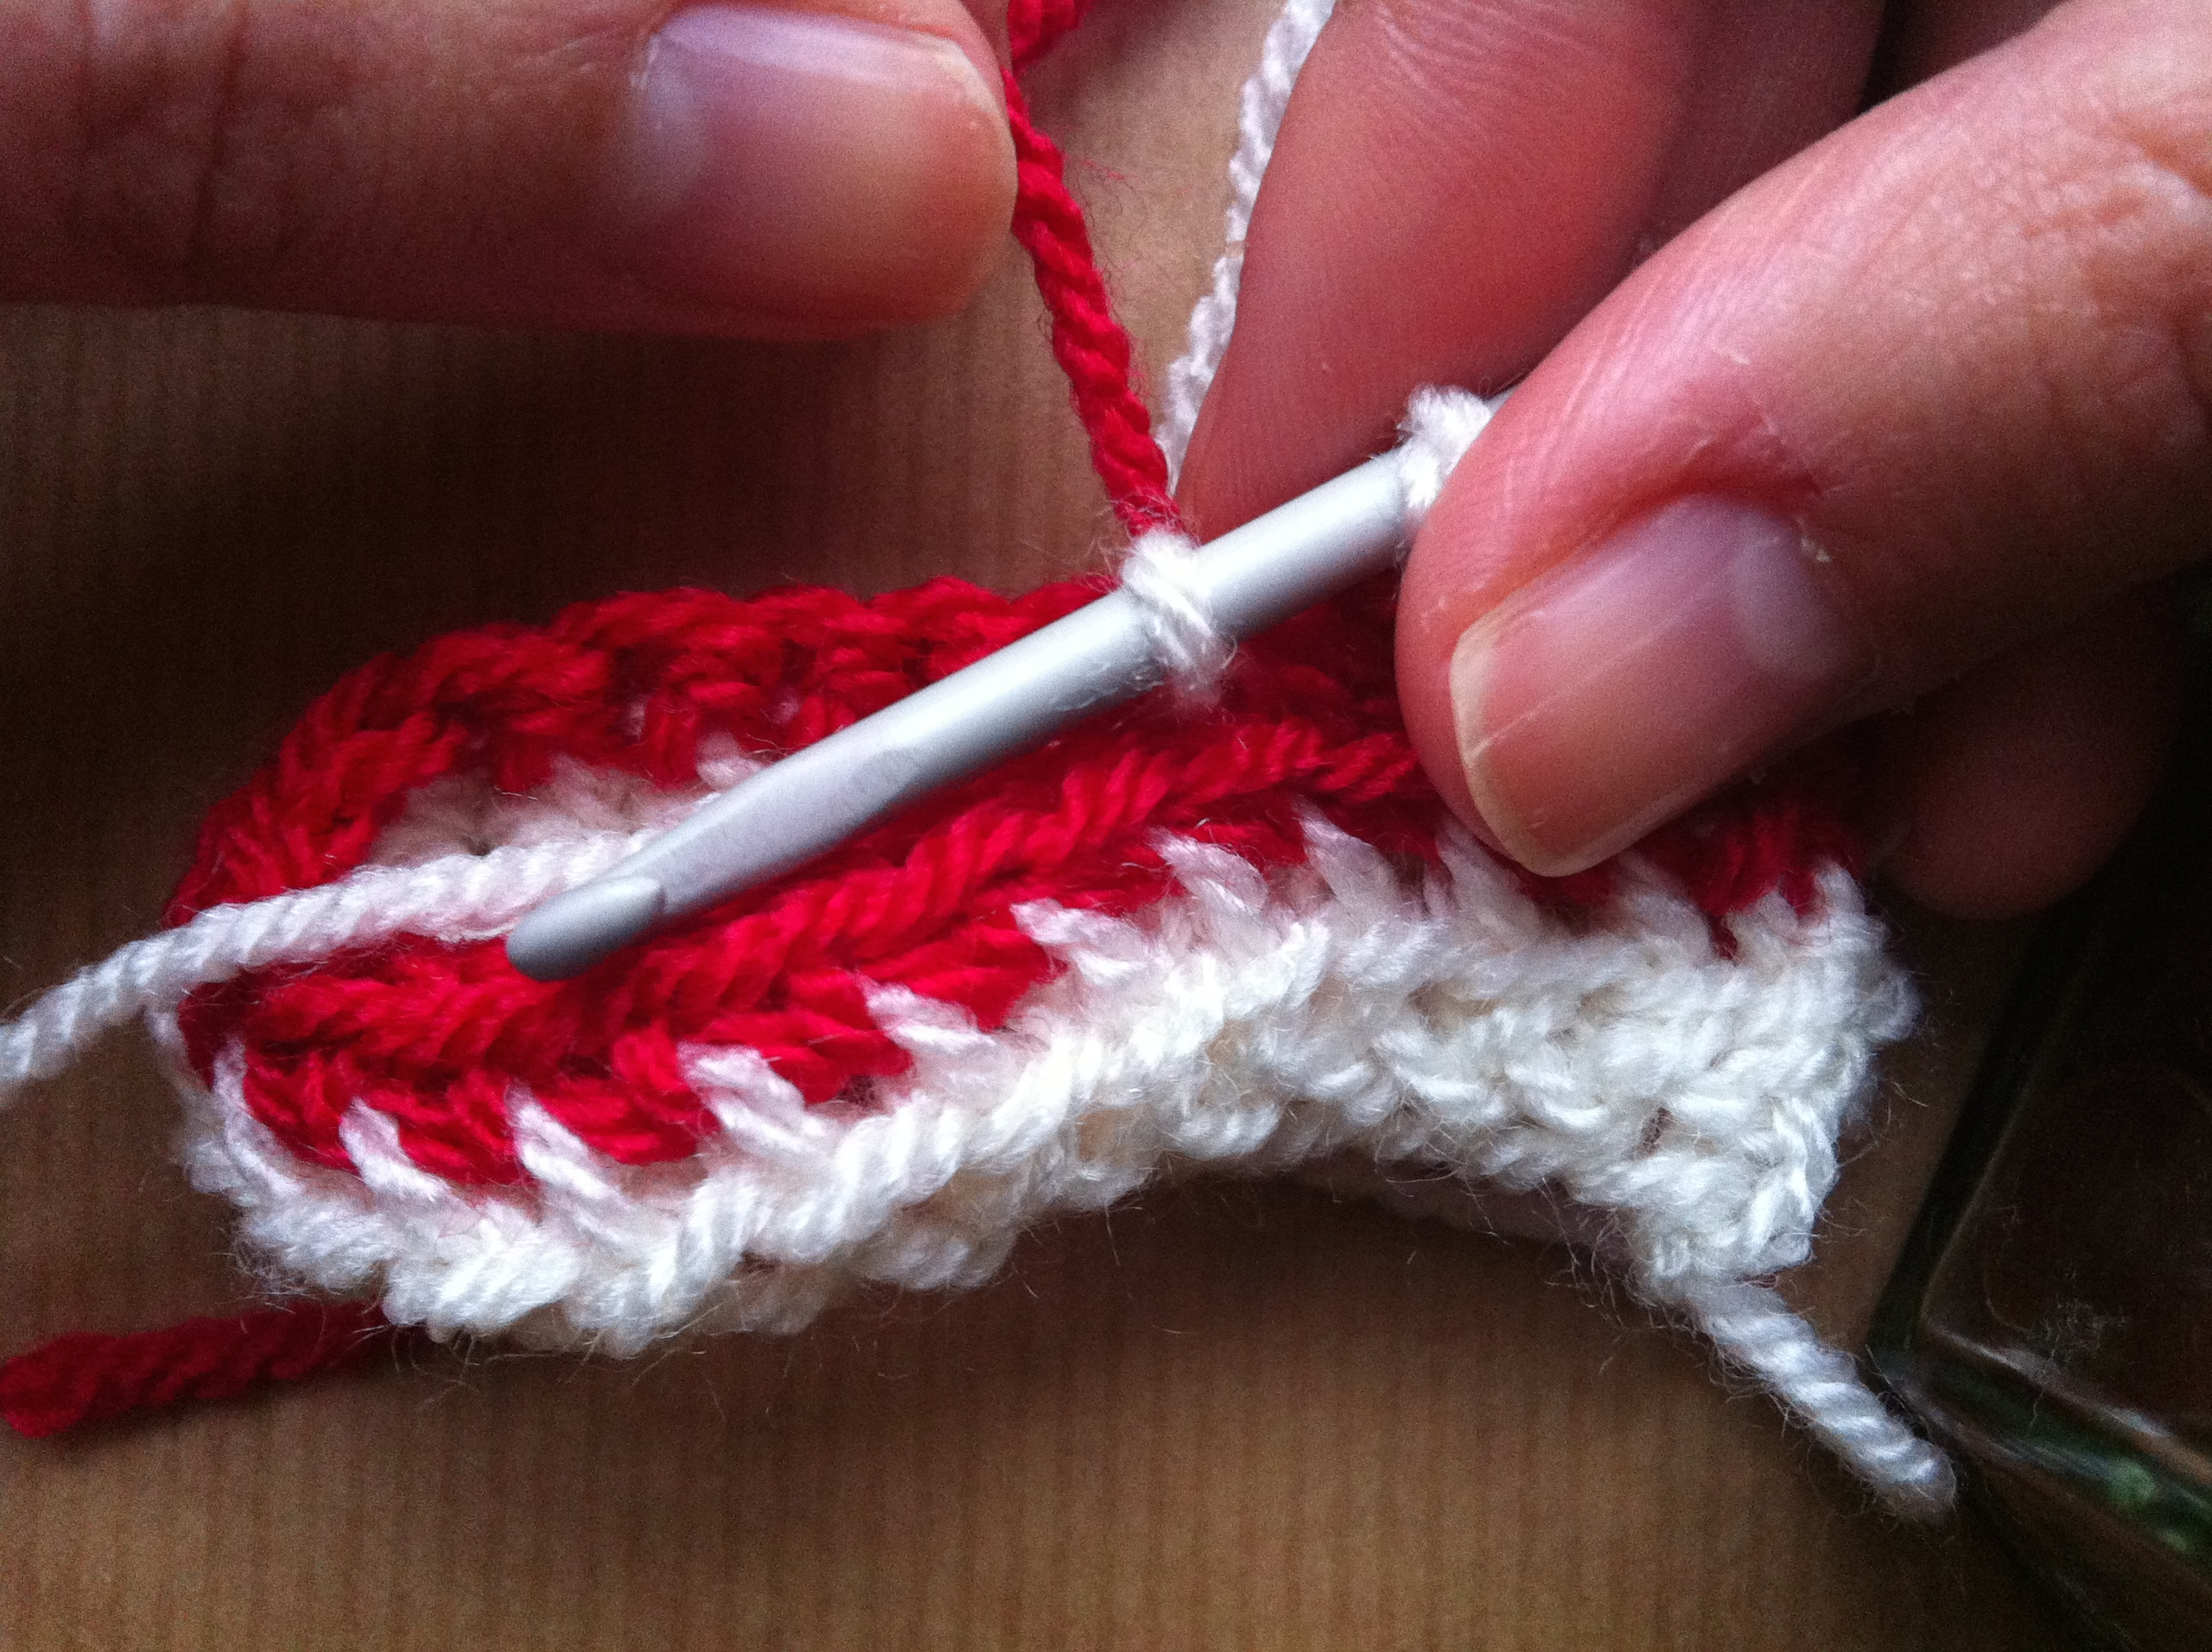
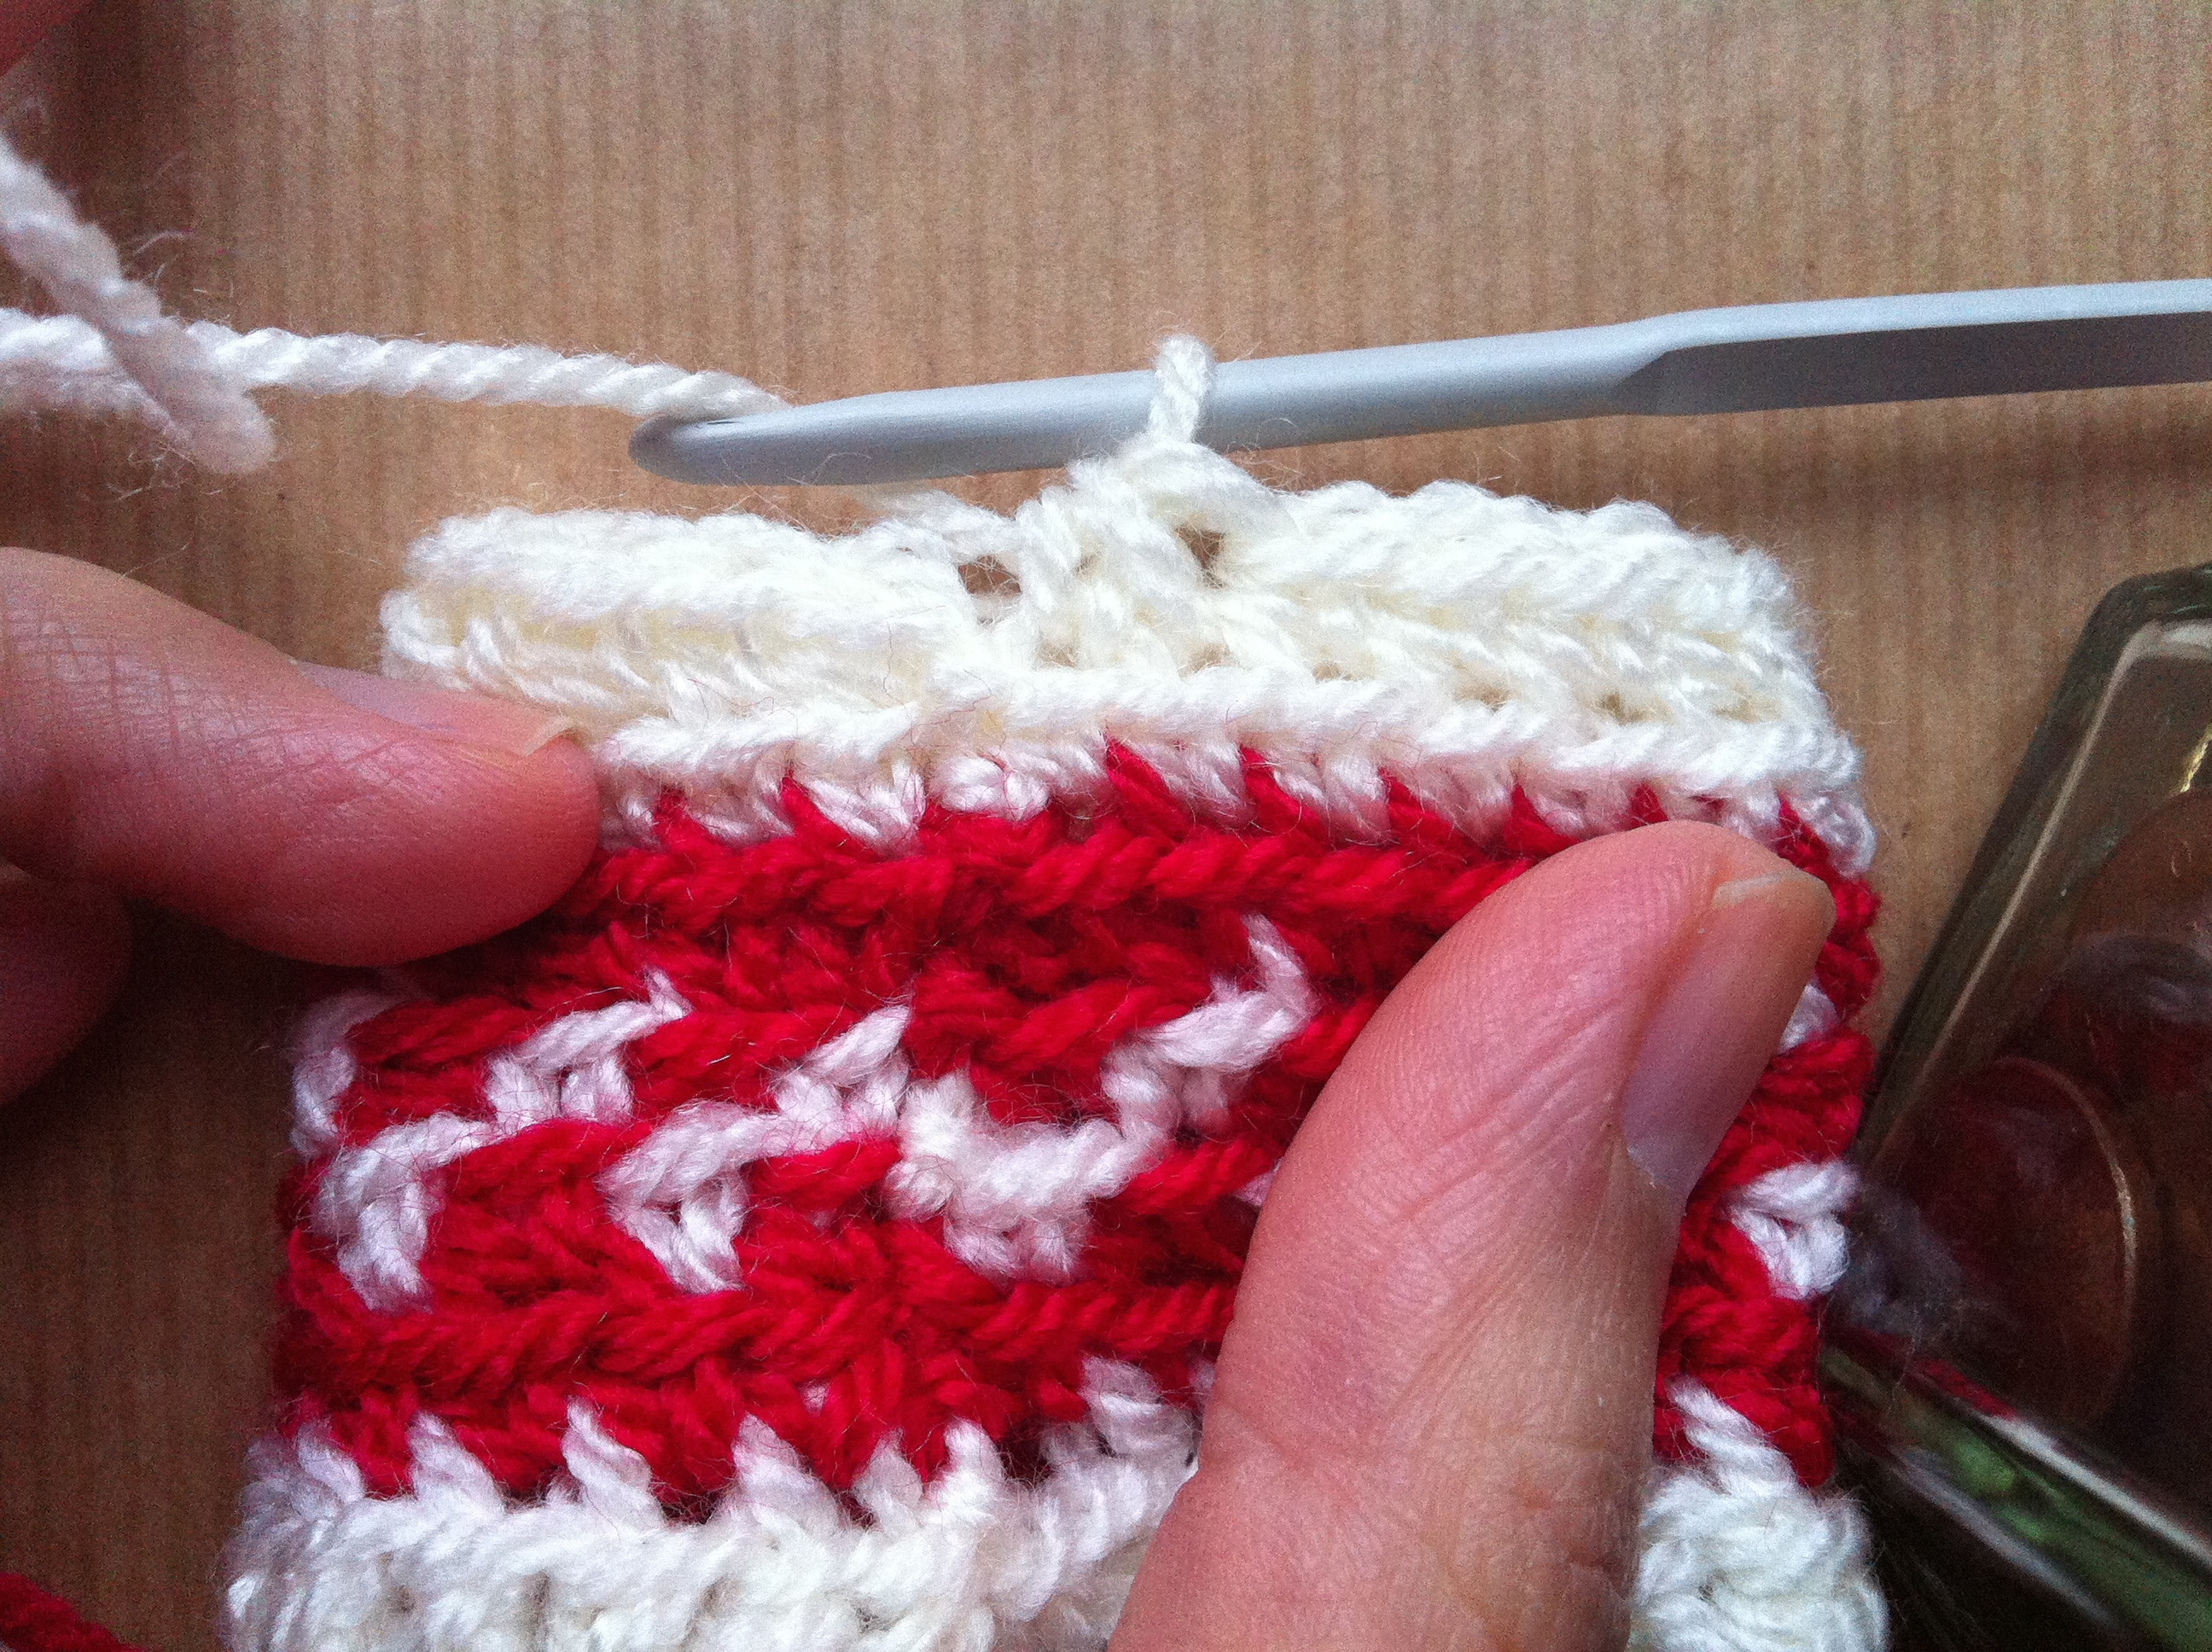
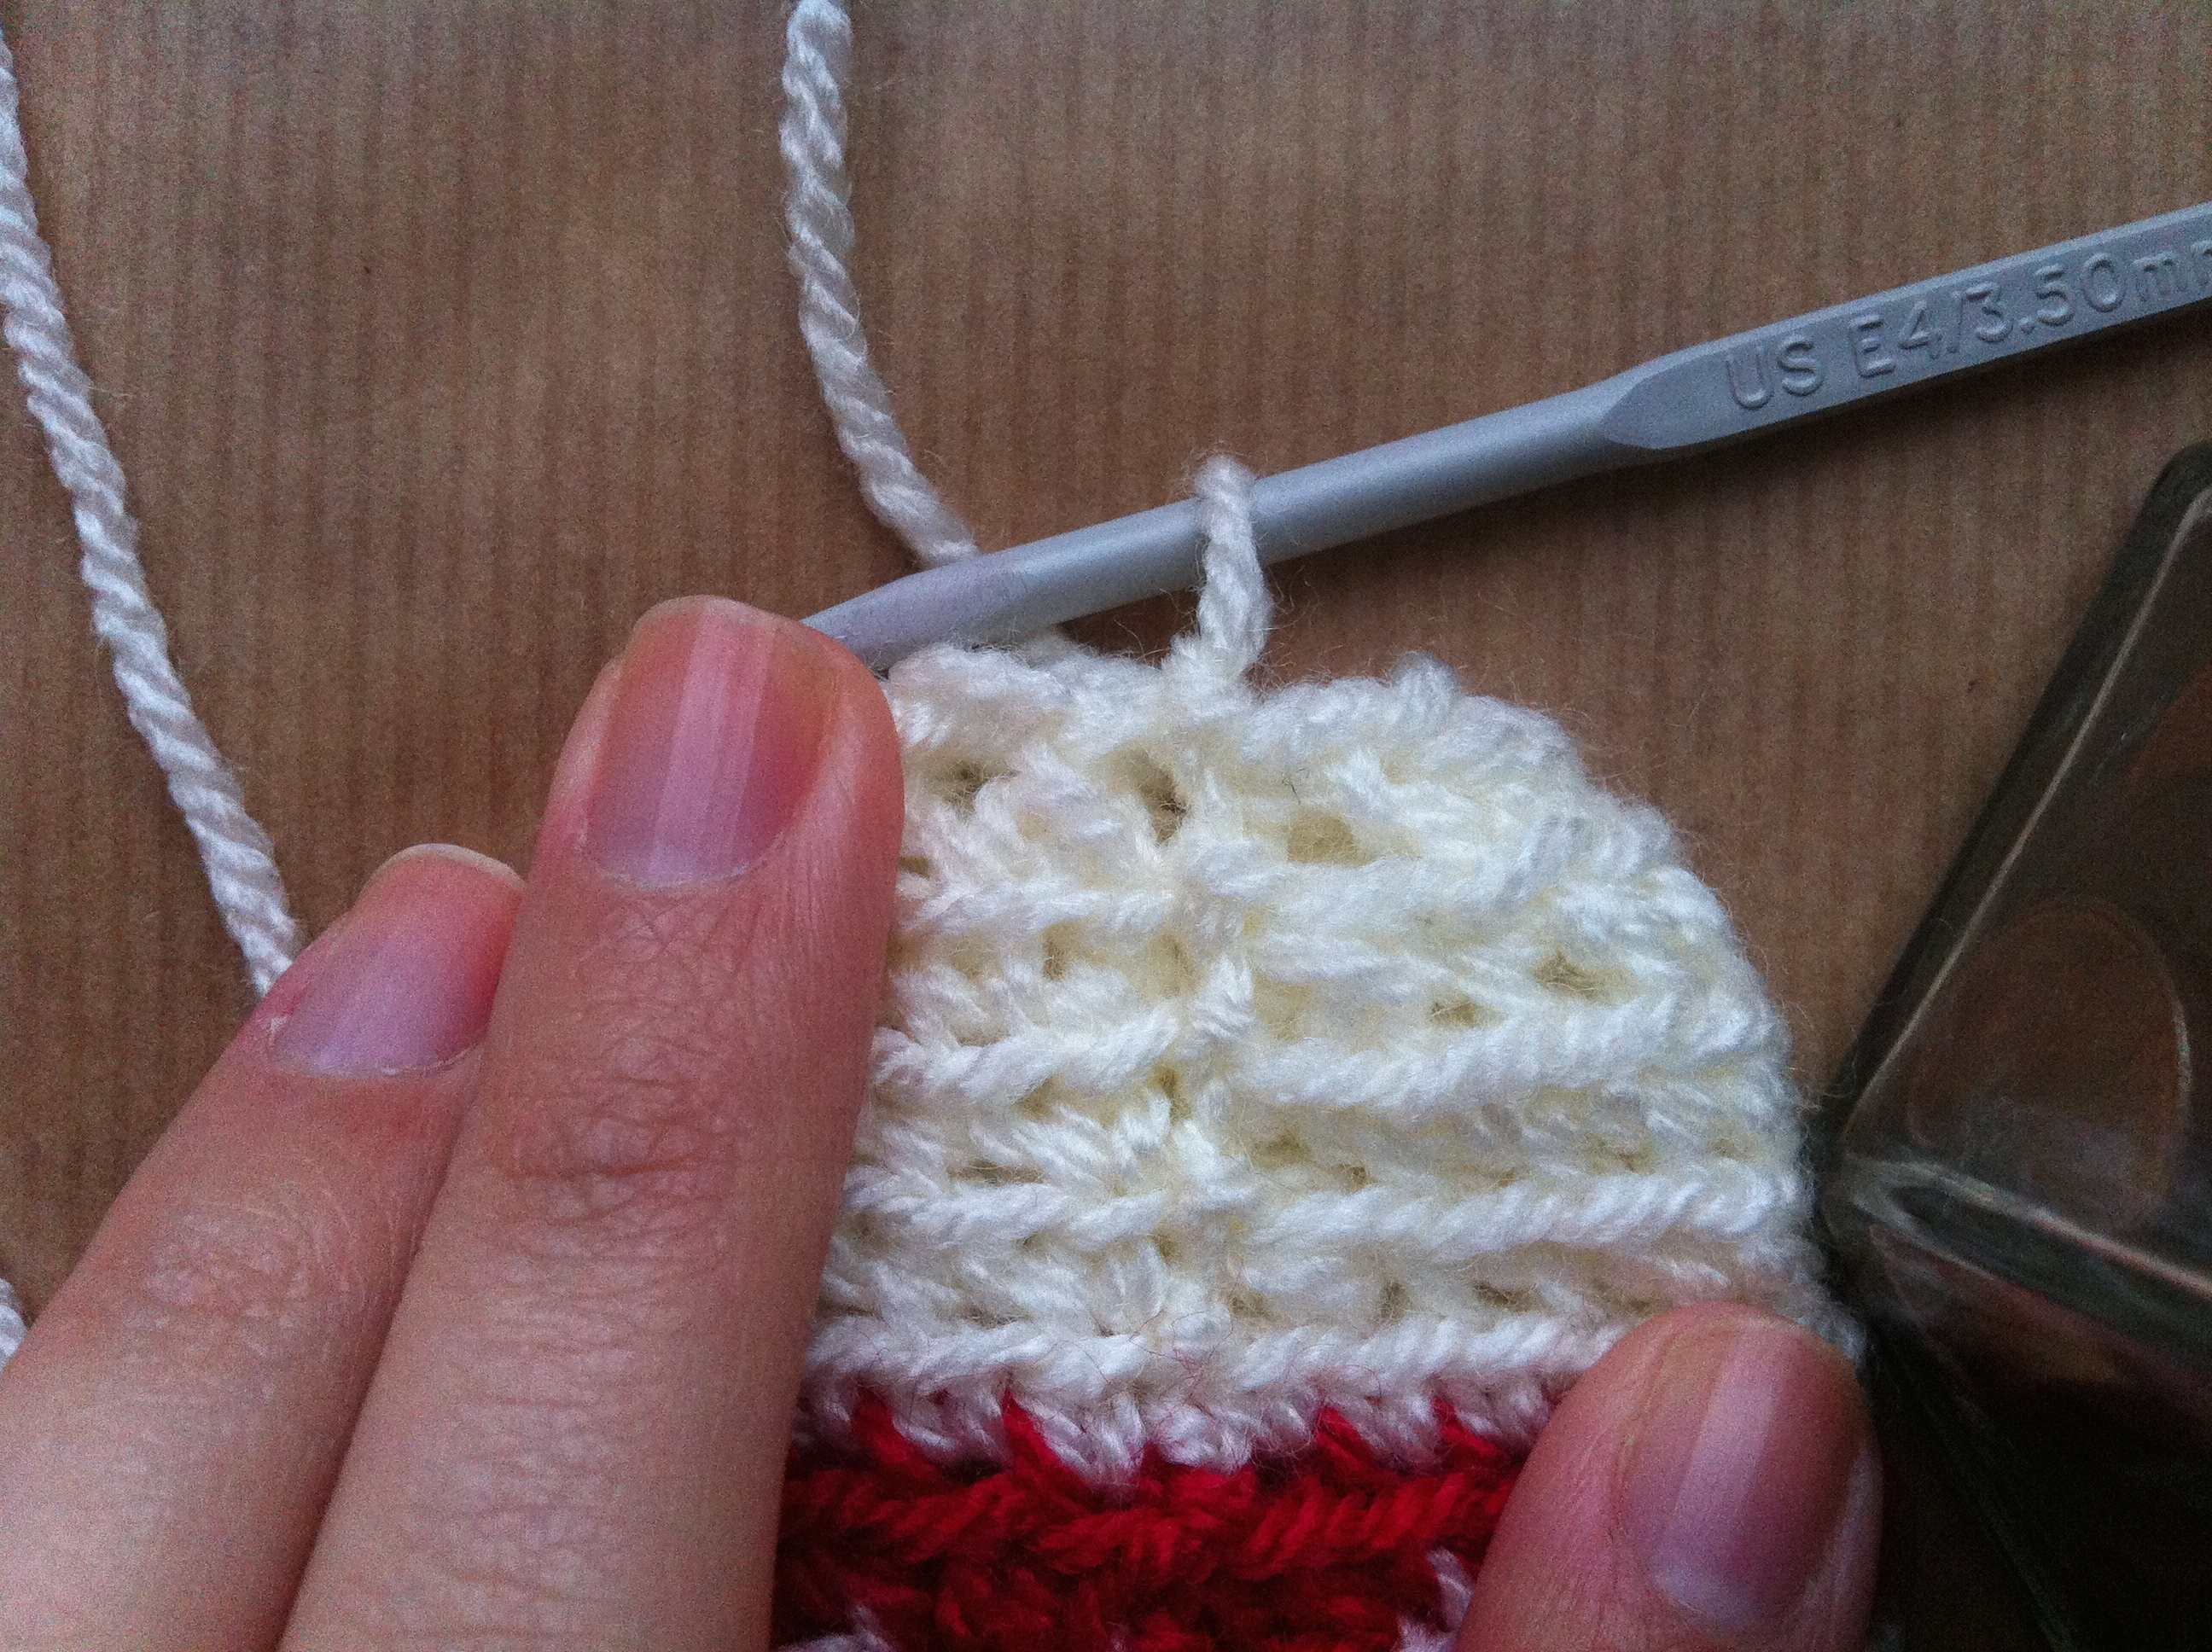
28. Drop the red colour, pick up the white, yarn over and pull through loop on hook. Pull the red yarn tight.


29. Ch 1 with white and pull tight. You won’t be using the red yarn again so you can cut it now, leaving a tail long enough to weave in comfortably.


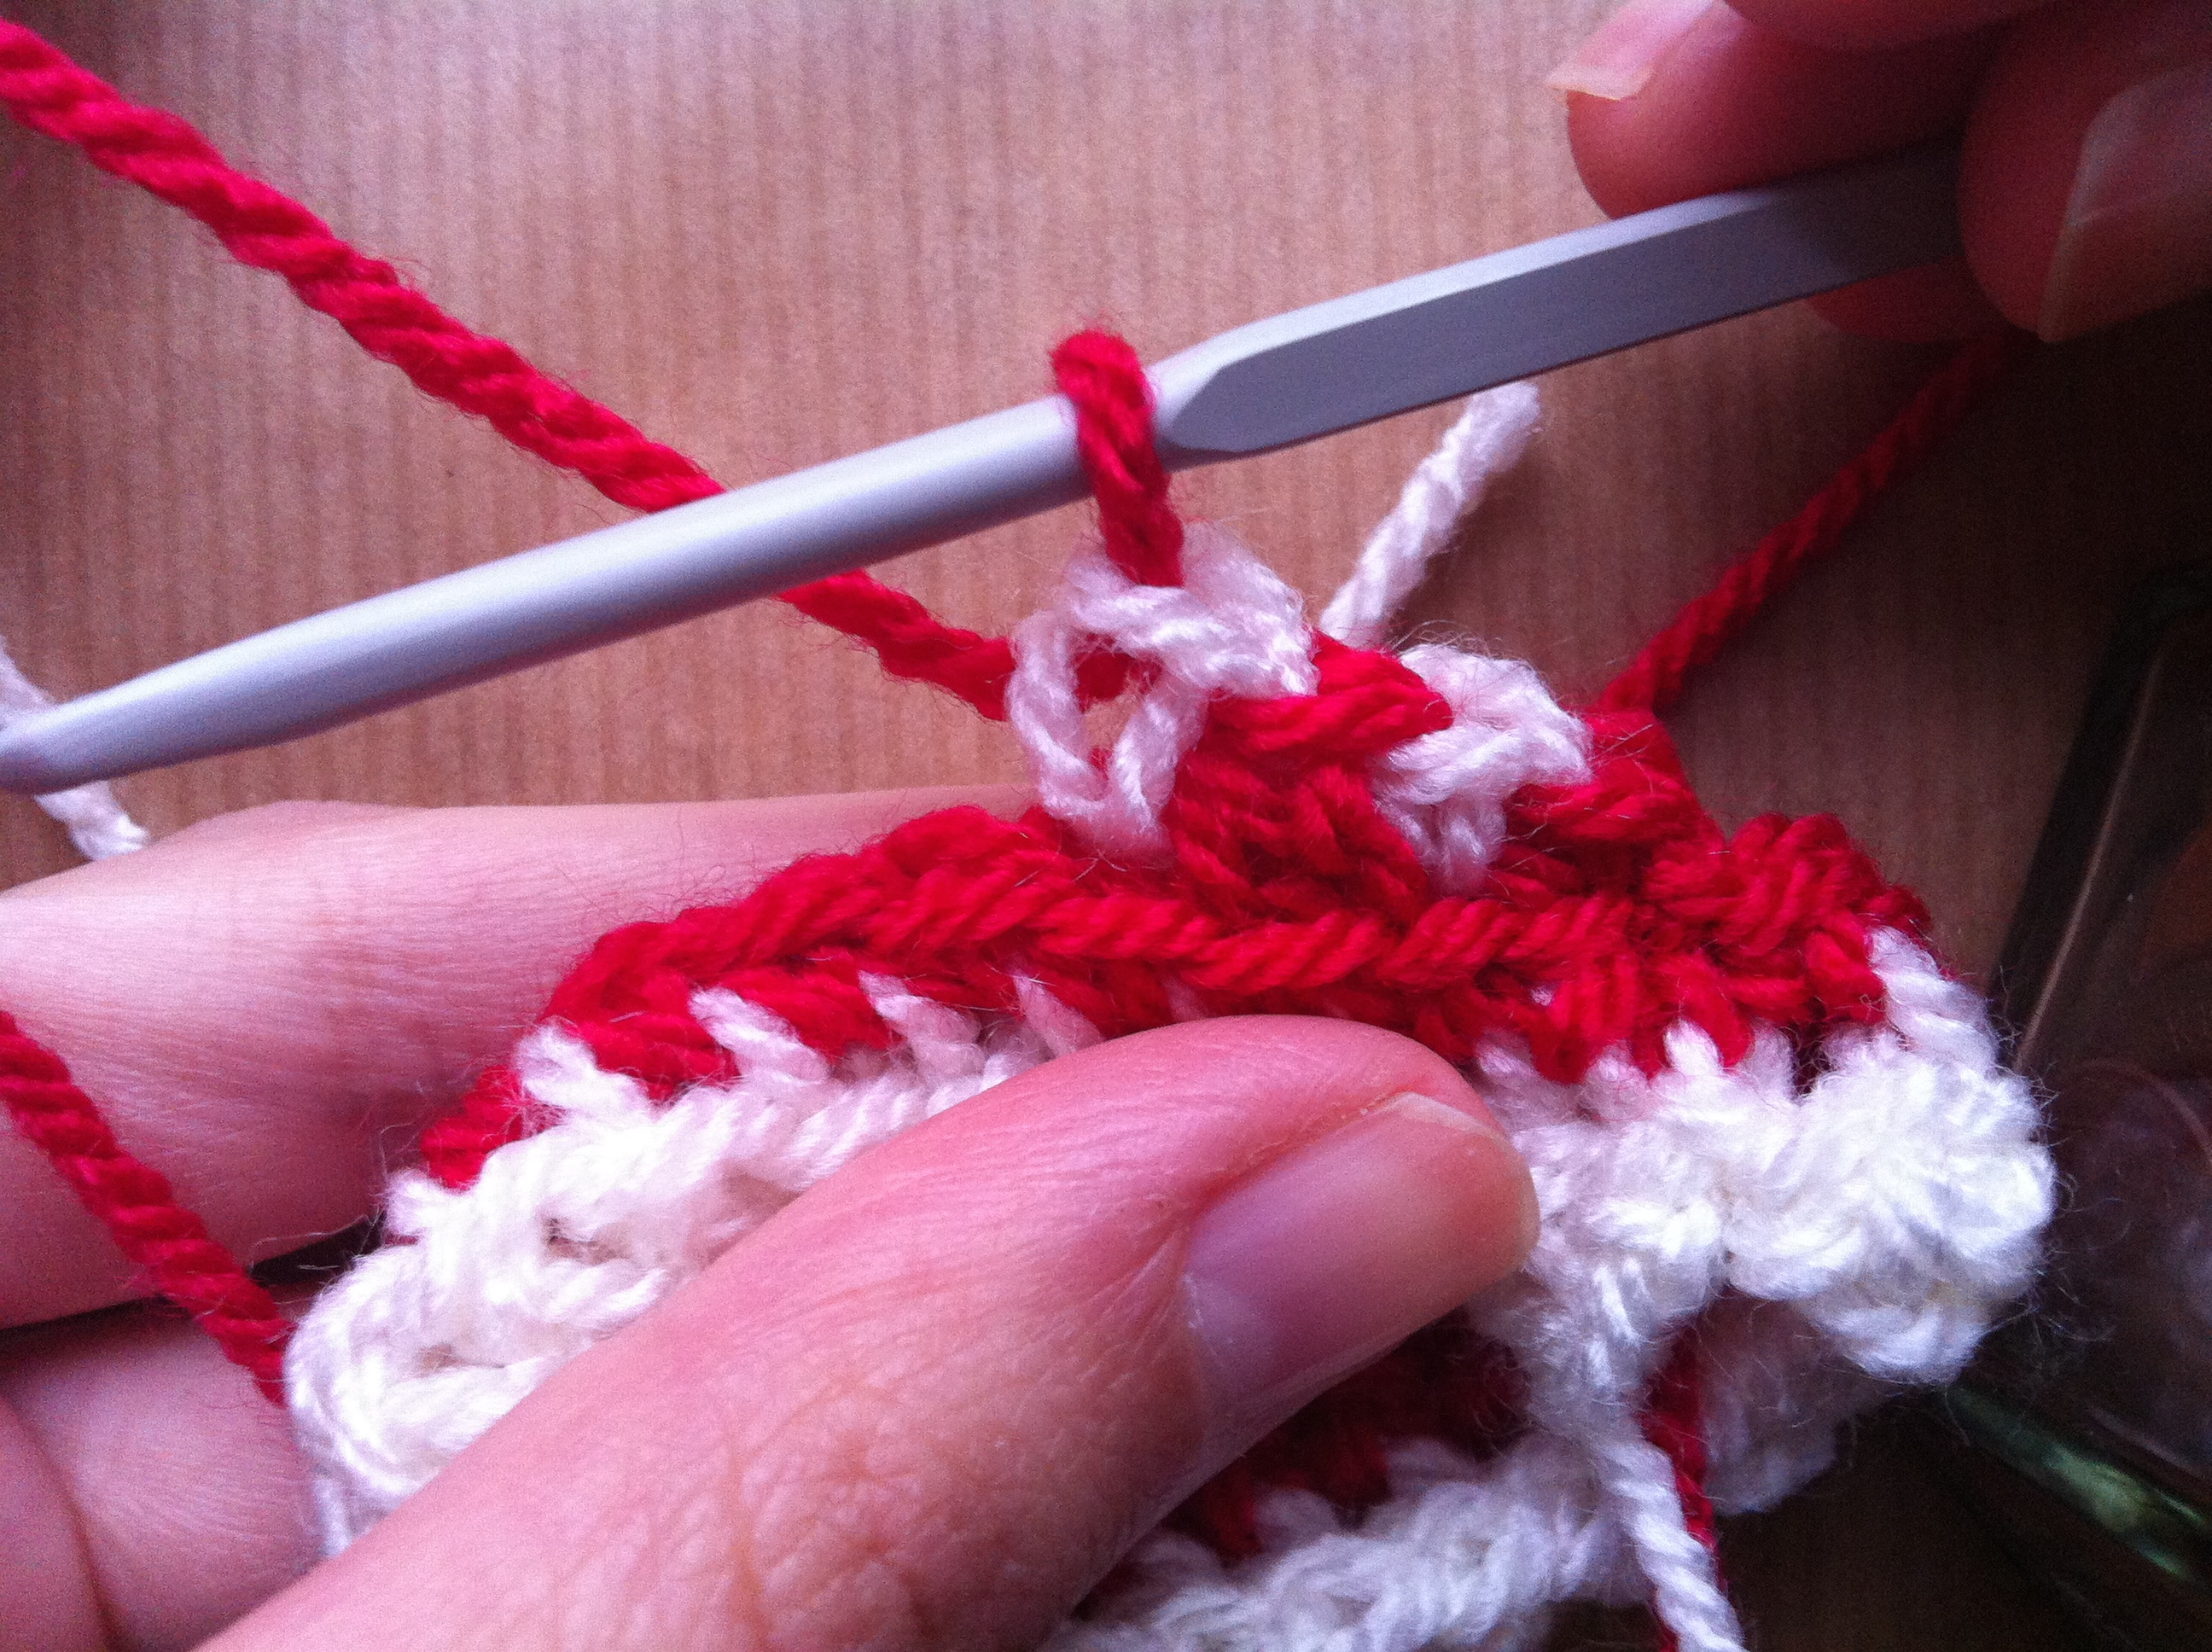
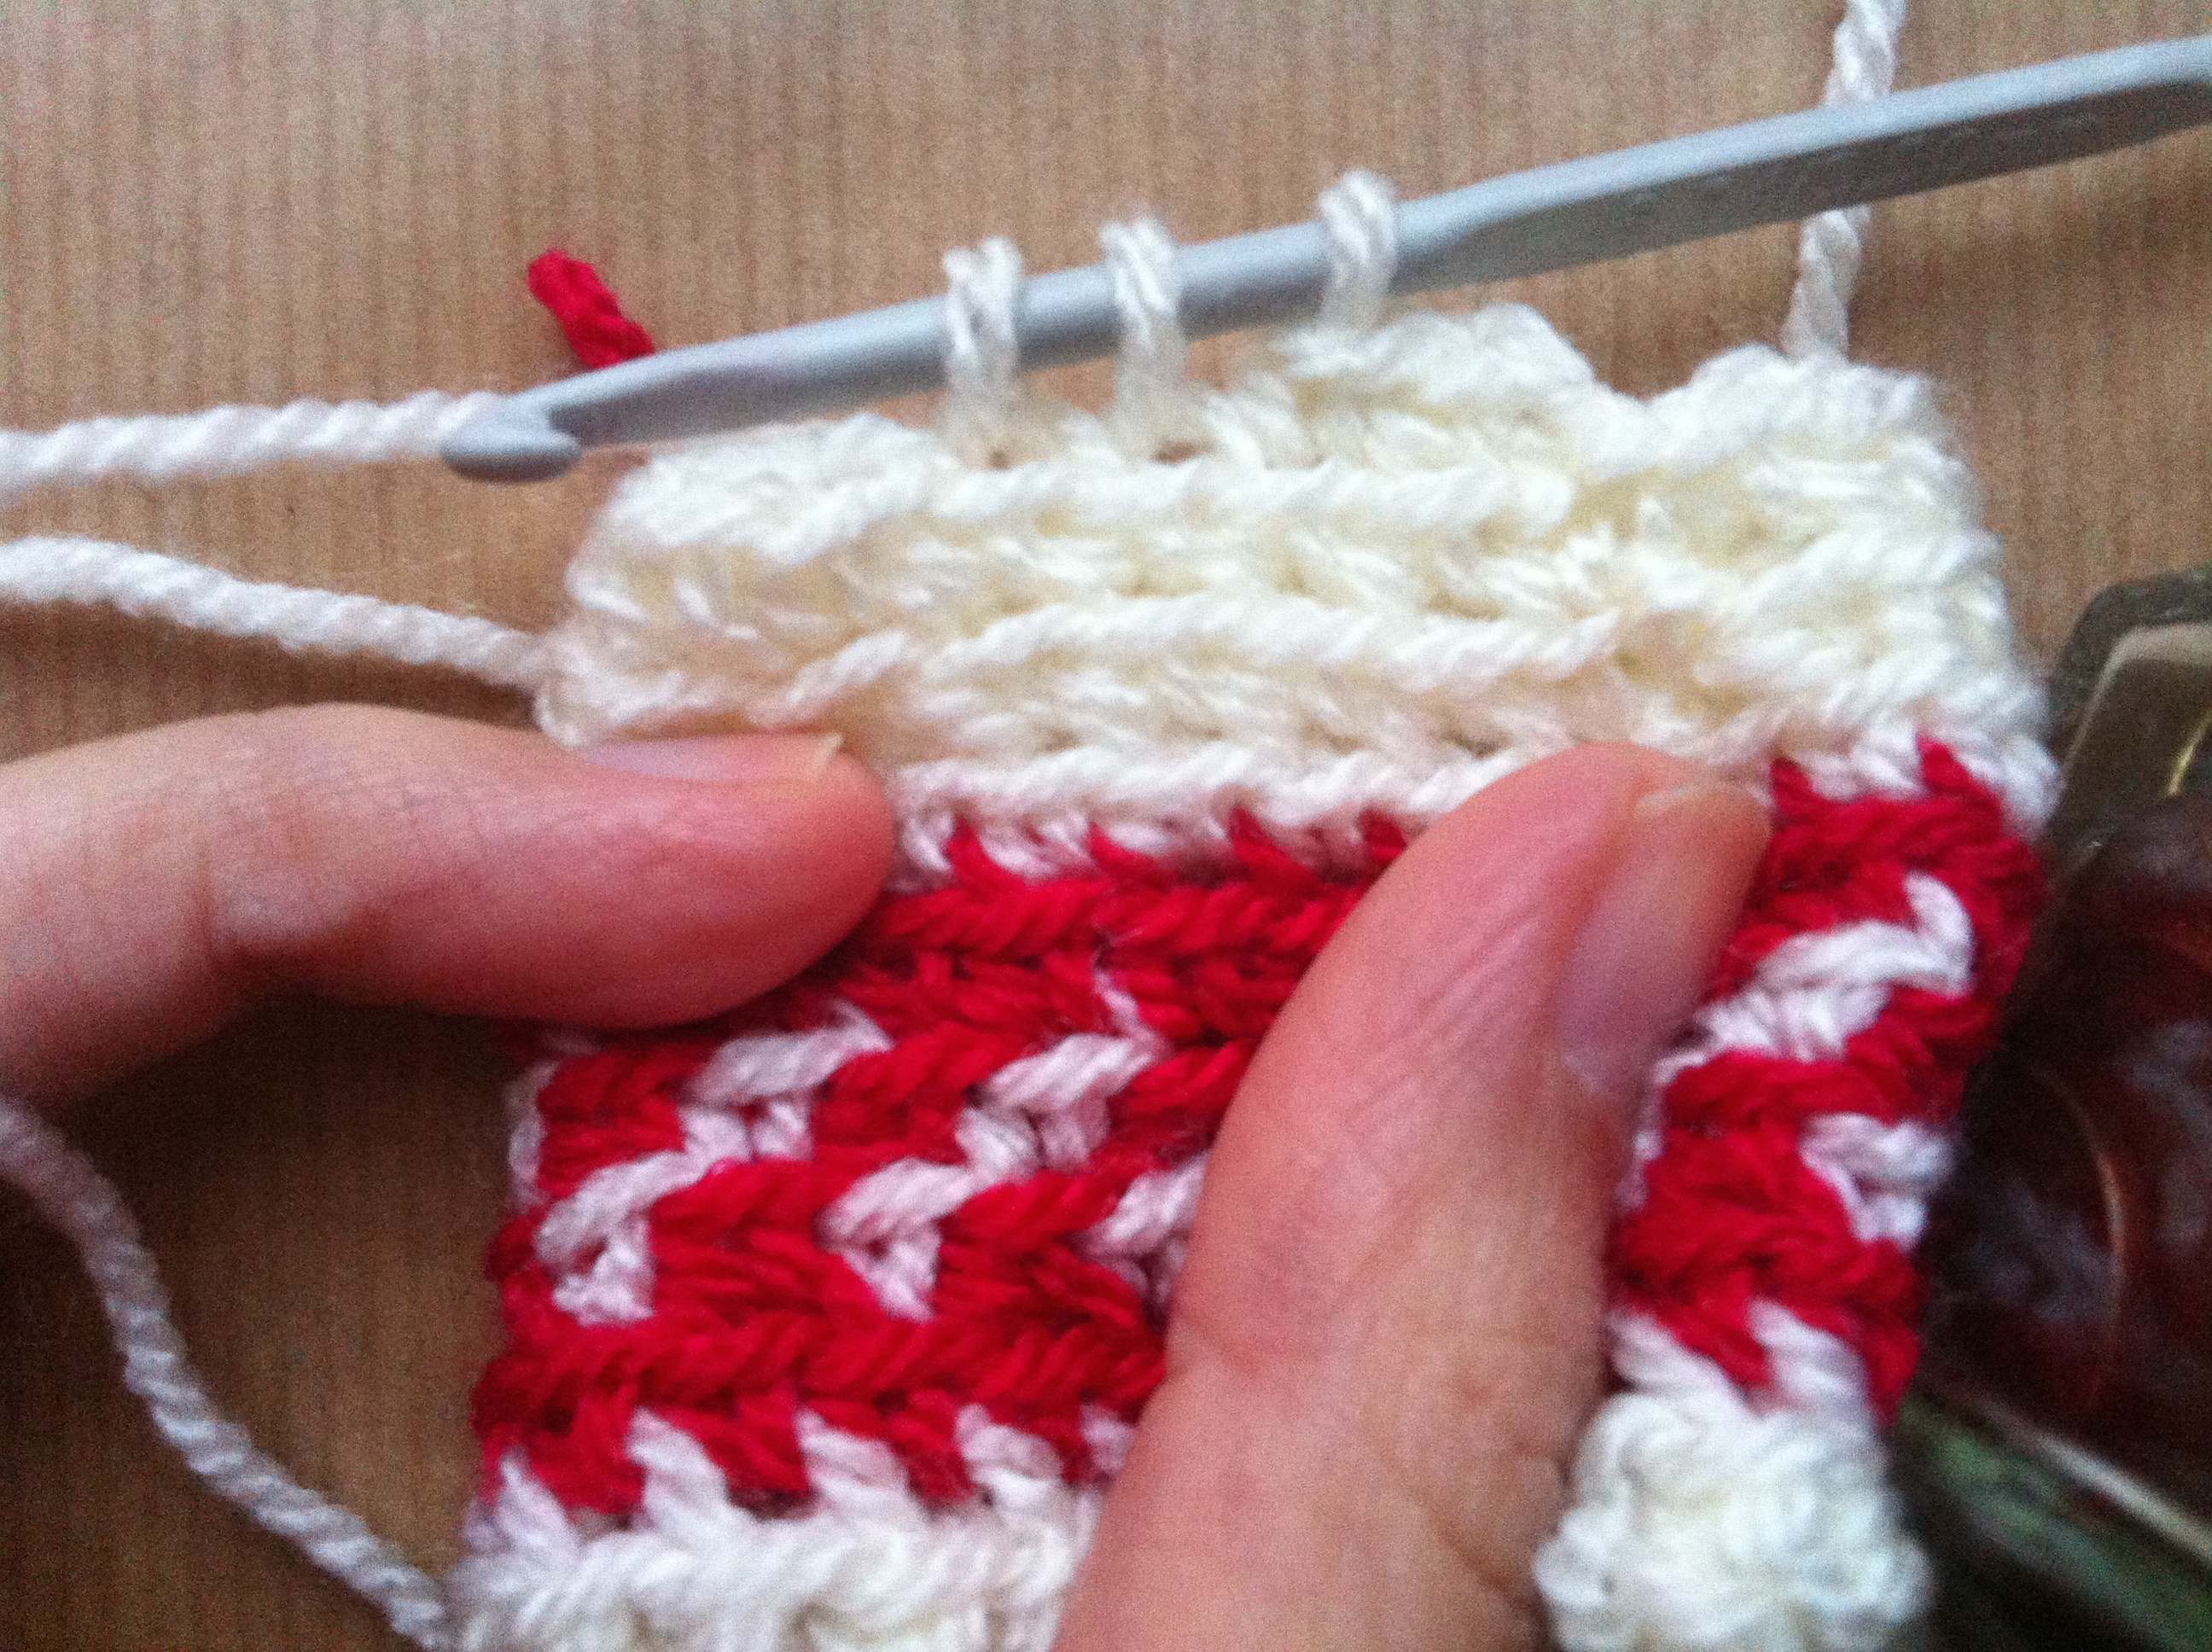
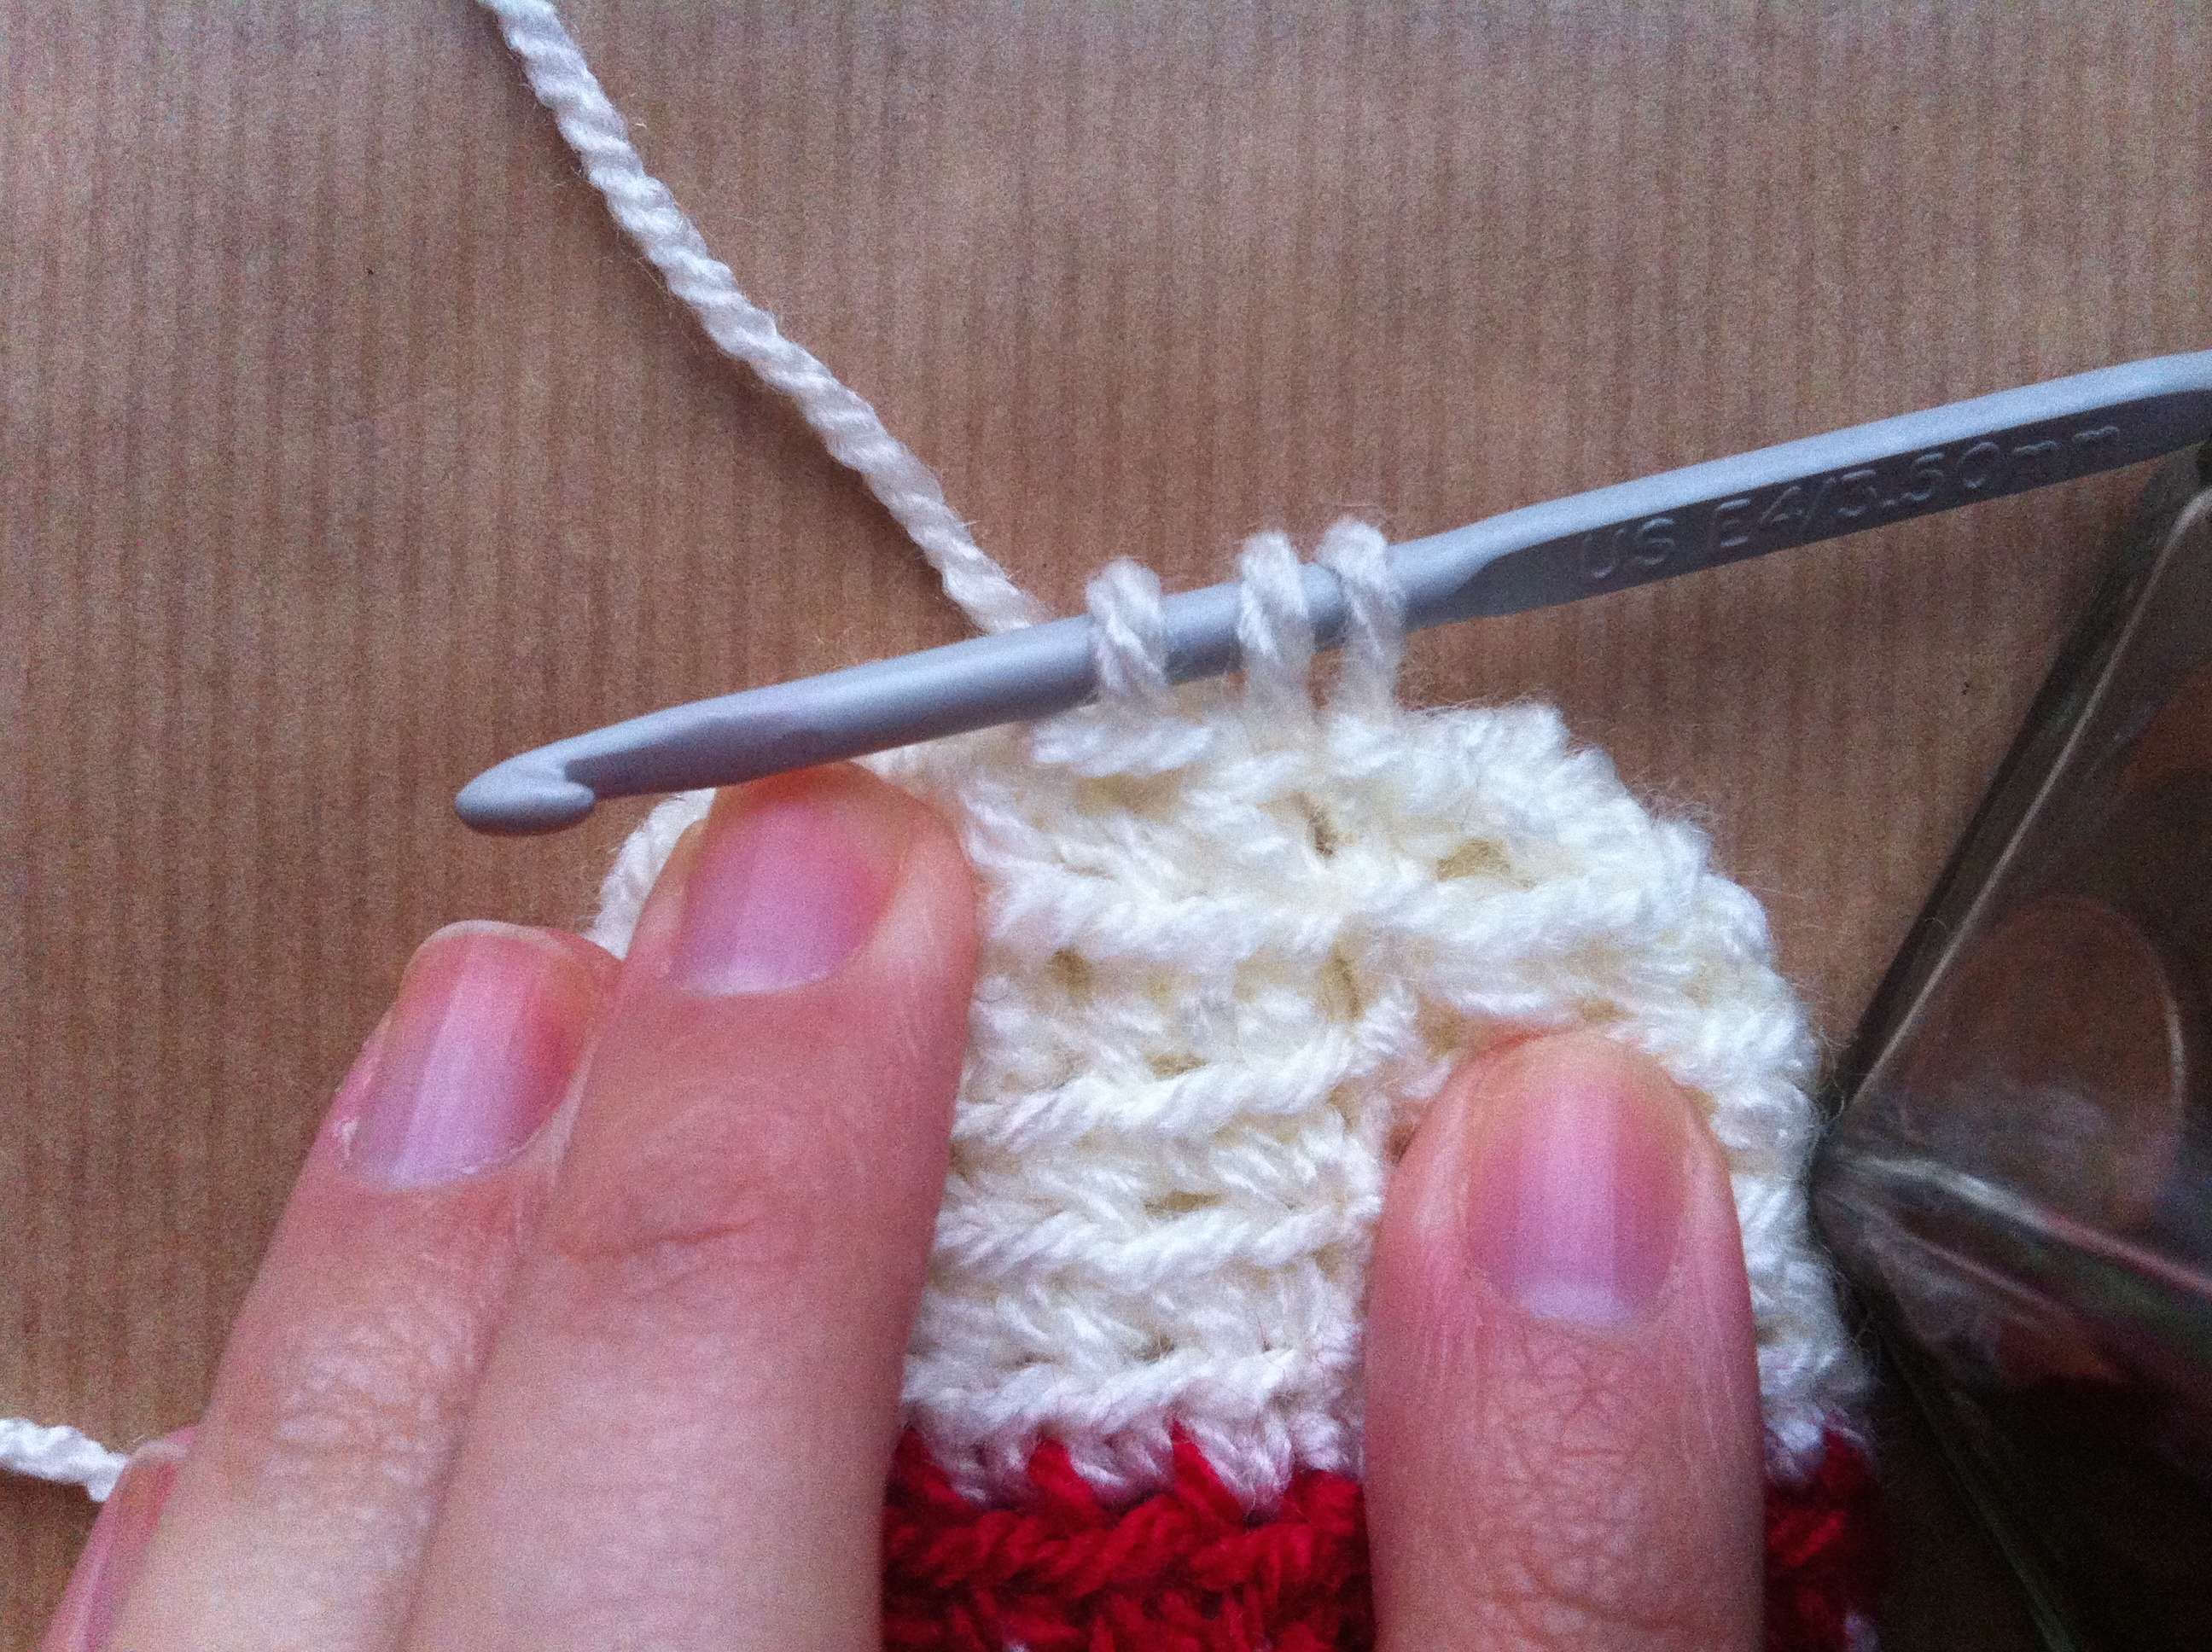
30. Dc in first st and each st across. Sl st to first st, ch 1.


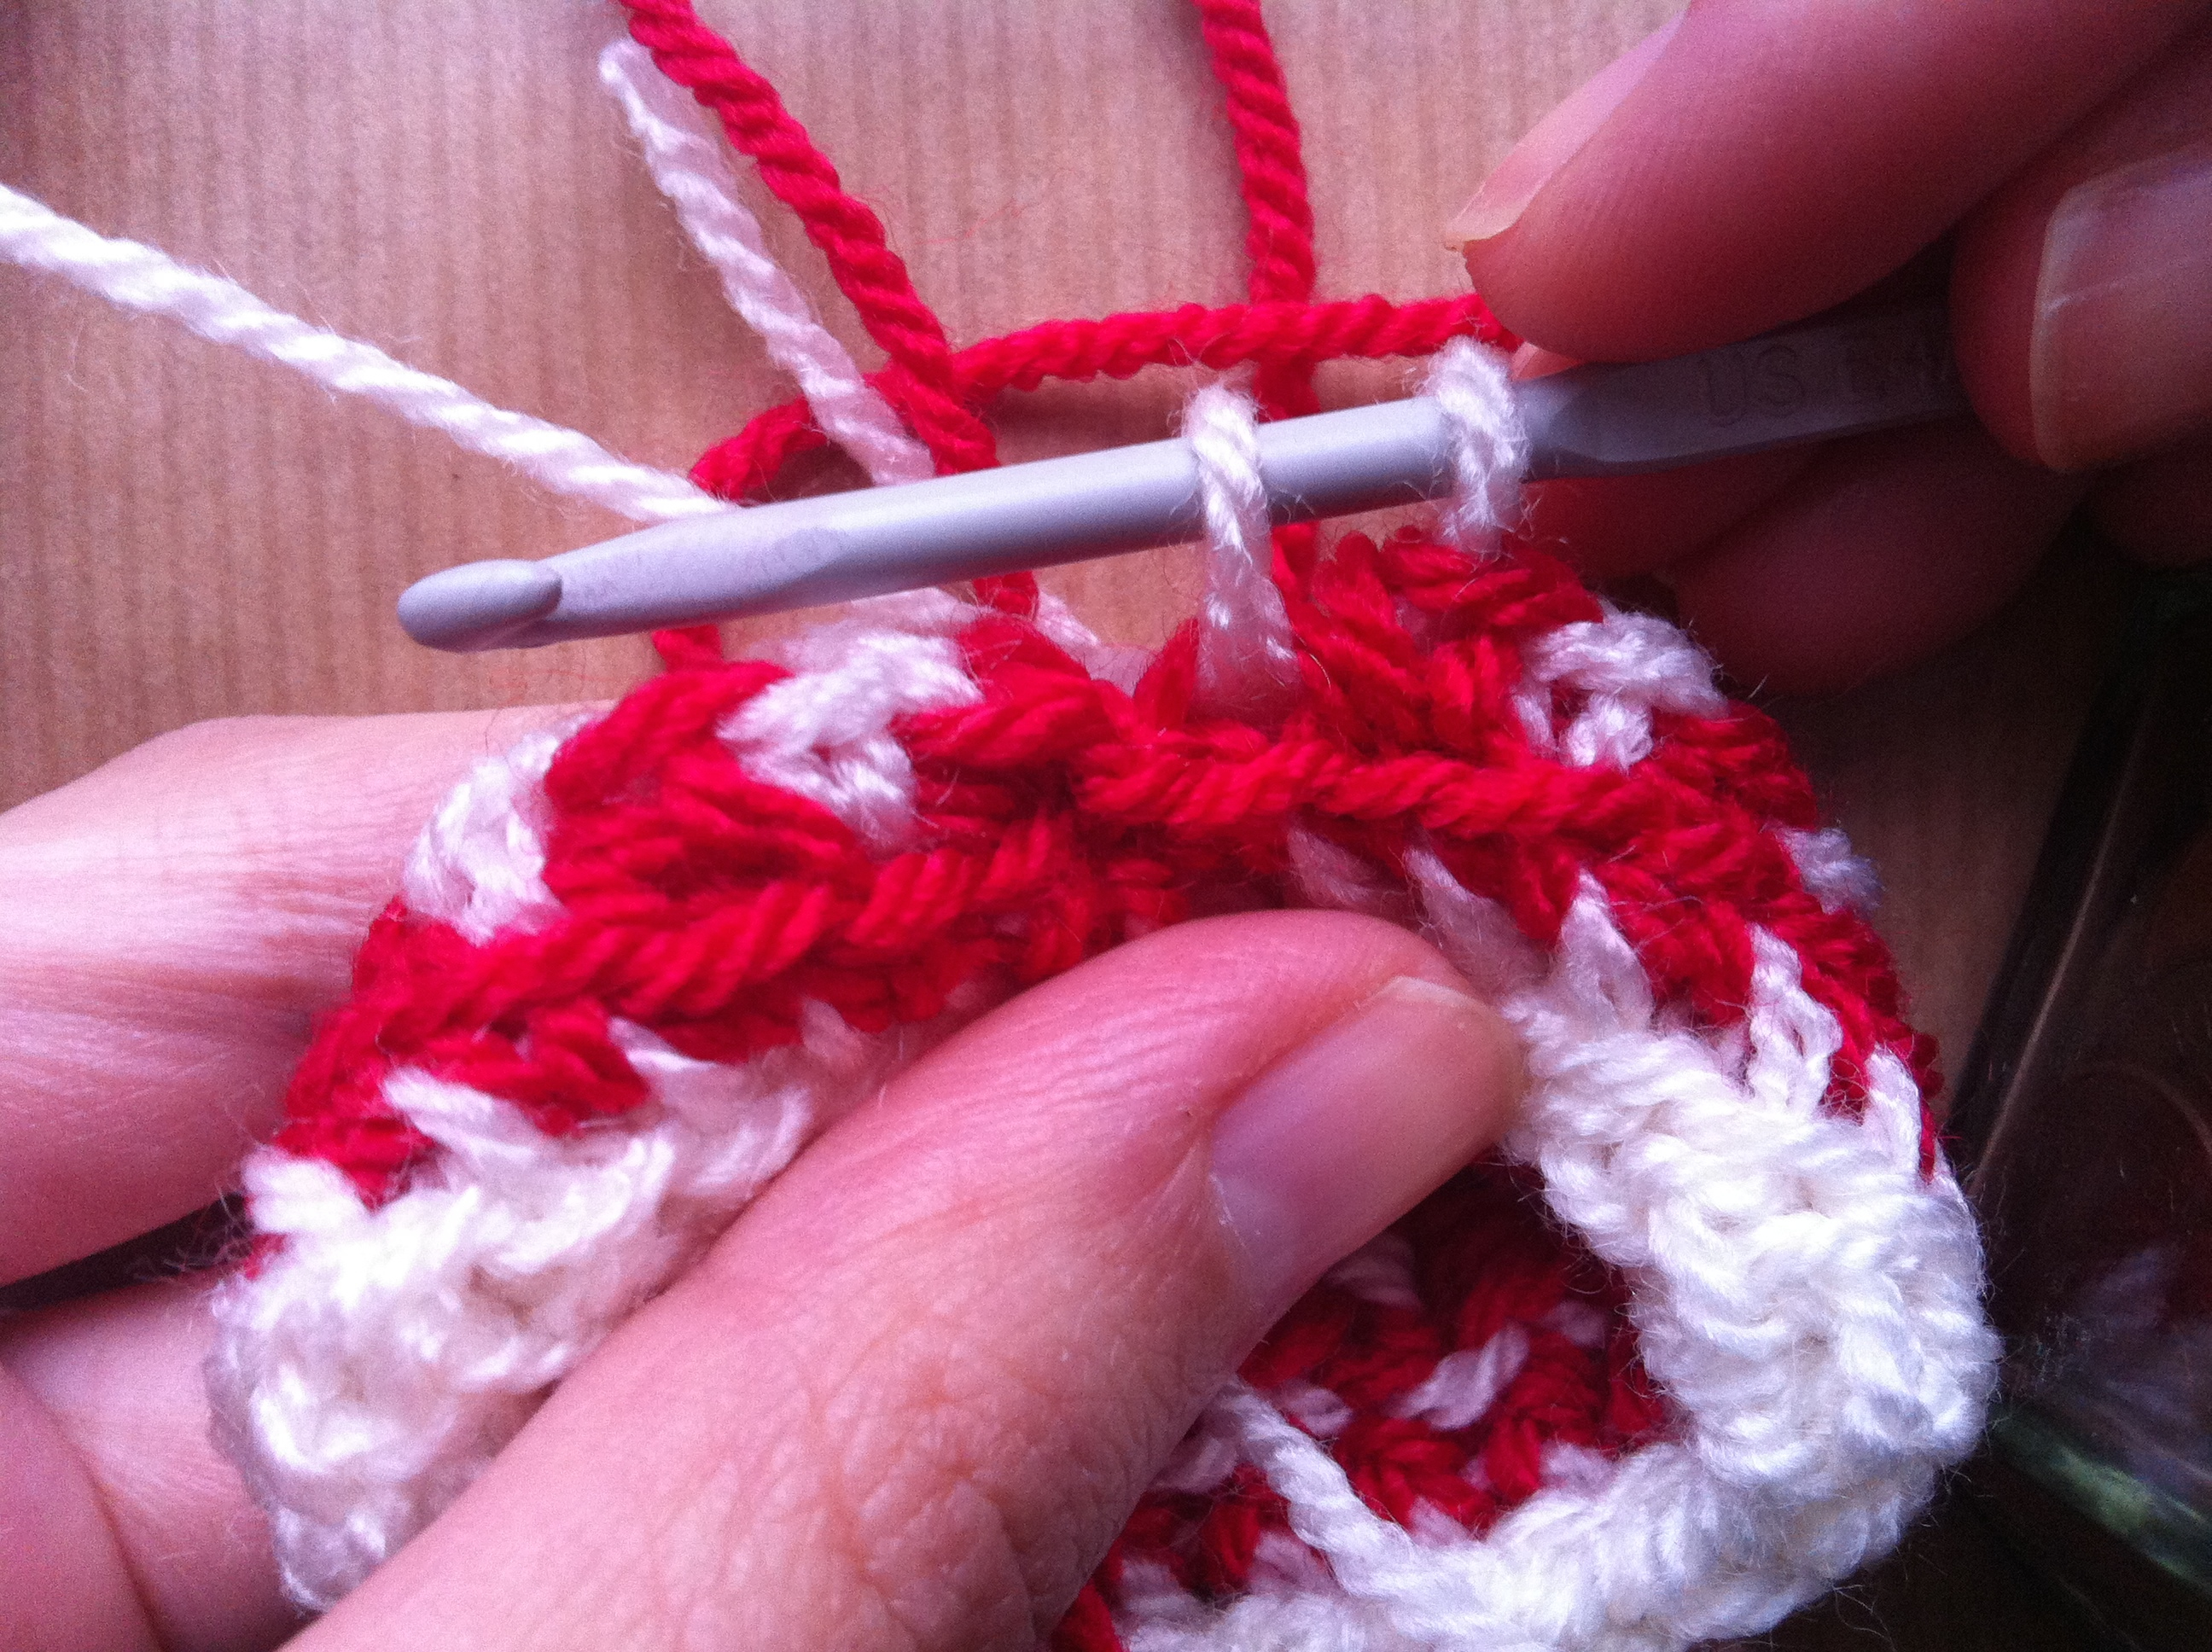
31. Dc in first st, dc in next 3 st.

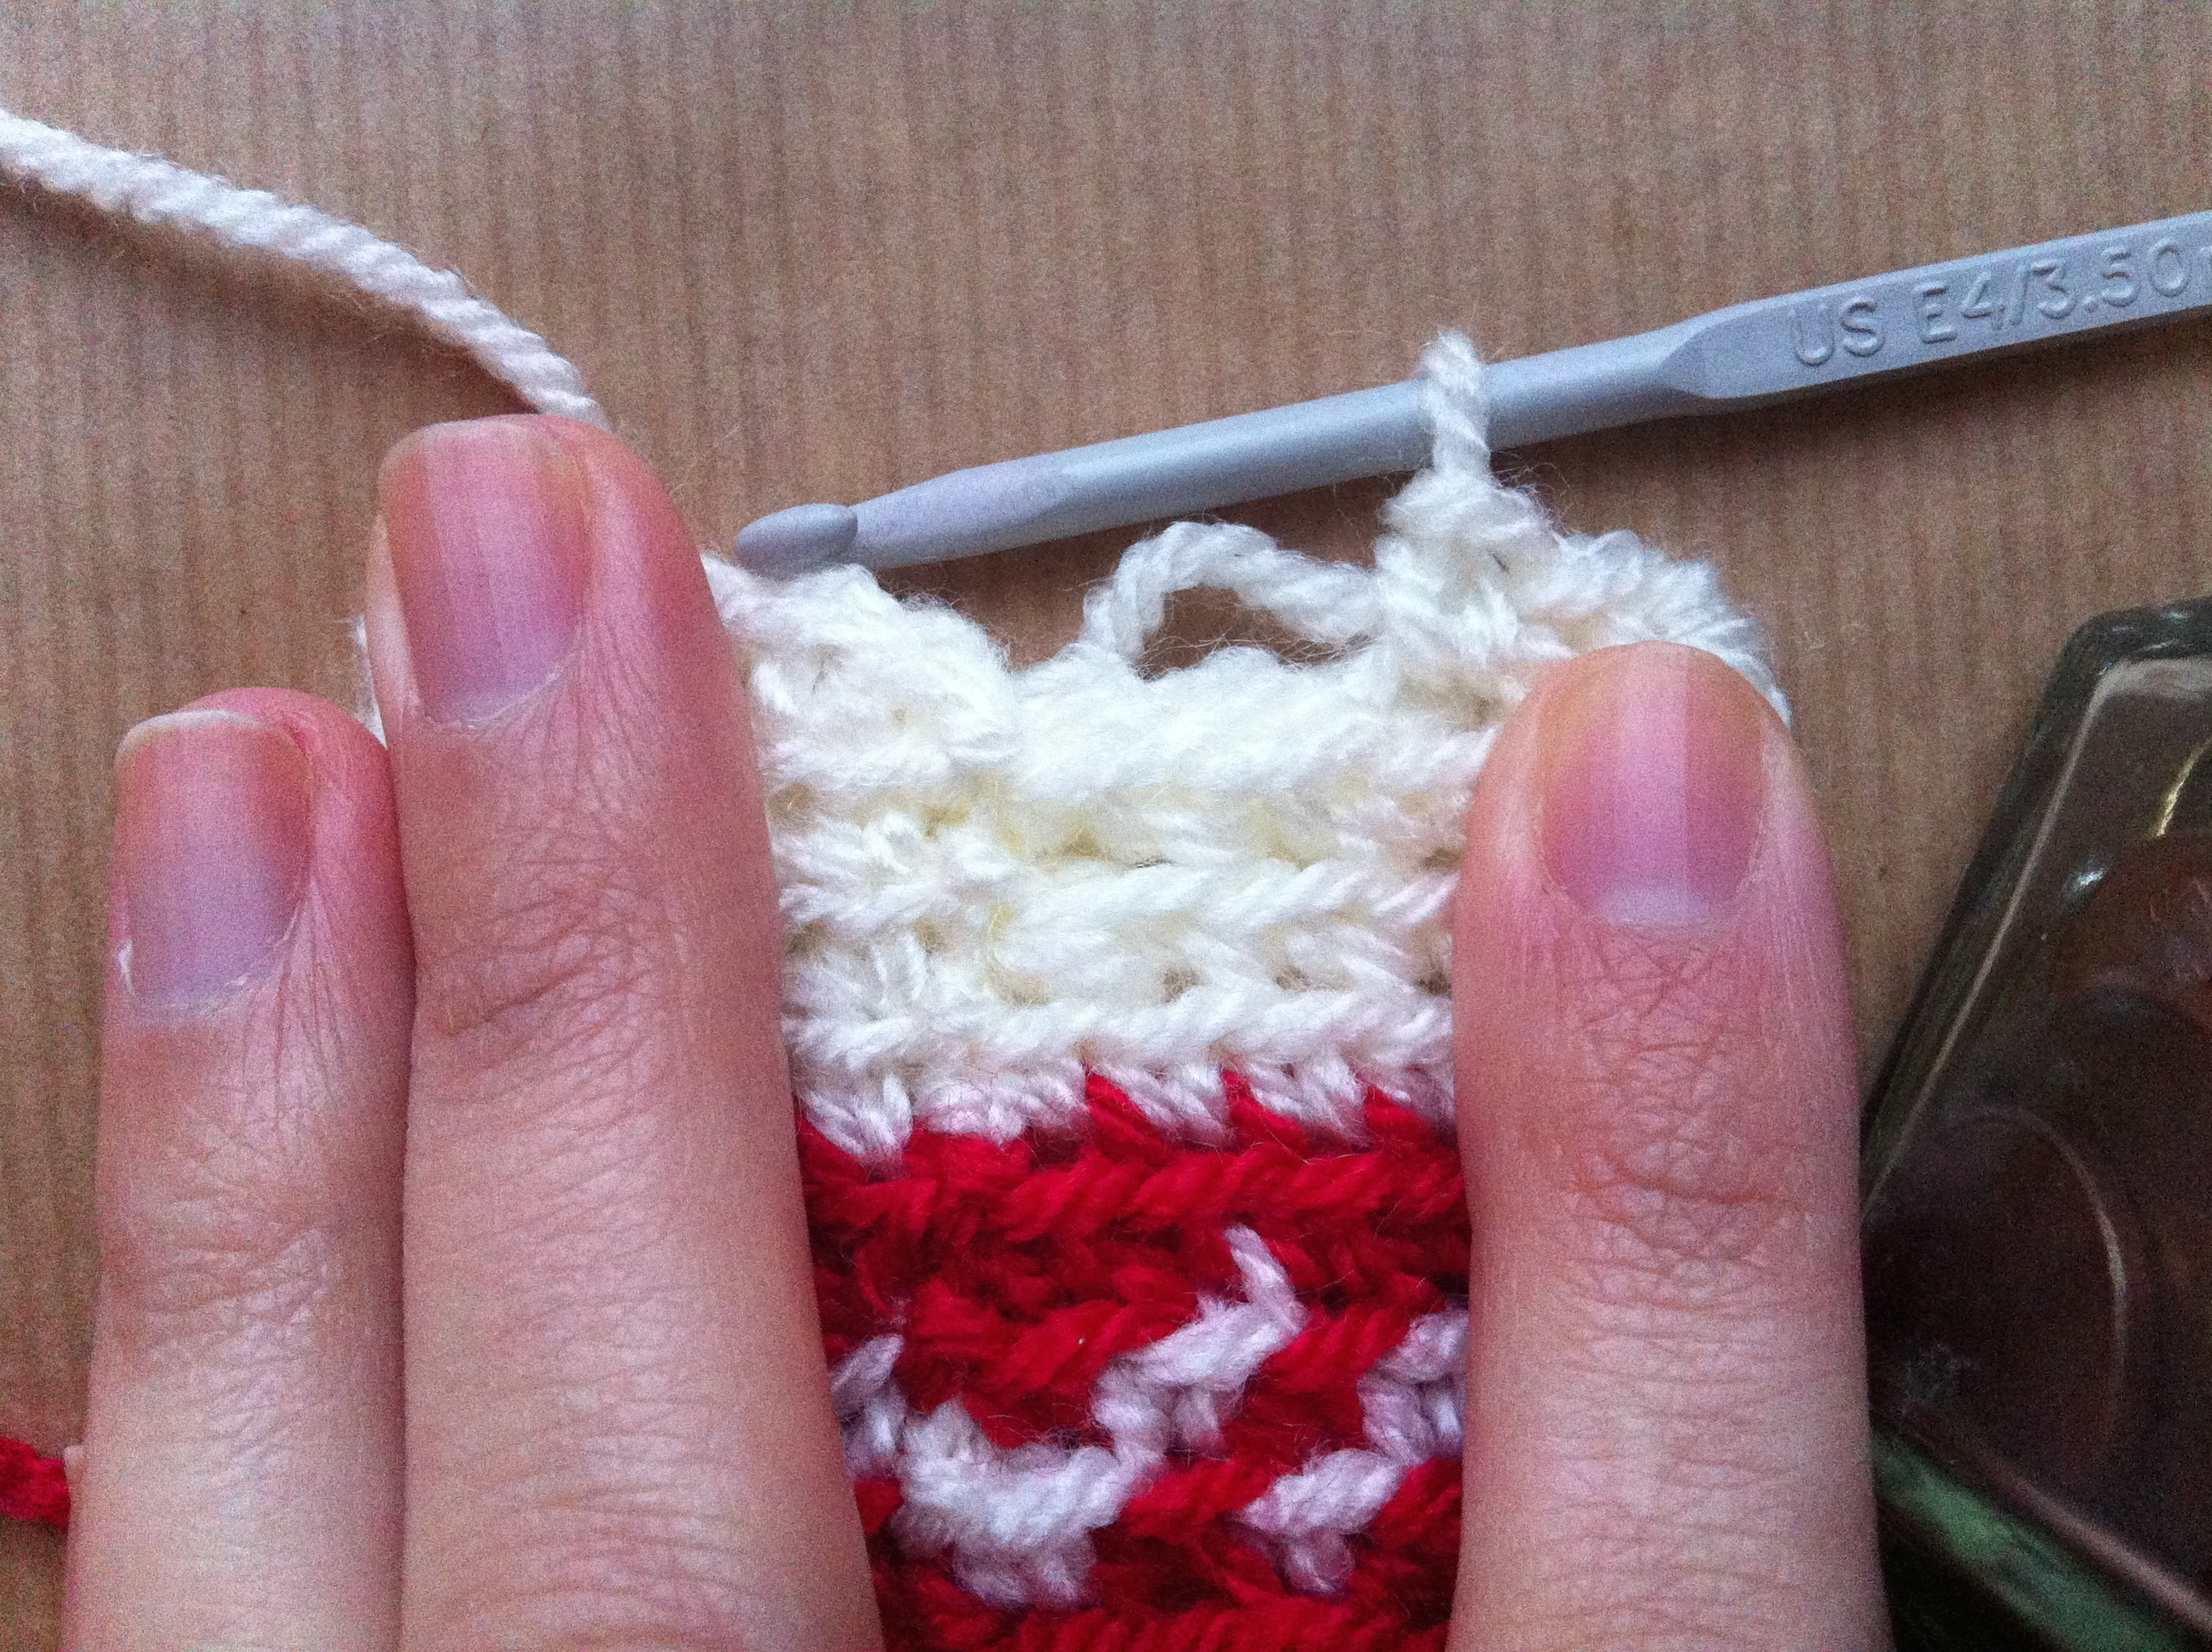
32. Dc2tog in next 2 st (see stitch guide at the top).


33. Continue this way (4dc, dc2tog in next 2 st) until the end. You should finish with one dc2tog in the last 2 stitches. Sl st to first st, ch 1. (20st)


34. Dc in first st and each st across. Sl st to first st, ch 1.


35. Dc in first st, dc in next st, dc2tog in next two stitches.


36. Continue this way (2dc, dc2tog) until the end. You should finish with one dc2tog in the last 2 stitches. Sl st to first st and ch 1. (15st)


37. dc2tog in first two st, place a st marker in the st just finished.


38. dc2tog across until last st. Dc in last st. Sl st to marked st, ch 1 (8st).


39. dc2tog in first two stitches, place a marker in st just made.


40. Dc2tog until the end. Sl st to marked st (4st). Fasten off.

Weave in ends and close the small gap in the first round. You don’t need to close the gap at the top since the pompom will cover it. Make a pompom and attach it to the top, use a piece of yarn or ribbon to make string.

Let me know if you have any questions, I know some pictures are not great but days are very grey at this time of year. I hope to get better with the pictures with time 🙂
If you want to make the Santa hat in the first picture you just need to make a the first white row of fdc in white and then change to red for the rest of the pattern without changing colours. Easy peasy!
x
Sol
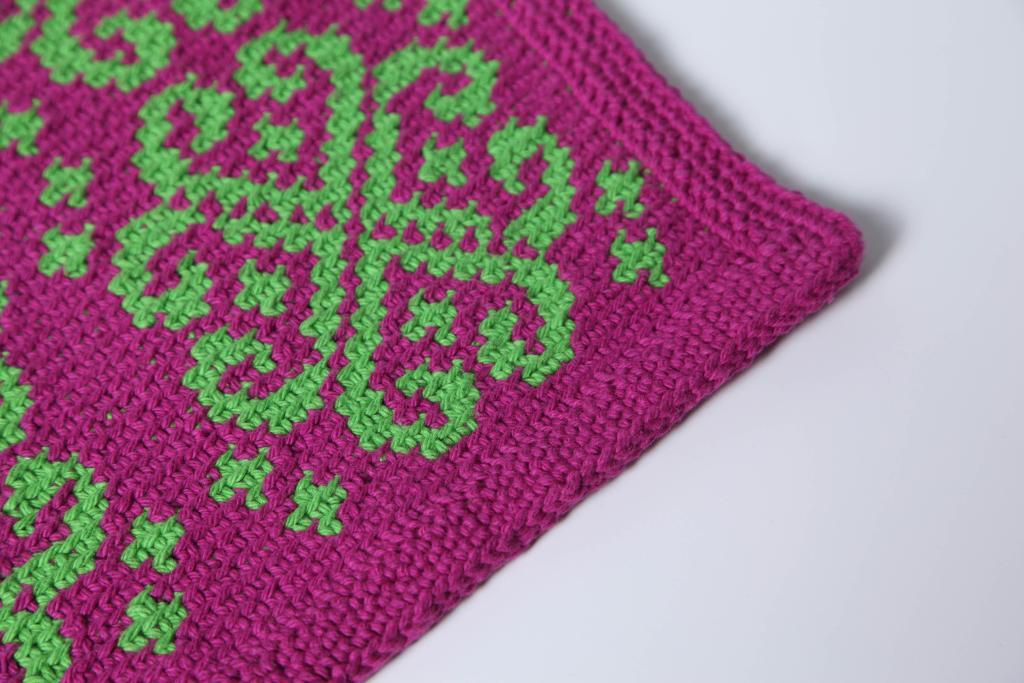
 Hello there! I am posting today to share a fun tutorial with you. Remember my Moroccan bag? Well the pattern is still in the works but I realised it would be very useful to create a tutorial for the crochet colourwork techniques I use in my patterns and then I can refer you to them whenever necessary.