
Chunky goodness! This pattern was a joy to work and it kept me company during all those train rides and lonely hotel nights. I liked it so much I started another one right after I finished the first! I am obsessive like that 😛
It uses just two tunisian stitches, simple stitch and double stitch which is just a variation of the first really. It uses a really big hook so I do recommend using the ones with the extension, I am not even sure they have sizes this big for the normal long tunisian hooks.

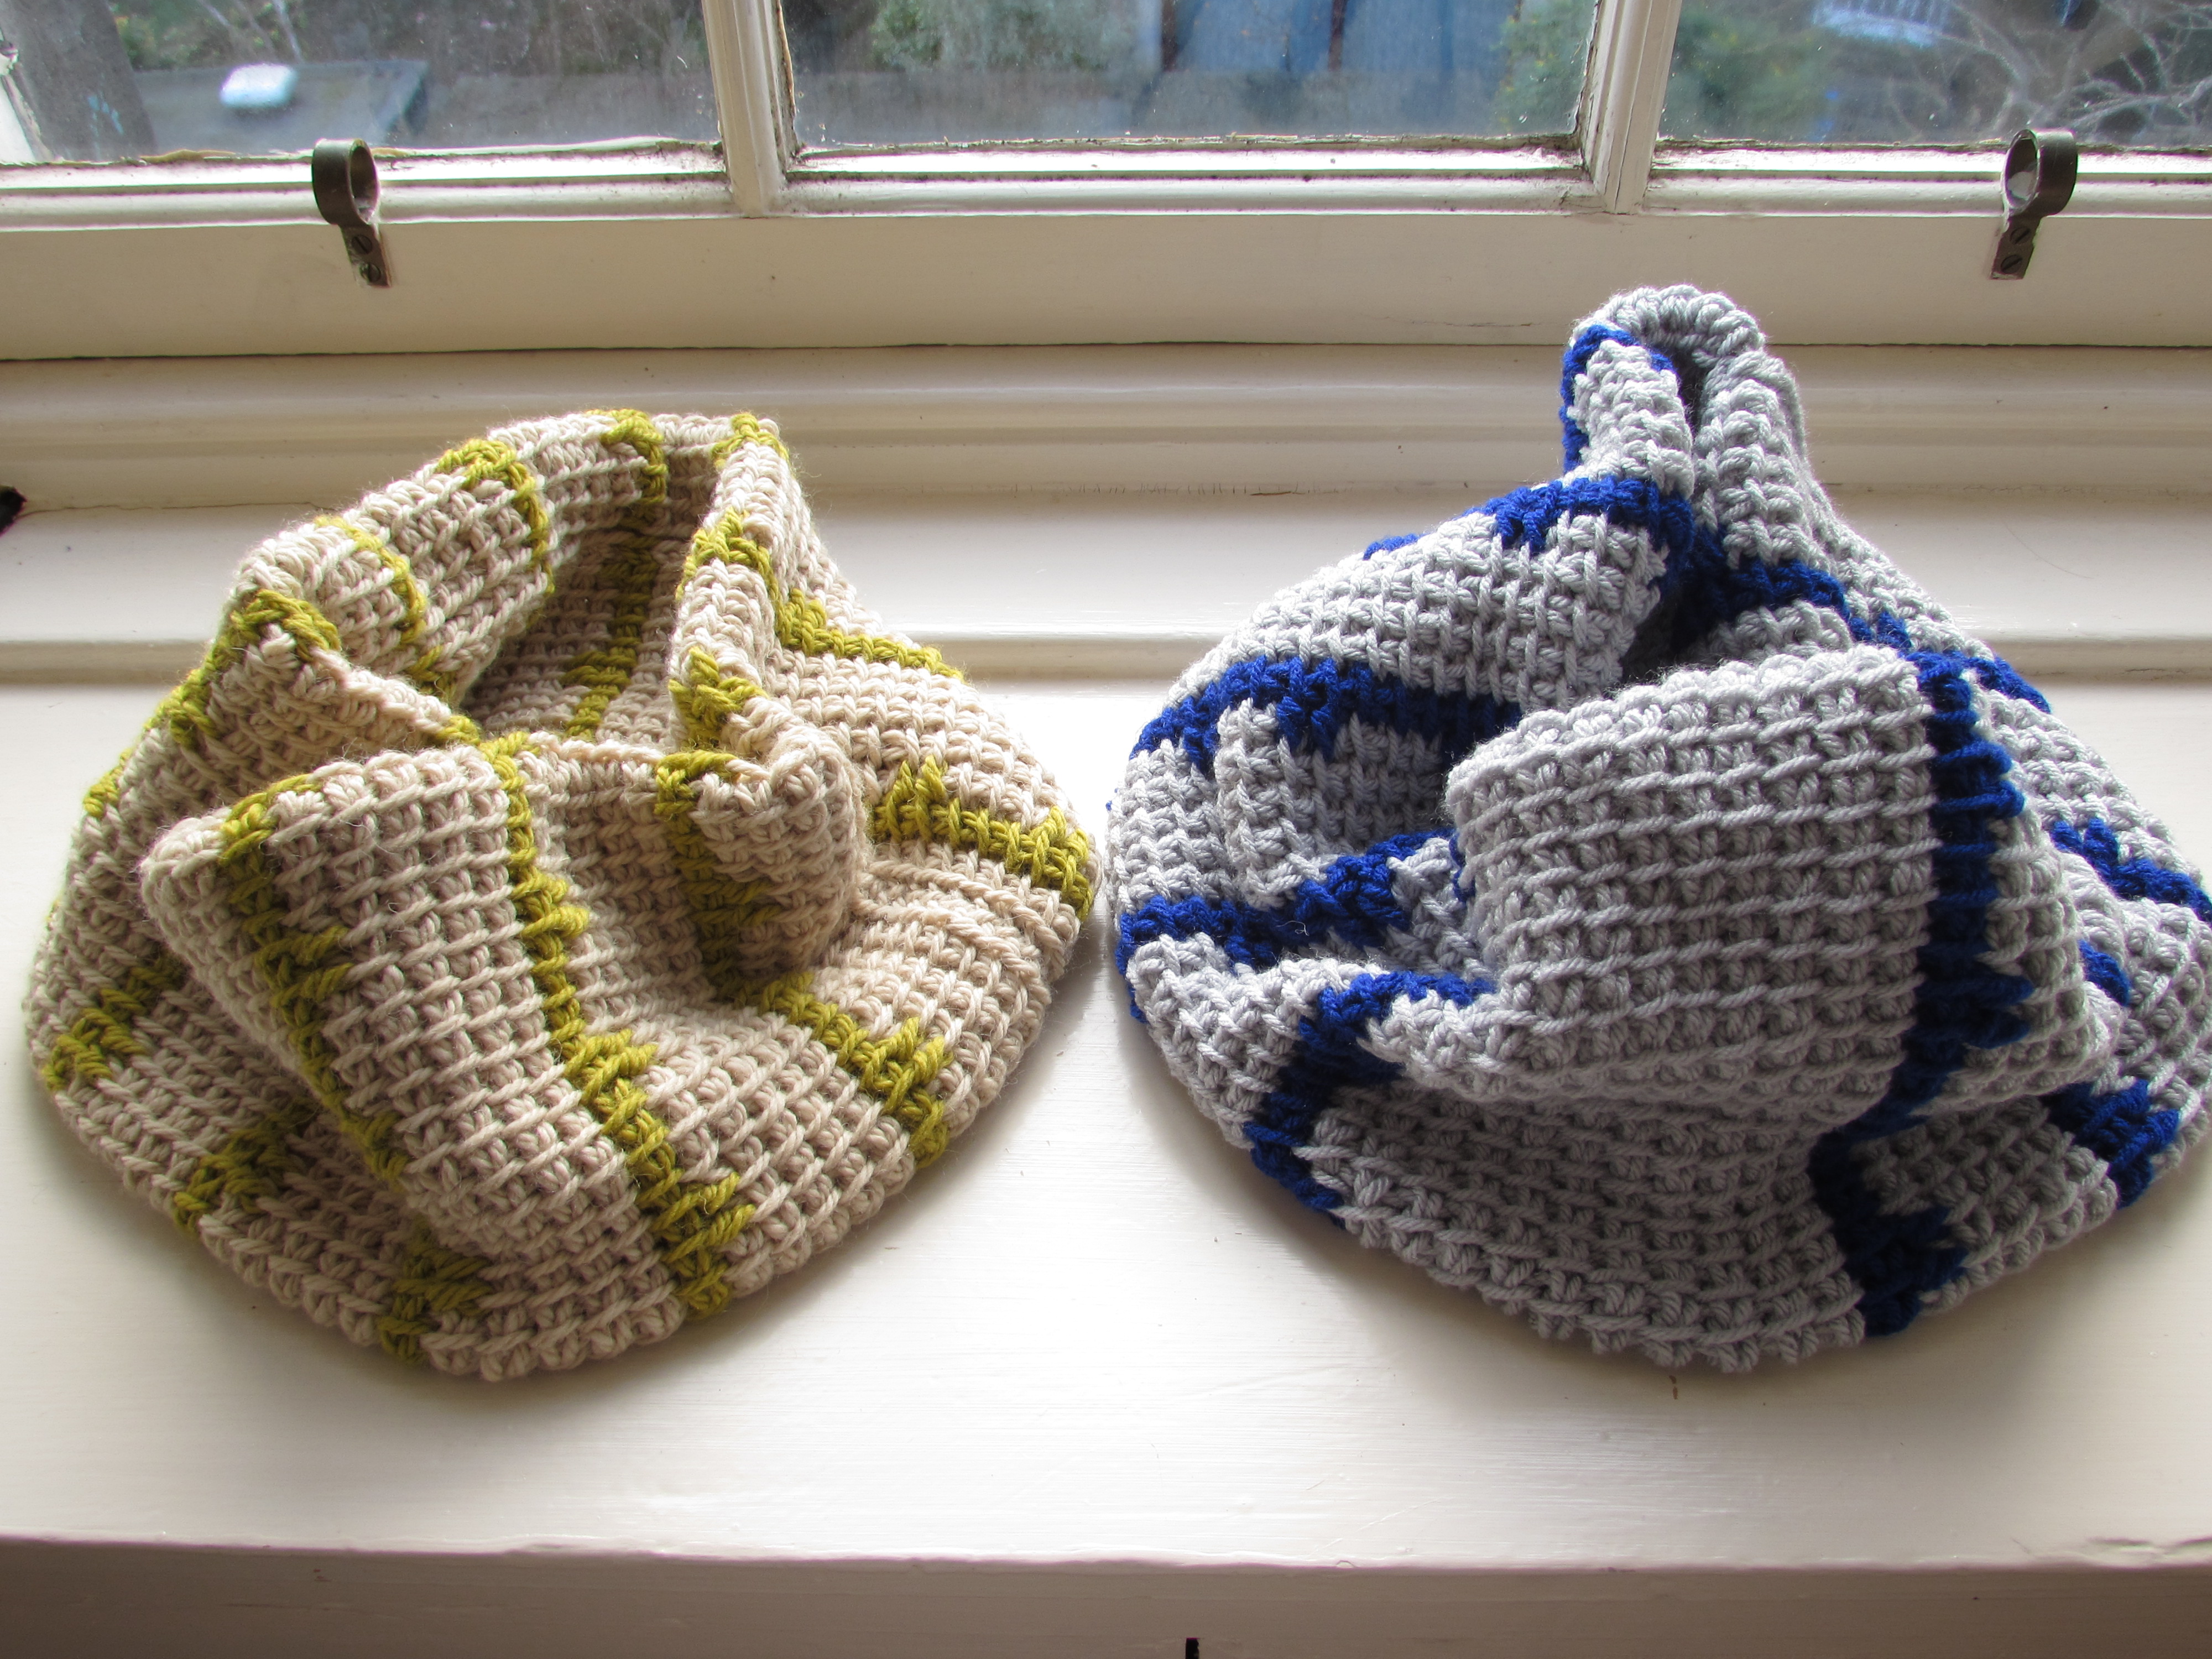
I really like the contrasting colours for both cowls, they use different yarns and I explain the difference later on. I think it would look great with grey and a nice neon colour 🙂
The seams are hidden inside the cowl so that they are not visible, and the best thing is that you DON’T HAVE TO WEAVE IN ANY ENDS!
Enjoy 😉
Teardrops Chunky Cowl Pattern
This tunisian crochet pattern is worked flat and then folded and sown to make it double. The inside of the fabric is therefore not shown so there is no need to weave ends since they can be left inside. It uses only two stitches and it works up very quickly.
I have two widths available depending on the type of chunky yarn you use, some are denser than others. If your yarn is approx. 100 mt per 100g then you will chain less stitches, if your yarn is closer to 140 mt per 100g then you can make your cowl wider with the same amount of yarn in grams.
If you don’t know how to work tunisian simple stitch or how to change colours at the beginning of the forward pass please refer to my tutorials page where you will find all you need to work this pattern, including how to read my tunisian crochet tutorials.
The cowl in the denser yarn (barley and green) measures 34cm wide when worked flat (17cm finished width once folded) and is 80 cm long.
The grey/royal blue cowl is worked in a lighter chunky yarn and it measures 42cm when worked flat (21cm finished width once folded) and is also 80cm long.
For both I used 2 x 100g balls of the background colour, only a few grams left. You will need only one 100g ball for the contrasting colour.
For the grey/royal cowl I got a smaller gauge which meant that I obtained the same length with less amount of rows, I recommend you simply work as many as you can while following the pattern.
Materials
You can choose between the following yarns:
- Woolyknit Lofty Chunky: This is a denser yarn with approx. 100m/100gr
- 2 x 100g balls in Barley (used all 200g) – Colour A
- 1 x 100g ball in Olive (used 50g) – Colour B
- Gauge: 11 sts and 1o rows in 10cm x 10cm worked in pattern.
or…
- Stylecraft Special Chunky: This is a lighter chunky yarn, with approx. 140m/100gr
- 2 x 100g balls in Silver – Colour A
- 1 x 100g ball in Royal – Colour B
- Gauge: 10 sts and 9 rows in 10cm x 10cm worked in pattern.
You will also need:
- 9mm tunisian crochet hook 30cm long or with extension
- Needle to sew edges together (if you prefer it instead of slip stitch)
Abbreviations
ch – chain
st – stitch
Tss – tunisian simple stitch
Tdc – tunisian double crochet
lp – loop(s)
sl st – slip stitch
yo – yarn over
end st – last stitch of forward pass (see stitch guide below)
Stitch Guide
Foundation Row – Forward Pass: Chain number of stitches needed. Skip first chain, insert hook under back strand of next chain, yarn over and pull up a loop. Repeat until last chain.
Return Pass: Yarn over pull through one loop on hook, (yarn over and pull through two loops on hook) until you have one loop left on hook.
Last stitch of any forward pass (End st): Insert hook under last vertical bar and strand behind it, yarn over and pull up a loop.
Tunisian Simple Stitch (Tss): Insert hook from right to left under next front vertical bar, yarn over and pull up a loop.
Tunisian Double Crochet (Tdc): Yarn over, insert hook from right to left under next from vertical bar (as in Tss), yarn over and pull through two loops on hook. For this pattern you will work Tdc one row below than where you would usually work it.
To change colours at the start of next forward pass: work previous return pass normally until you have two loops left on your hook. Drop old colour and pick up new colour, yarn over and pull through two loops on hook.
Slip st as in Tss: Insert hook from right to left under next front vertical bar, pull through two loops on hook.
Slip st End st: Insert hook under last vertical bar and strand behind it, yarn over and pull through both loops on hook.
Instructions
There are only a few differences in the pattern for each cowl. The grey one is wider and has less amount of rows than the barley one. I will write the pattern for the barley/olive cowl and will note any differences in a parenthesis for the grey/royal blue one.
With A chain 35 (40). Work foundation forward pass, you should have 35 (40) st, each loop in the hook counts as a st. Work return pass.
Row 1: Skip first vertical bar, Tss in next st and each st across until last st, work End st. Work return pass.
Row 2 – 3: Repeat Row 1.
Row 4: Skip first vertical bar, Tss in next st and each st across until last st, work End st. Work return pass, change to B at the end of return pass. No need to cut yarns, you can carry it along on the back.
Row 5: Skip first vertical bar, Tss in next 2 st, 2Tdc one row below, *3 Tss, 2Tdc one row below, repeat from * until last four sts, Tss in next 3 sts, Tdc one row below, work End st. Work return pass, change to A at the end of return pass. No need to cut the yarn, you can carry it along on the back.
Row 6: Repeat Row 1.
Row 7 – 66 (7 – 60): Repeat Rows 1 to 6.
Row 67 – 71 (61 -65): Repeat Rows 1 to 5.
Row 72 (66): Skip first vertical bar, slip st as in Tss in next st and each st across until last st, slip st End st.
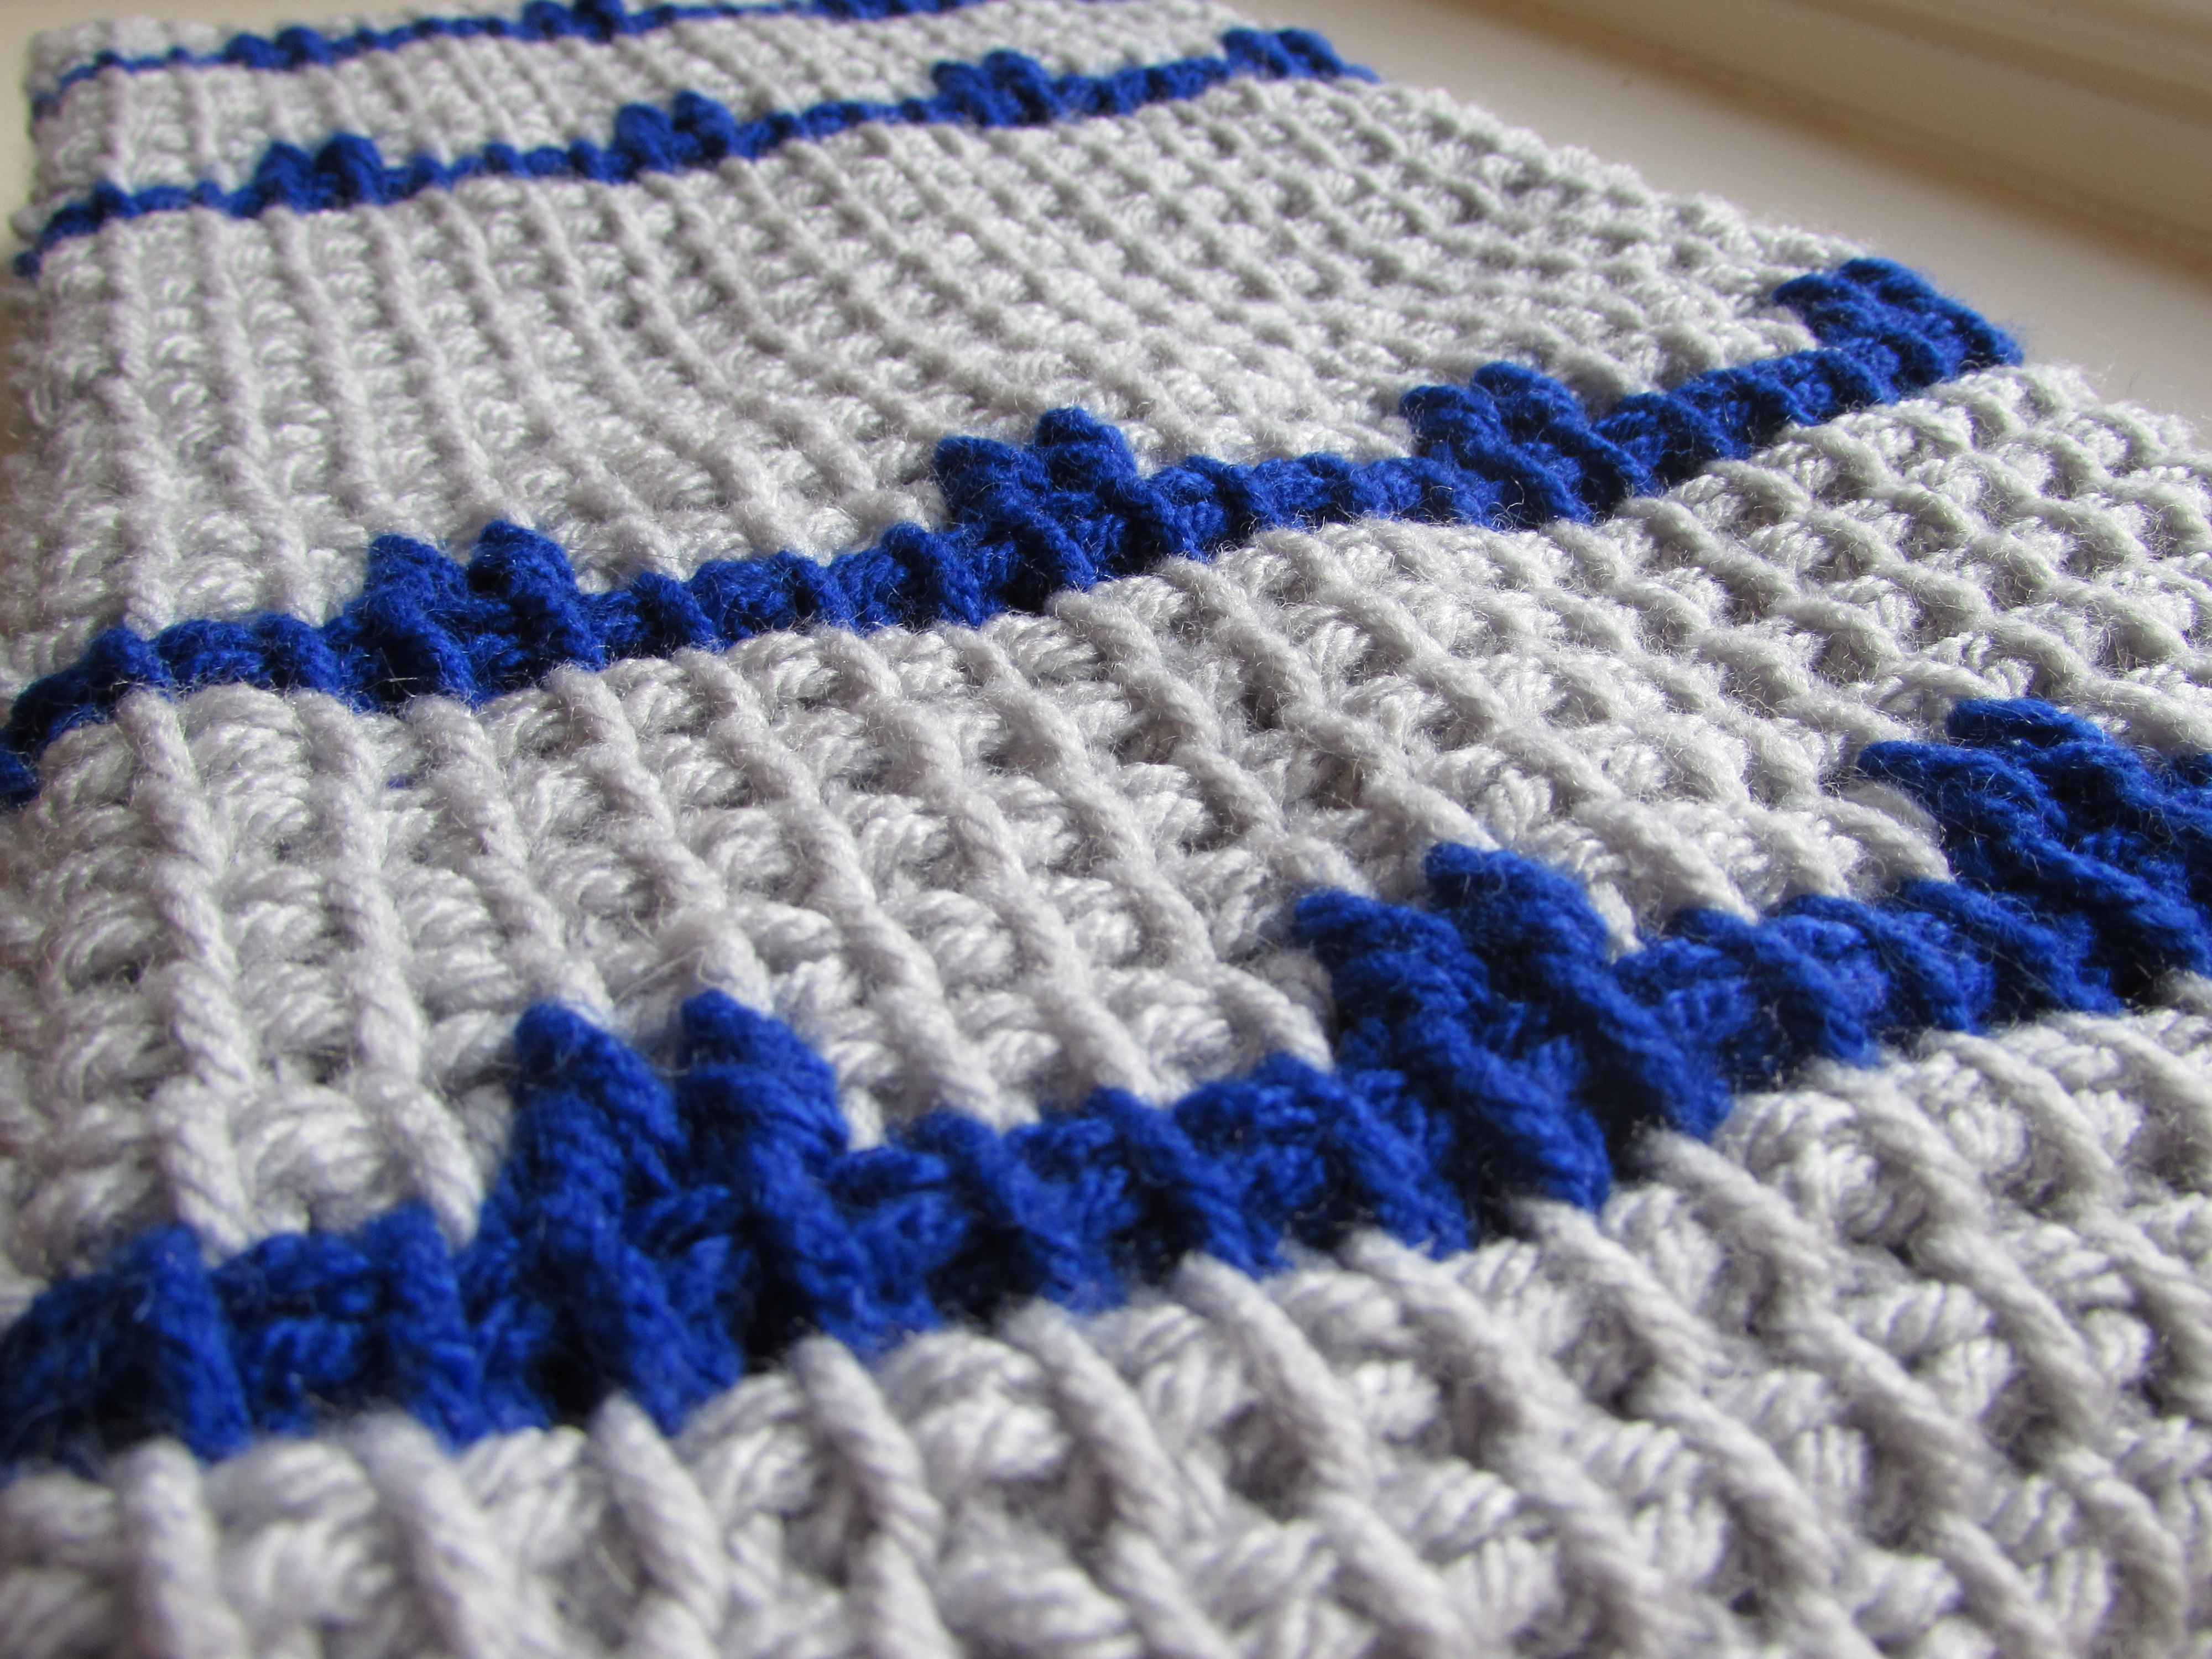
Fold the fabric lengthways so that the wrong side of the fabric is facing you and sew in the long edge to make a tube. You can use slip st or any other joining method you like. Turn the fabric over so that the right side is facing (make sure all the ends remain inside the tube) and close the tube to turn it into a cowl by sewing both edges together. You will be sewing one circumference against another so that you end up with something like a donut (I am not sure I am making any sense so please ask if you are totally lost!). Don’t sew the four layers together or you won’t be able to hide the seams on the inside of the cowl when you are wearing it. You can see the seam in the picture below.

If you have any questions, please ask 🙂 Hope you give it a try!
x
Sol
