
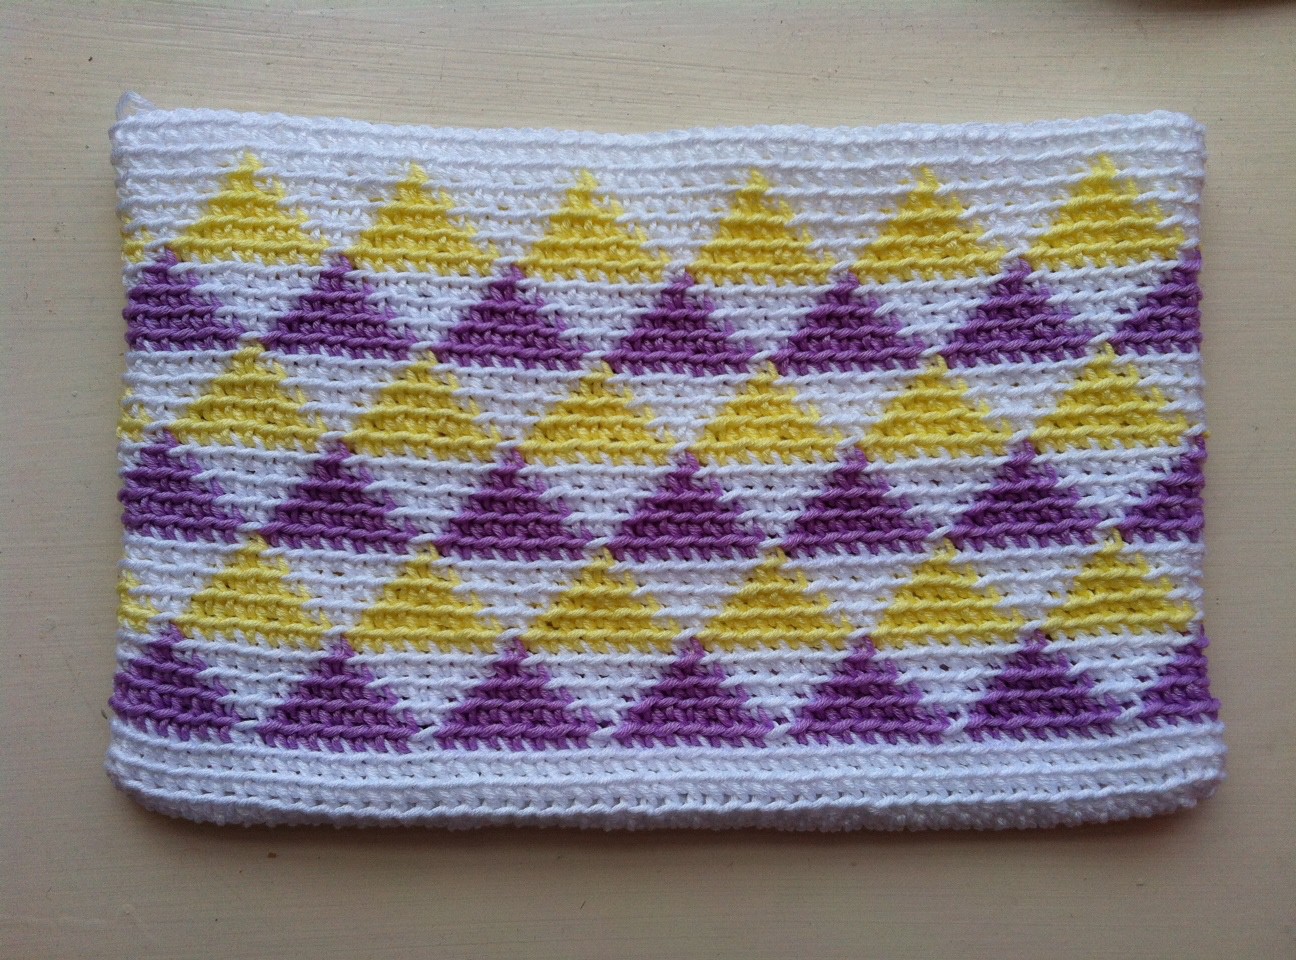
Hello everyone! First, I apologise for all the days of silence, there is a lot going on at the moment and the blog has been on my to-do list every single day but hadn’t had the chance to write anything. To make it up to you I will share a new pattern with you guys, remember my geometric little purses? Well I have been sewing and sewing for days! I finished the fabric lining for one but still working on the second one so I will share the pattern of the finished purse and the other will come soon. Both patterns are quite similar but as I mentioned before the end result is quite different.

I am still working on the fair isle fingerless mitts, they seem to be the right size now but the dreaded thumb is coming soon so fingers crossed I will get it right this time.

As usual, a few comments about the pattern:
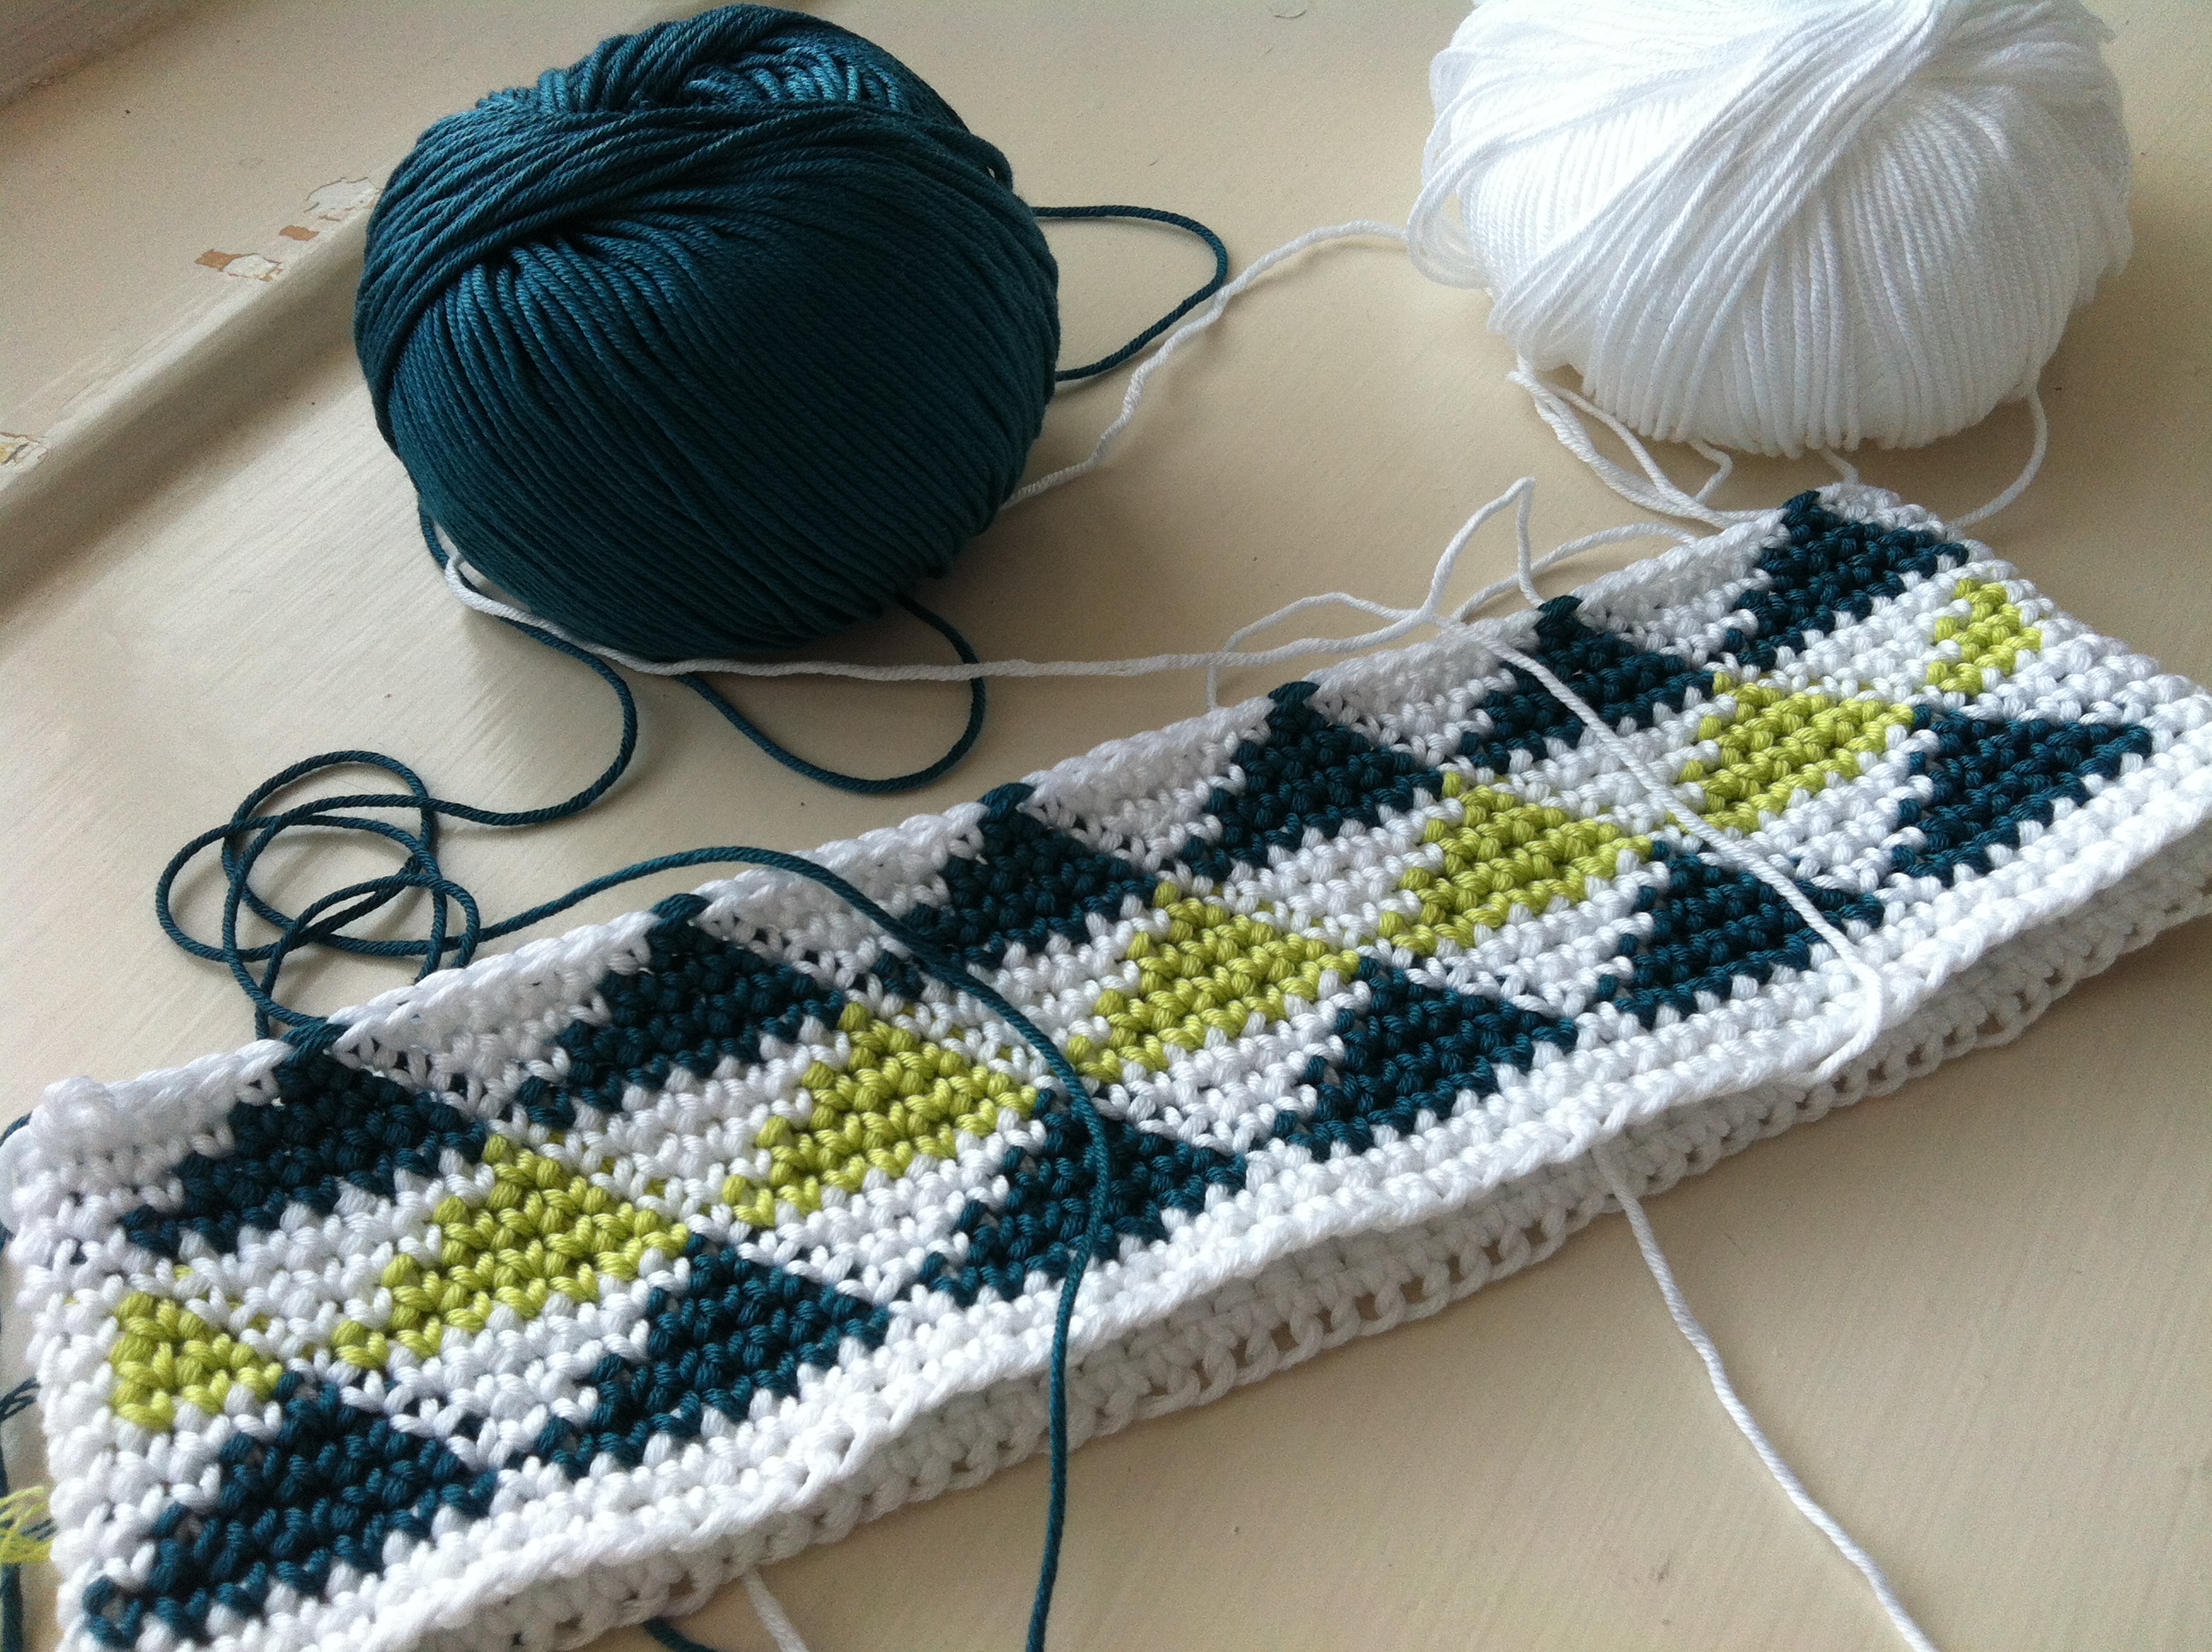
- The colour changes are done leaving the unused colour as strands in the back. I have used this technique in my Night to Day pattern so check that post for links to videos explaining how to change colours and get nice strands. I also mention there a technique to keep the seam straight from Crochet Ever After, follow the links for instructions.
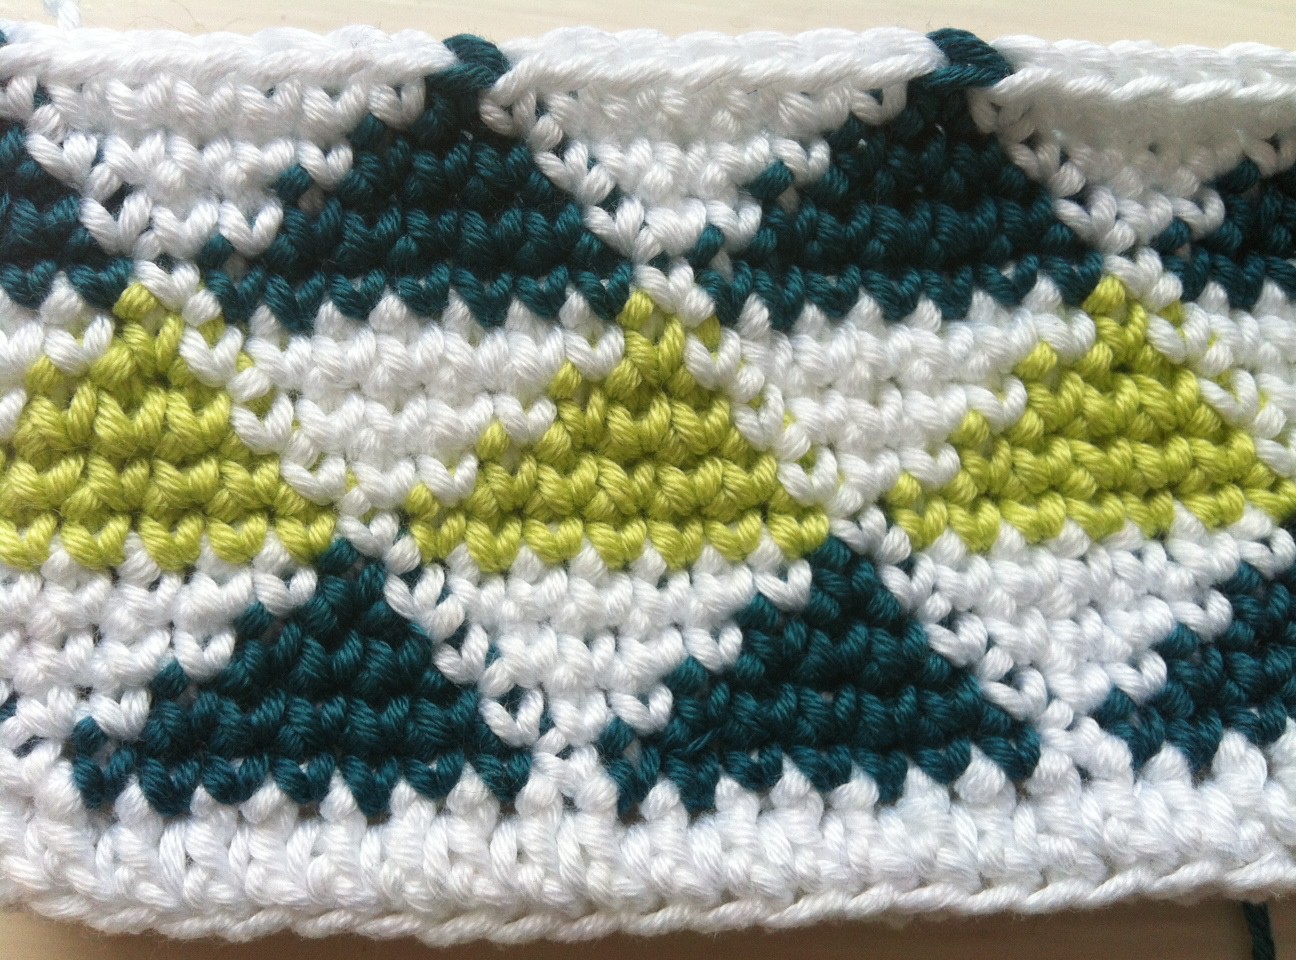
- When doing chart patterns I usually work in the back loop only because otherwise the shapes of your chart will lean to the right when you crochet them. For this purse I didn’t work in the back loop only (BLO) and you can see that the triangles lean a bit. I still like the result but if you prefer a more neat-looking pattern then wait for the next one which does use the BLO. You can work in the BLO for this one but I would advise not to use very contrasting colours. The dark green against the white didn’t look right when working in the BLO, the edges weren’t clear so I used light colours for the next pattern and it looks a lot better. Check this post where I talk about the differences with each technique.
- I wanted to get a very tight fabric for this purse so I chose the smallest hook size recommended for this yarn (3.00mm). This did slow down the process considerably because it was a struggle to get the hook through for each stitch, but you do get a nicer fabric and the triangles will look neater as well. If you are a very loose crocheter and can’t help it, then I advise you to use colours that are not very contrasting to make sure that the shapes are still clear. You can also wait for the next pattern which was crocheted looser.
- The light green colour is very bright but it looks quite dull in the pictures, sorry!

Happy Triangles Pattern
Size: 20cm x 14.5cm
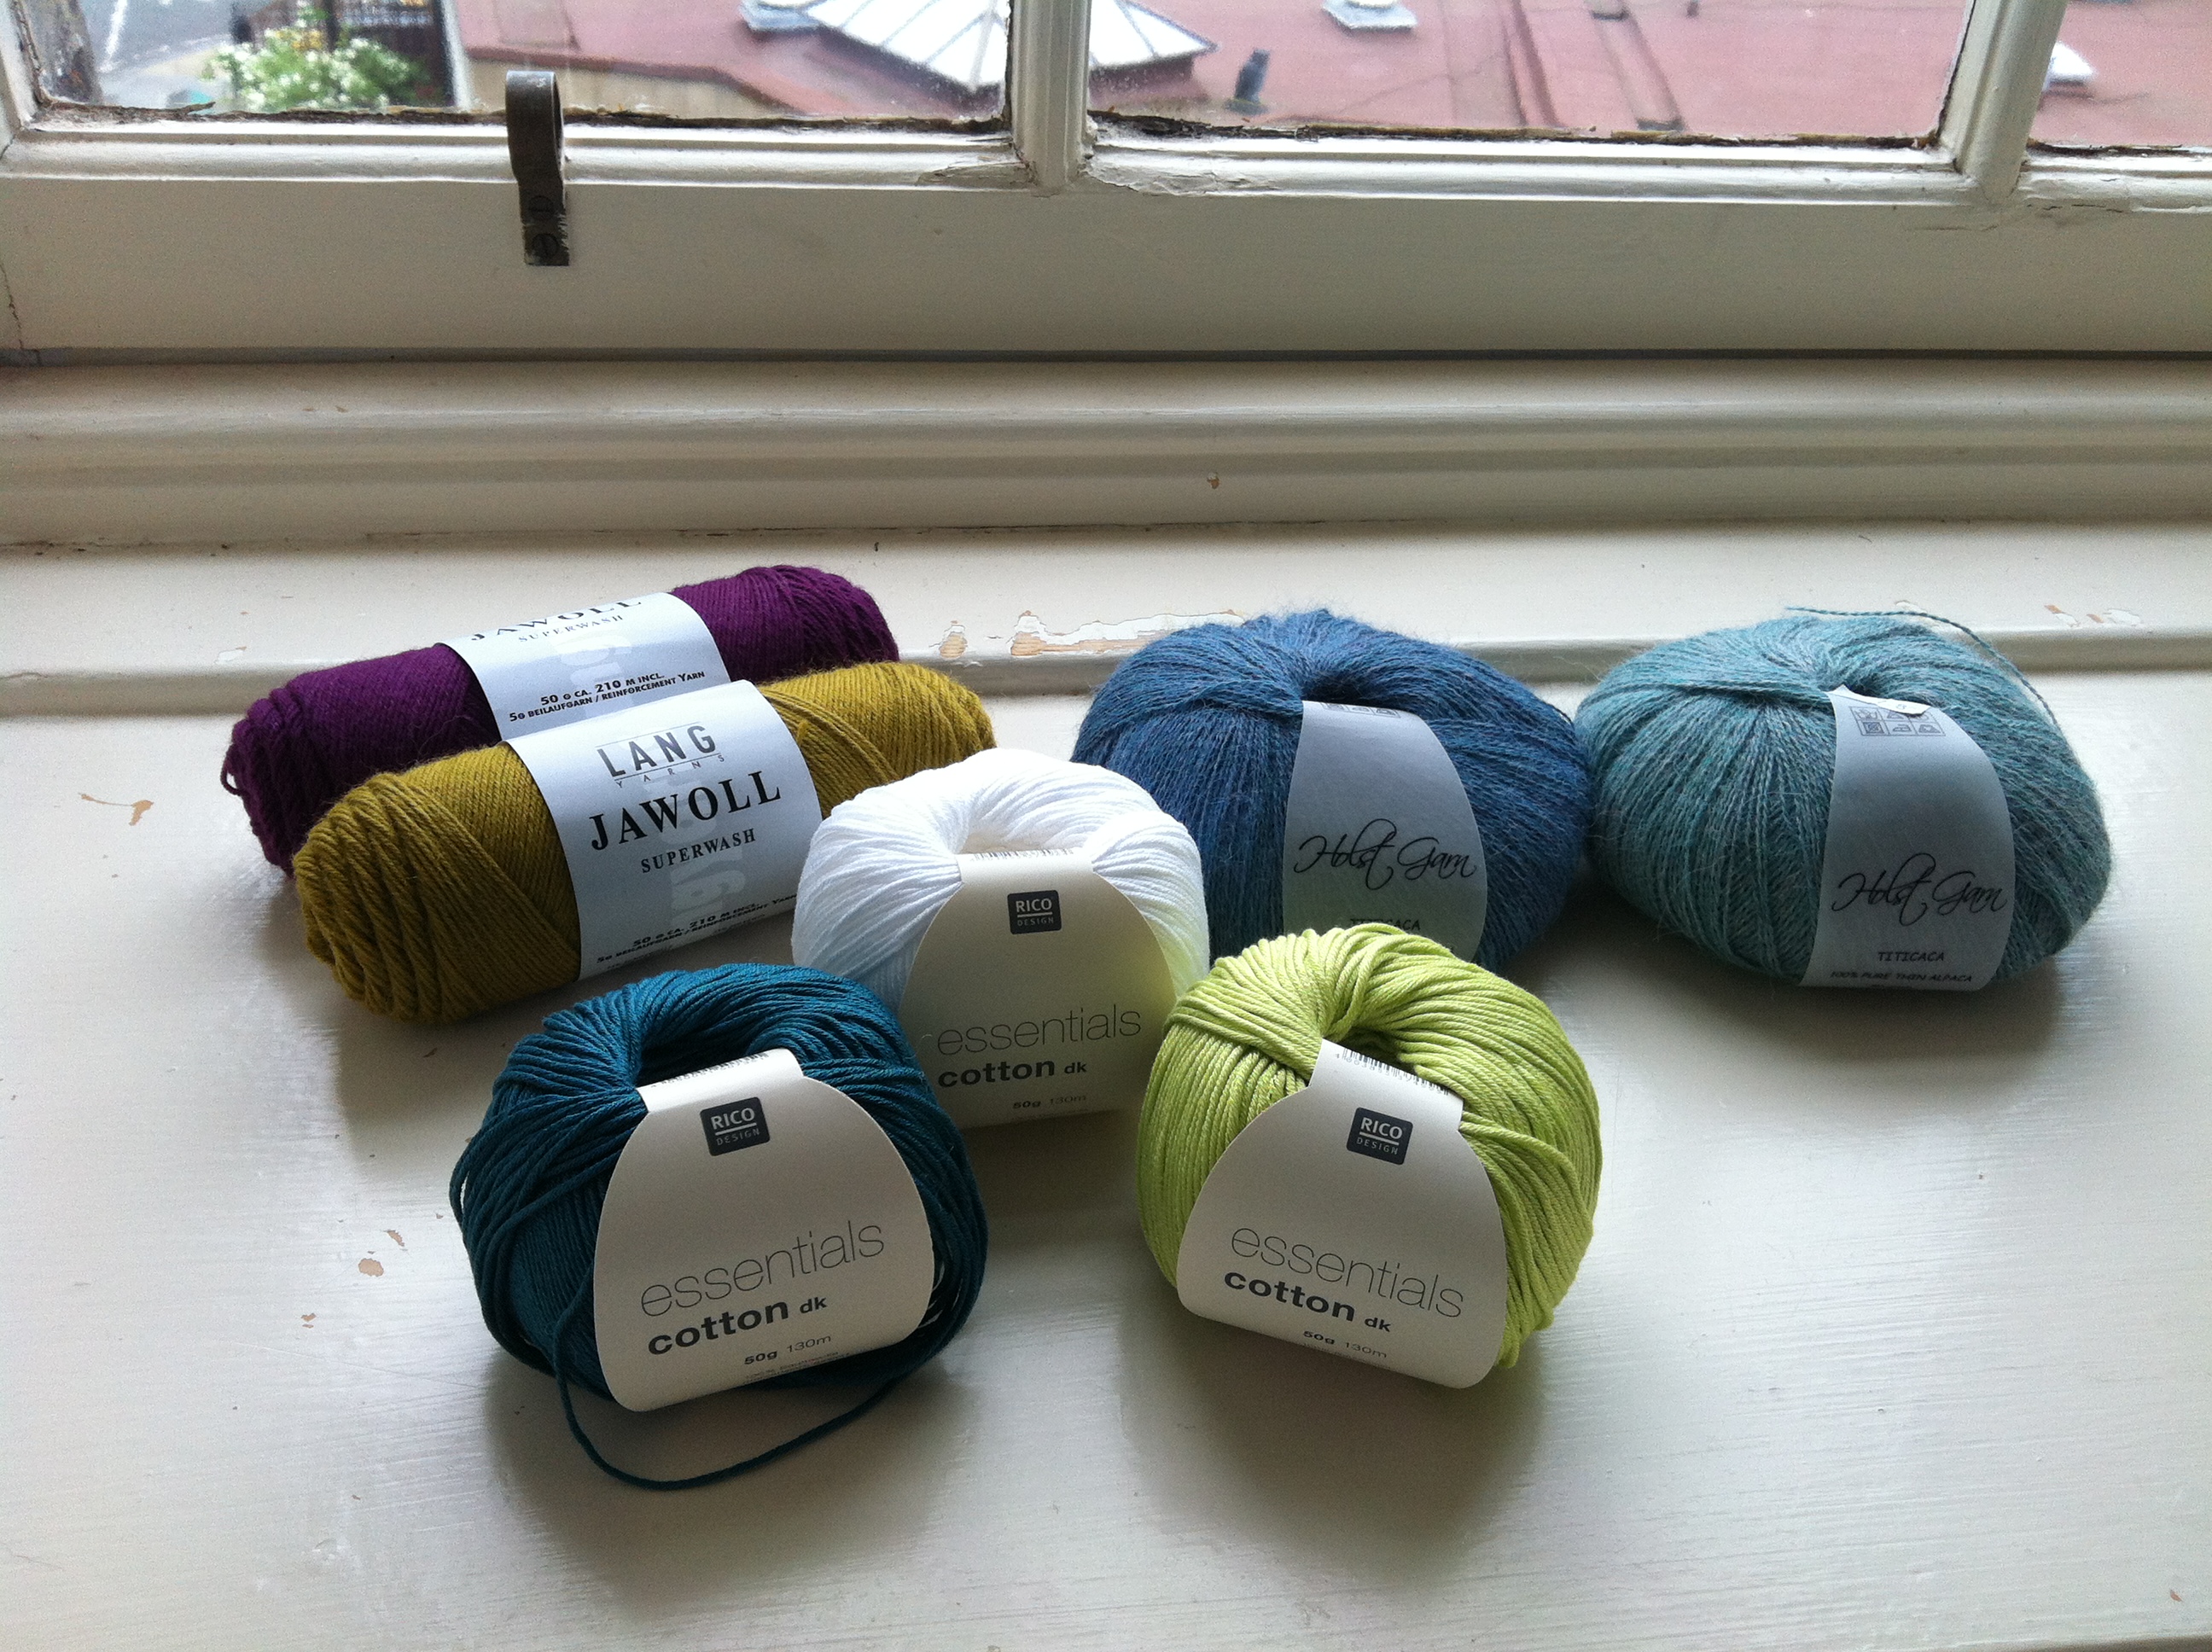
Materials
Rico Design Essentials Cotton DK: 1x50g ball White, 1x50g ball Blue Green, 1x50g ball Pistachio
3.00mm hook
Fabric for lining ( I bought 20cm of a fabric and it was enough)
Needle
Pins
22cm zip
Abbreviations
dc – UK double crochet
sl st – slip stitch
ch – chain
htr – UK half treble
BLO – back loop only
Instructions
Base: With white yarn Ch 50, htr in 3rd ch from hook, htr in each st across until last ch, 6 tr in last ch. Turn to work on other side of ch, htr in next ch and each ch across until last ch, 5htr in last ch, sl st to first htr (104 st). Don’t turn.
*Remember to pull tight on the sl st and the ch 1 when starting a new round to keep the seam straight.
Round 1: Ch 1, dc in BLO in each st across until the end, sl st to first dc (104 st). Don’t turn.
Round 2: Ch 1, dc in next st and each st across until the end, sl st to first dc. Don’t turn.
Round 3-34: Follow chart below, from bottom-up and from right to left. Each round has 104 st so you need to repeat the 8 stitches in the chart 13 times for each round (13×8=104). Repeat the chart until you have 34 rounds in total so that you have 8 rows of triangles, 4 of each colour. You don’t have to cut the colours if you don’t want to, all the ends will be hidden once you do the lining.

Round 35-36: With white yarn, ch 1, dc in next st and each st across until the end. (104 st)
For the lining I used this great post by Futuregirl, she uses a sewing machine but I had to do it by hand since I don’t have one. Took ages to finish but love the result. Just tuck in all the ends between the lining and the purse, no need to weave them in!
As usual, please let me know if you have any questions and here is the Ravelry link 🙂
Have a great day!
x
Sol


